Variant 1:
NEW DESIGN 2018


Other Parts:
Here is a list of parts needed to install the above chassis:
⇒ 4-40 threaded rods x 2
⇒ Hex nuts for 4-40 rods x 2
⇒ Brass or copper rods – 1.5mm max OD (x4, 66mm lenbgth.
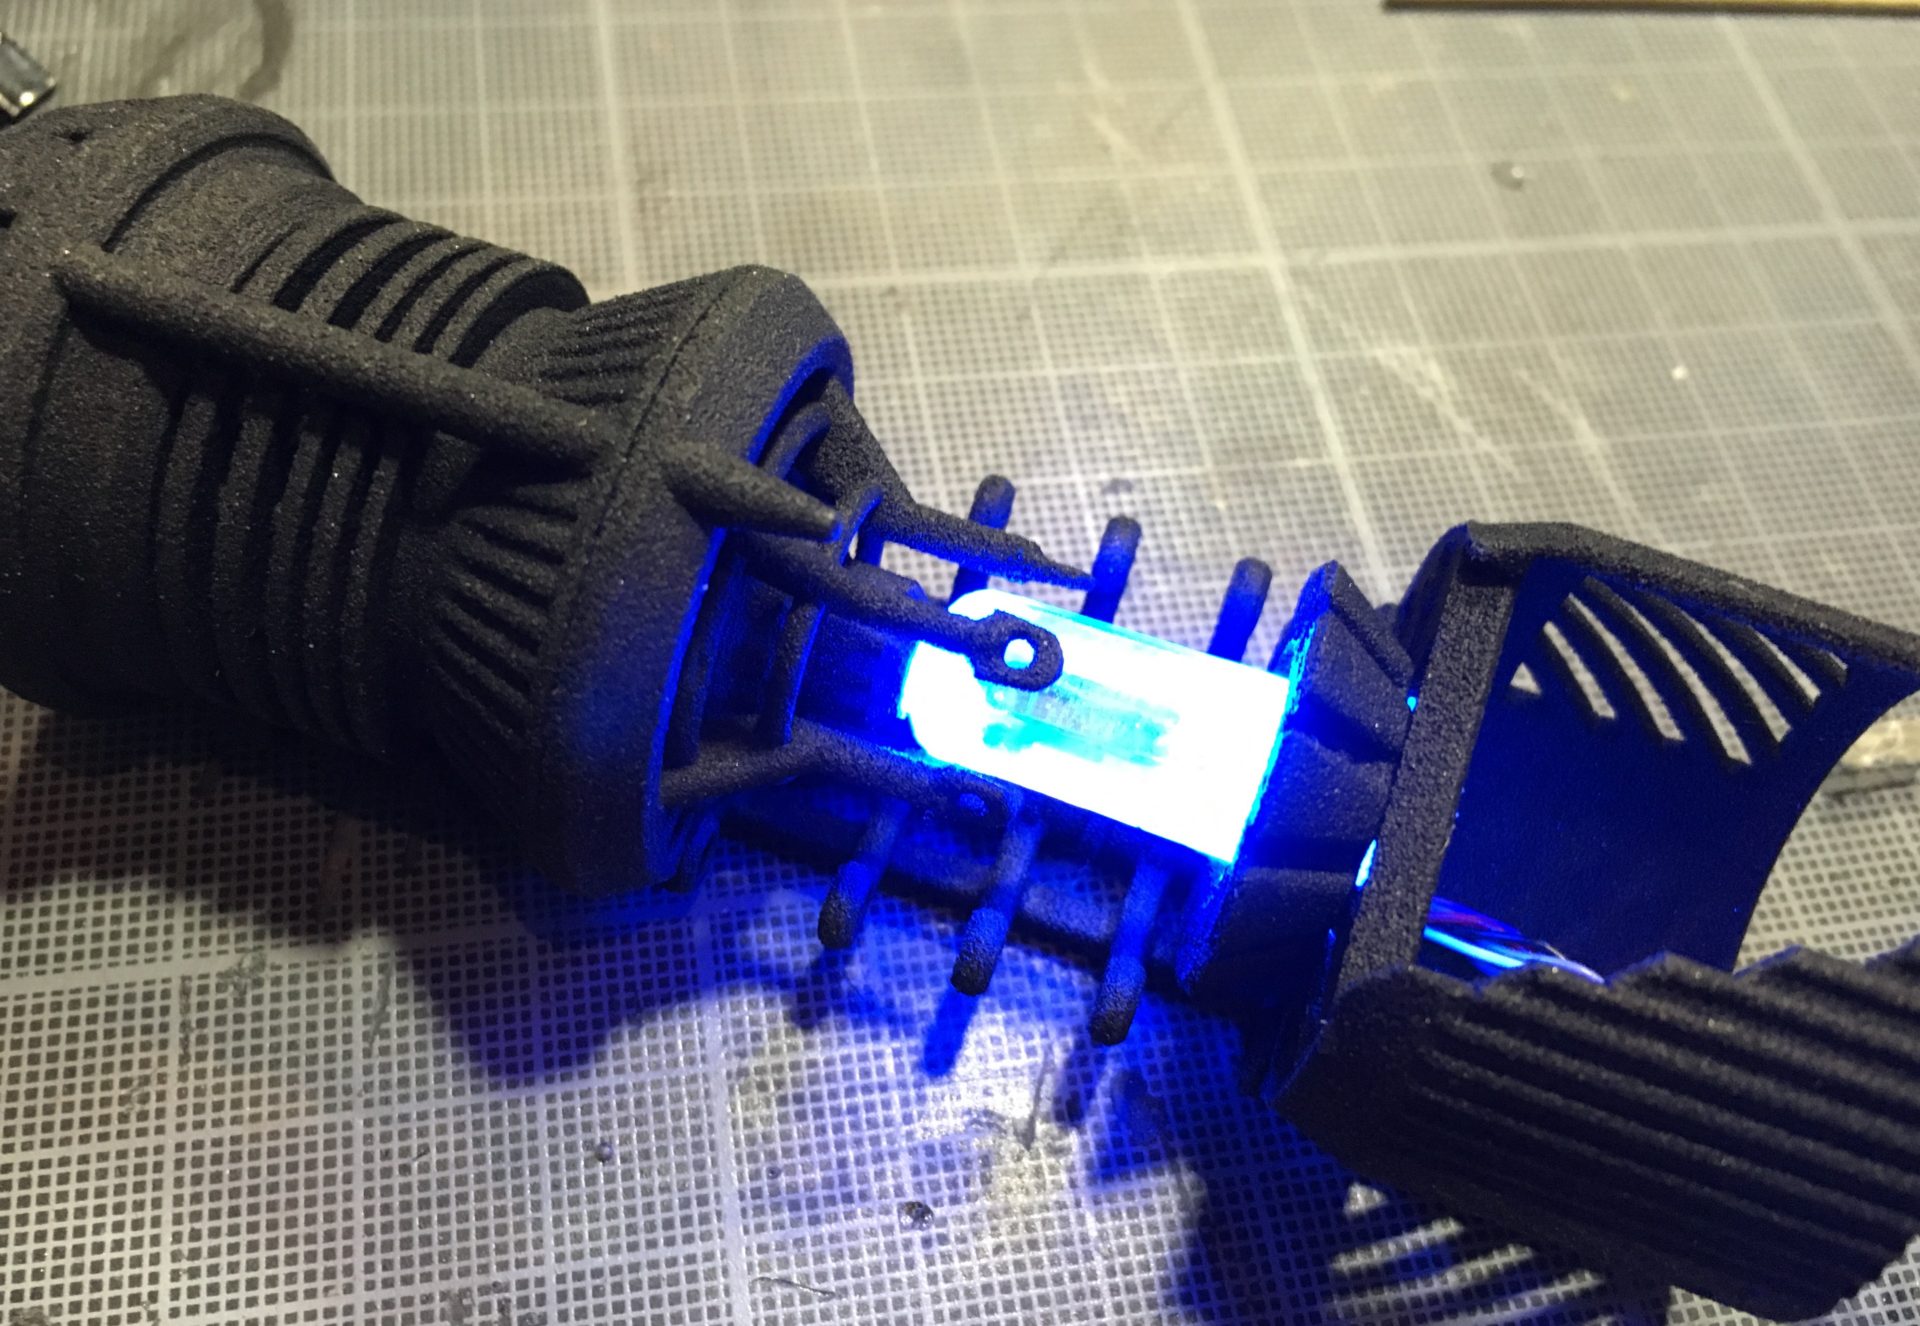
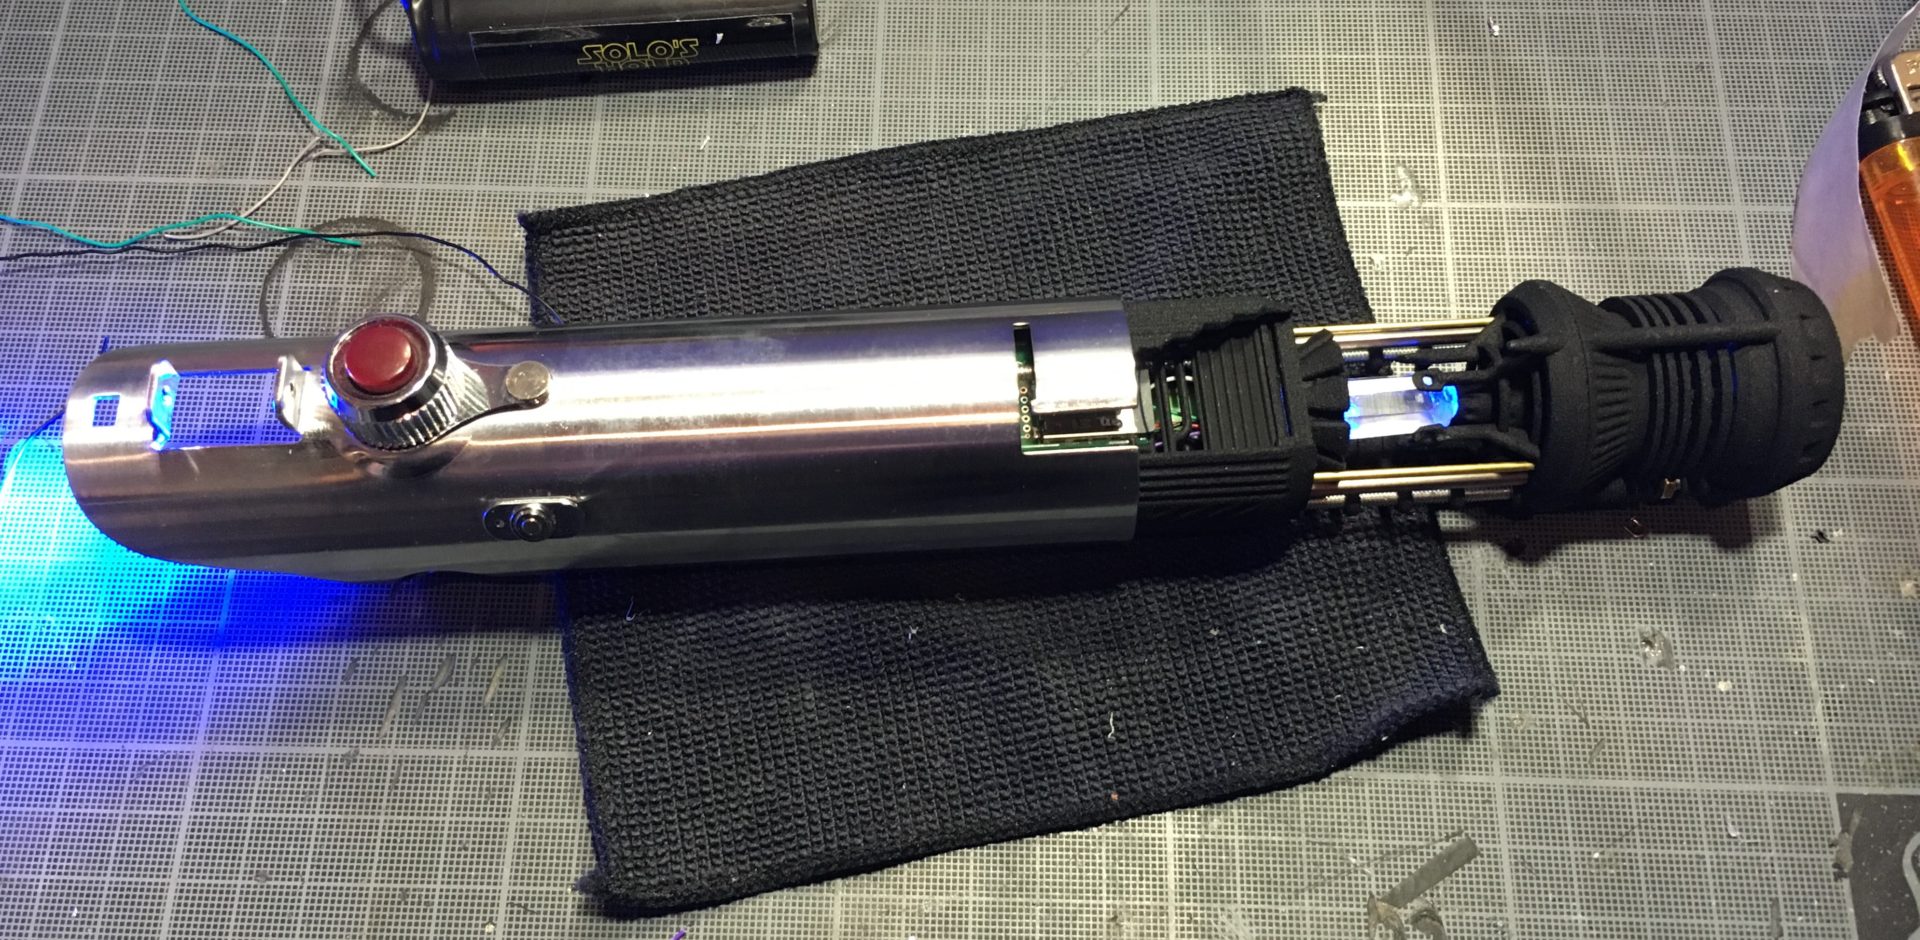
Demo:
DIY Instructions:
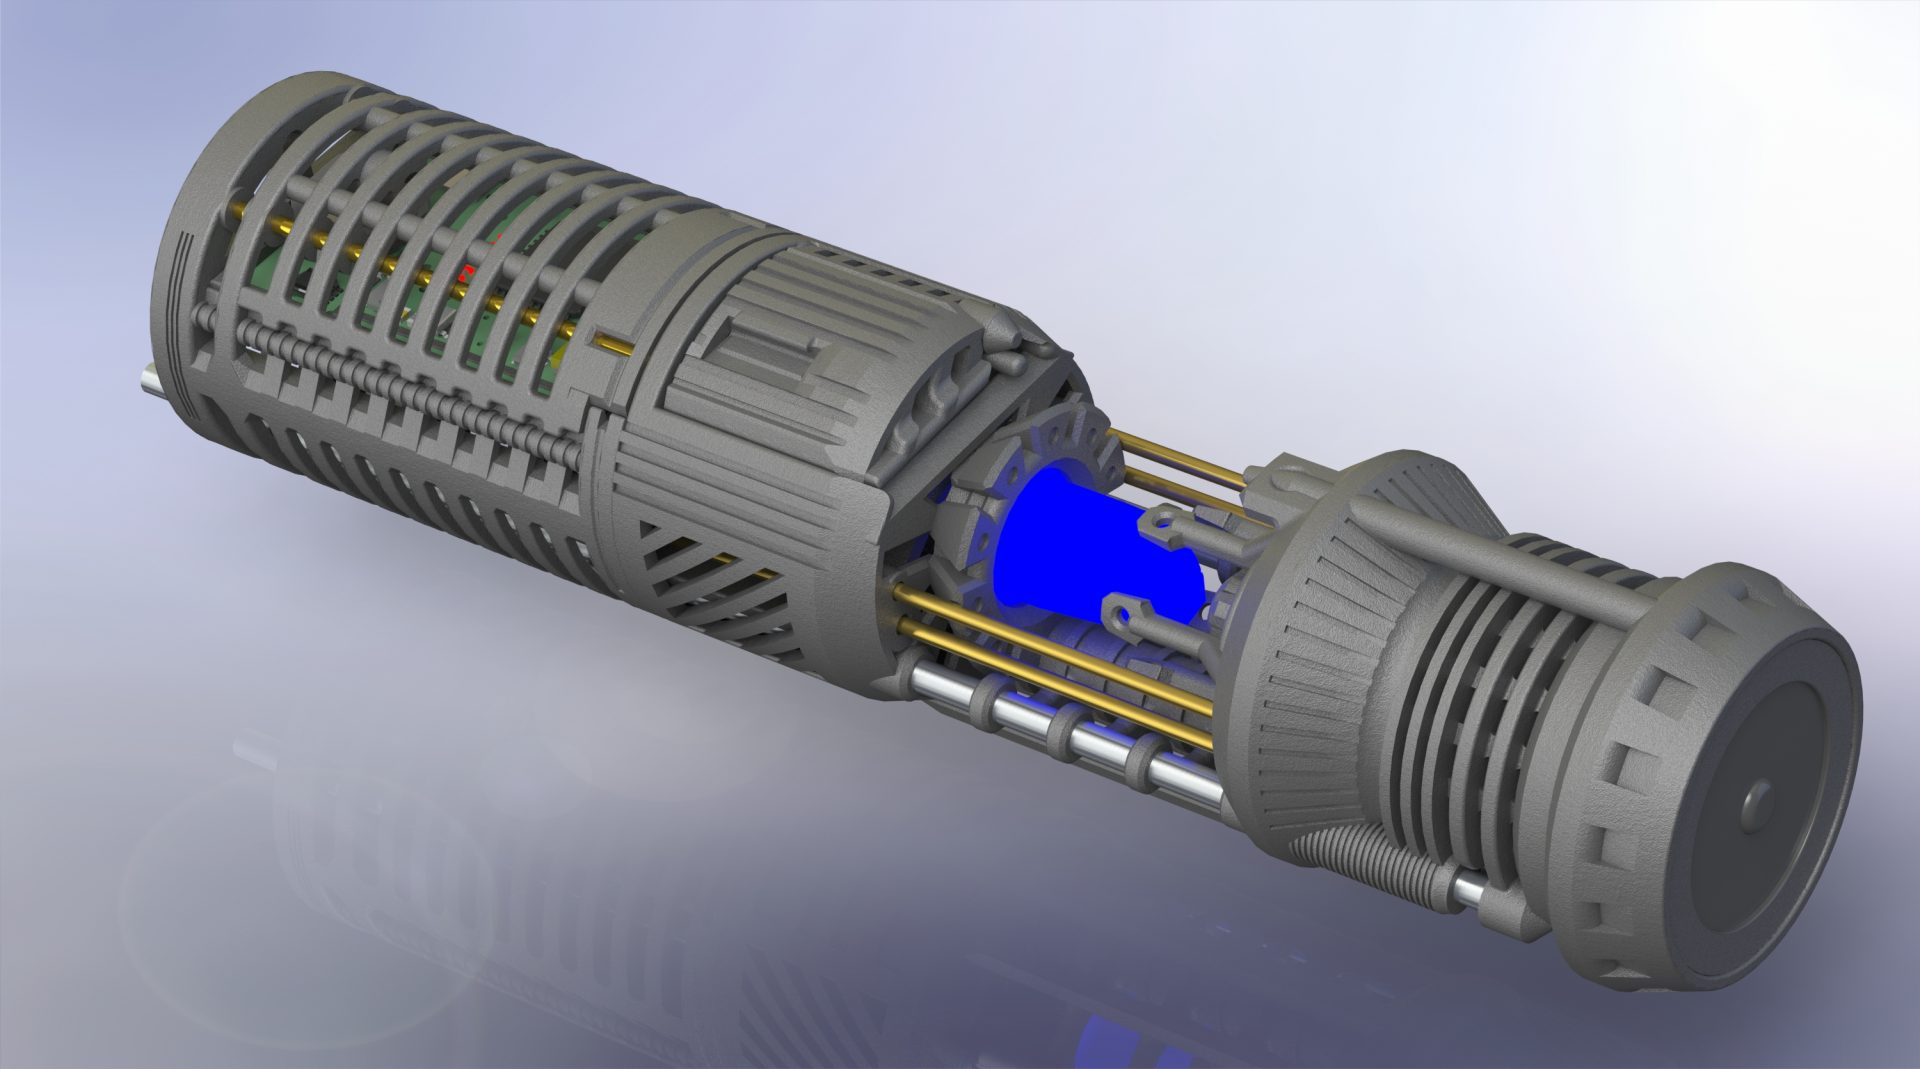
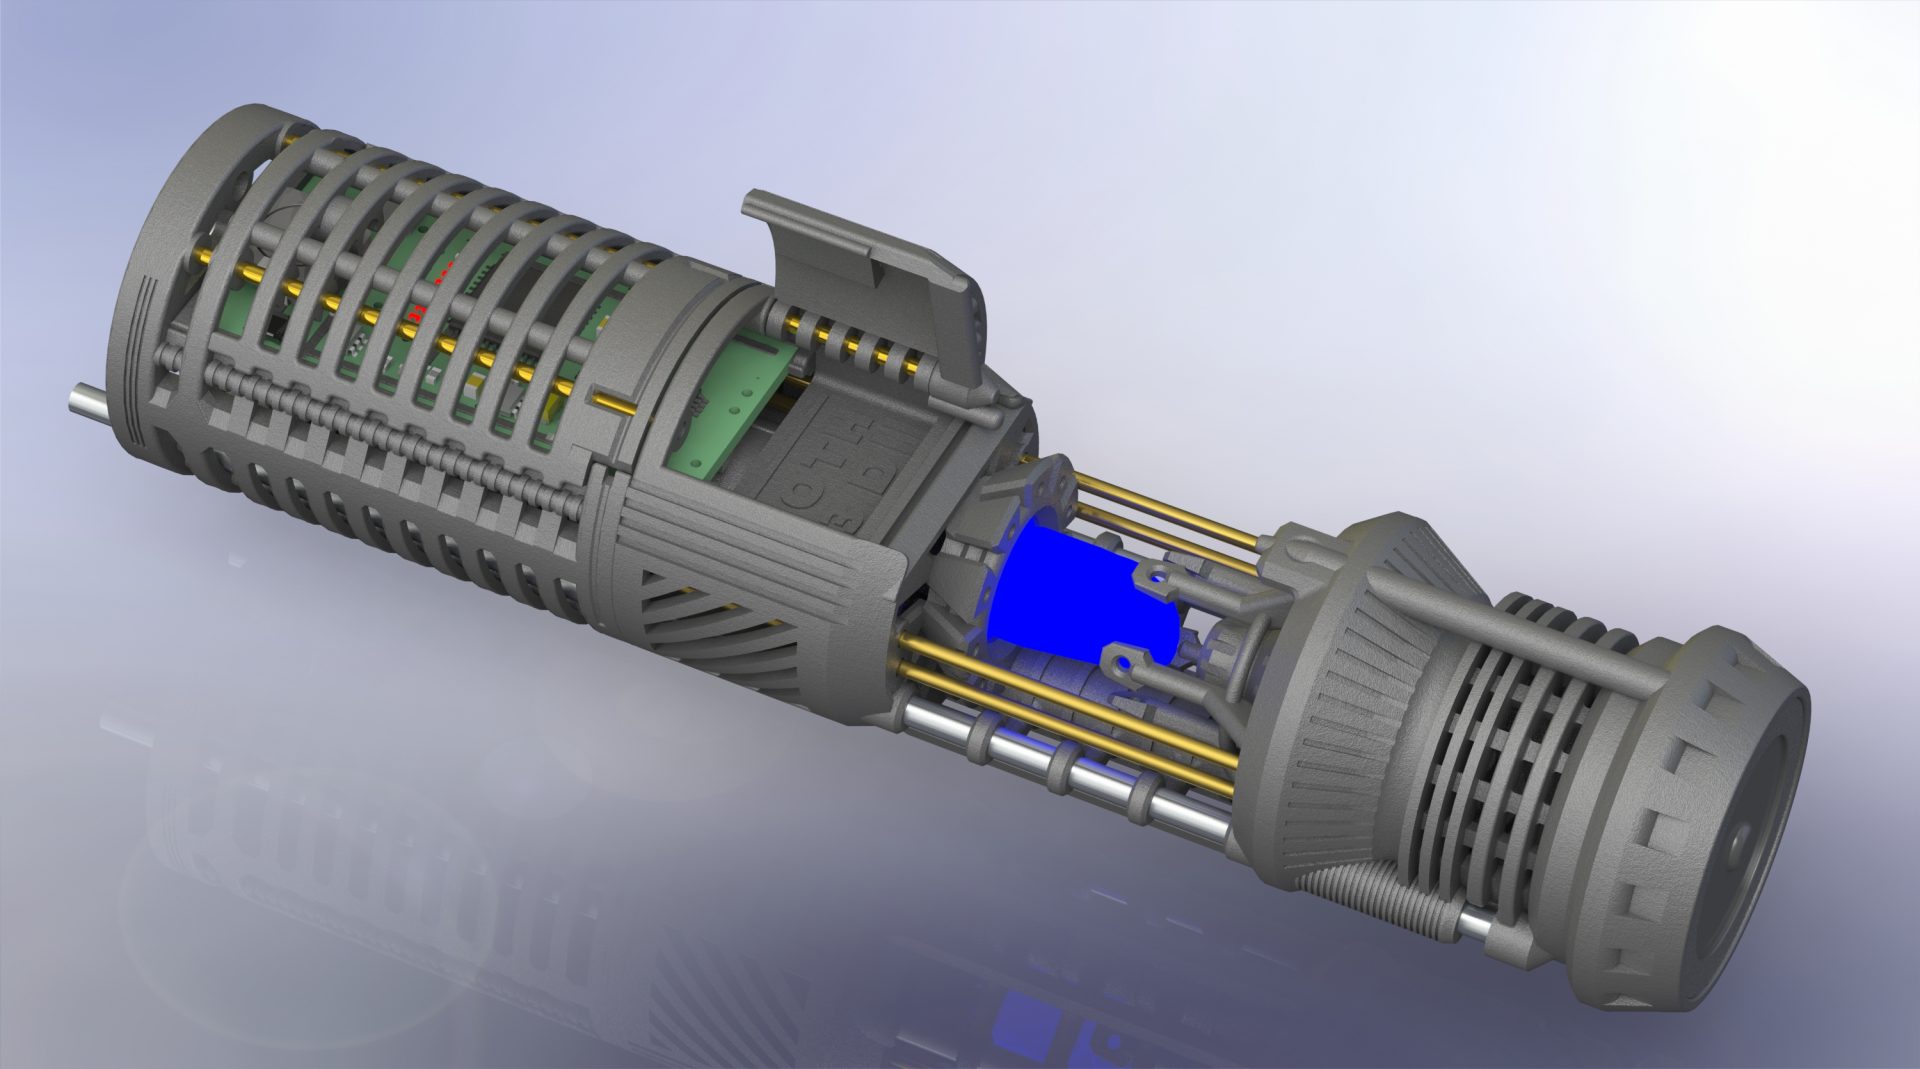
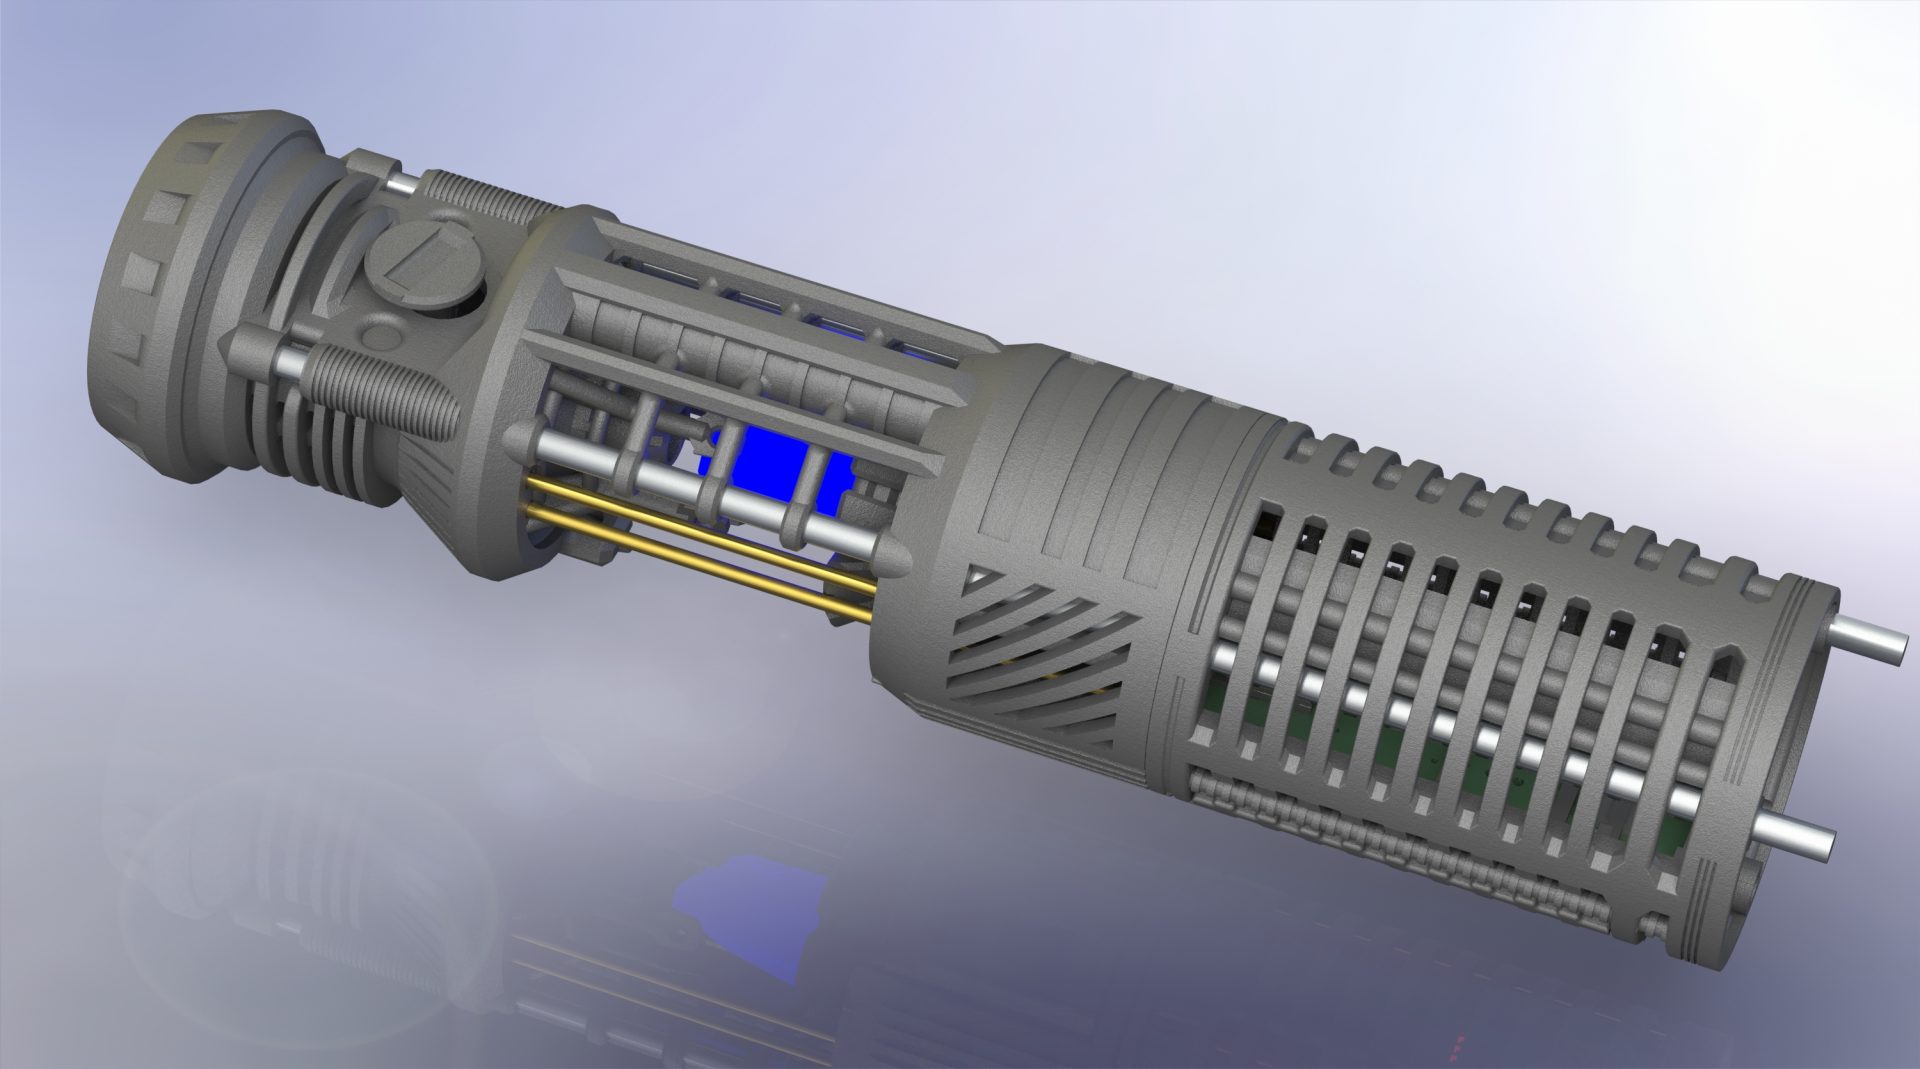
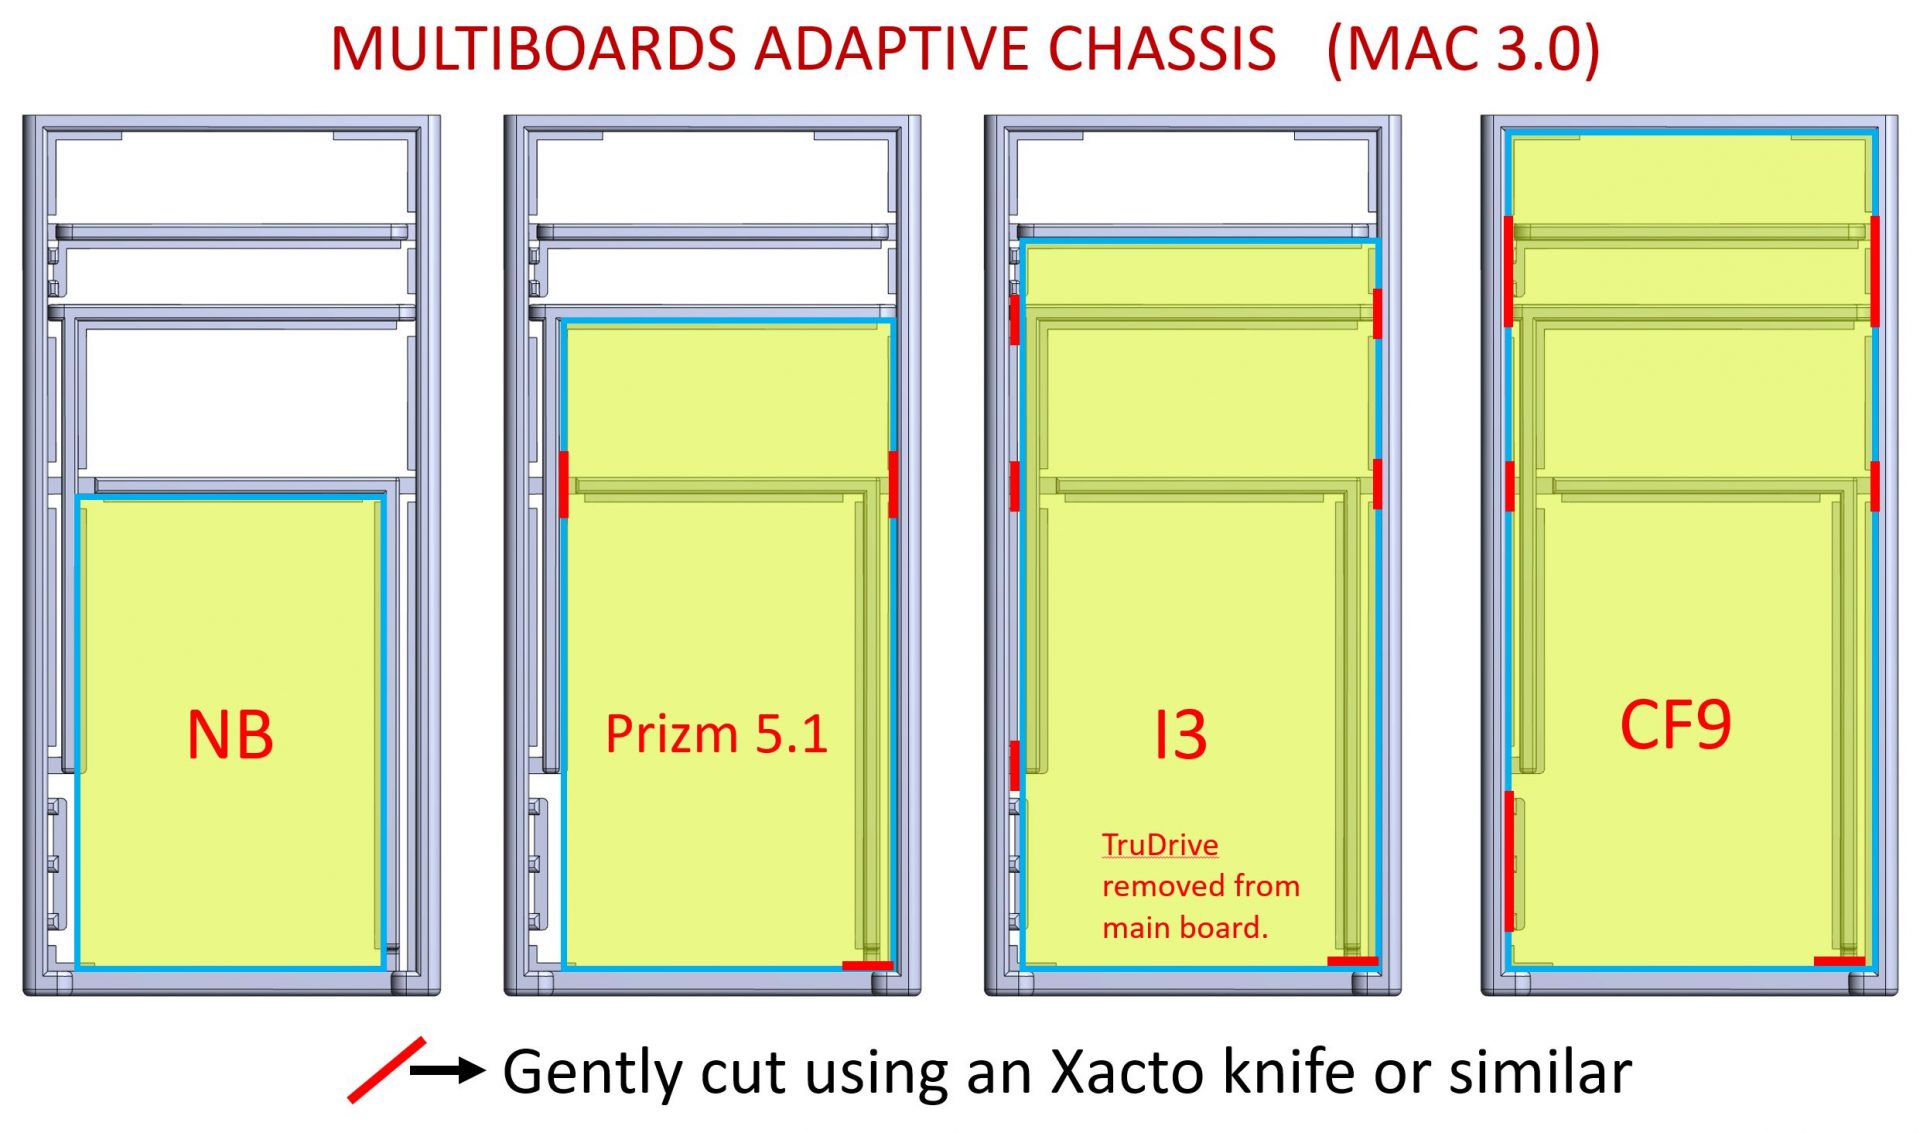
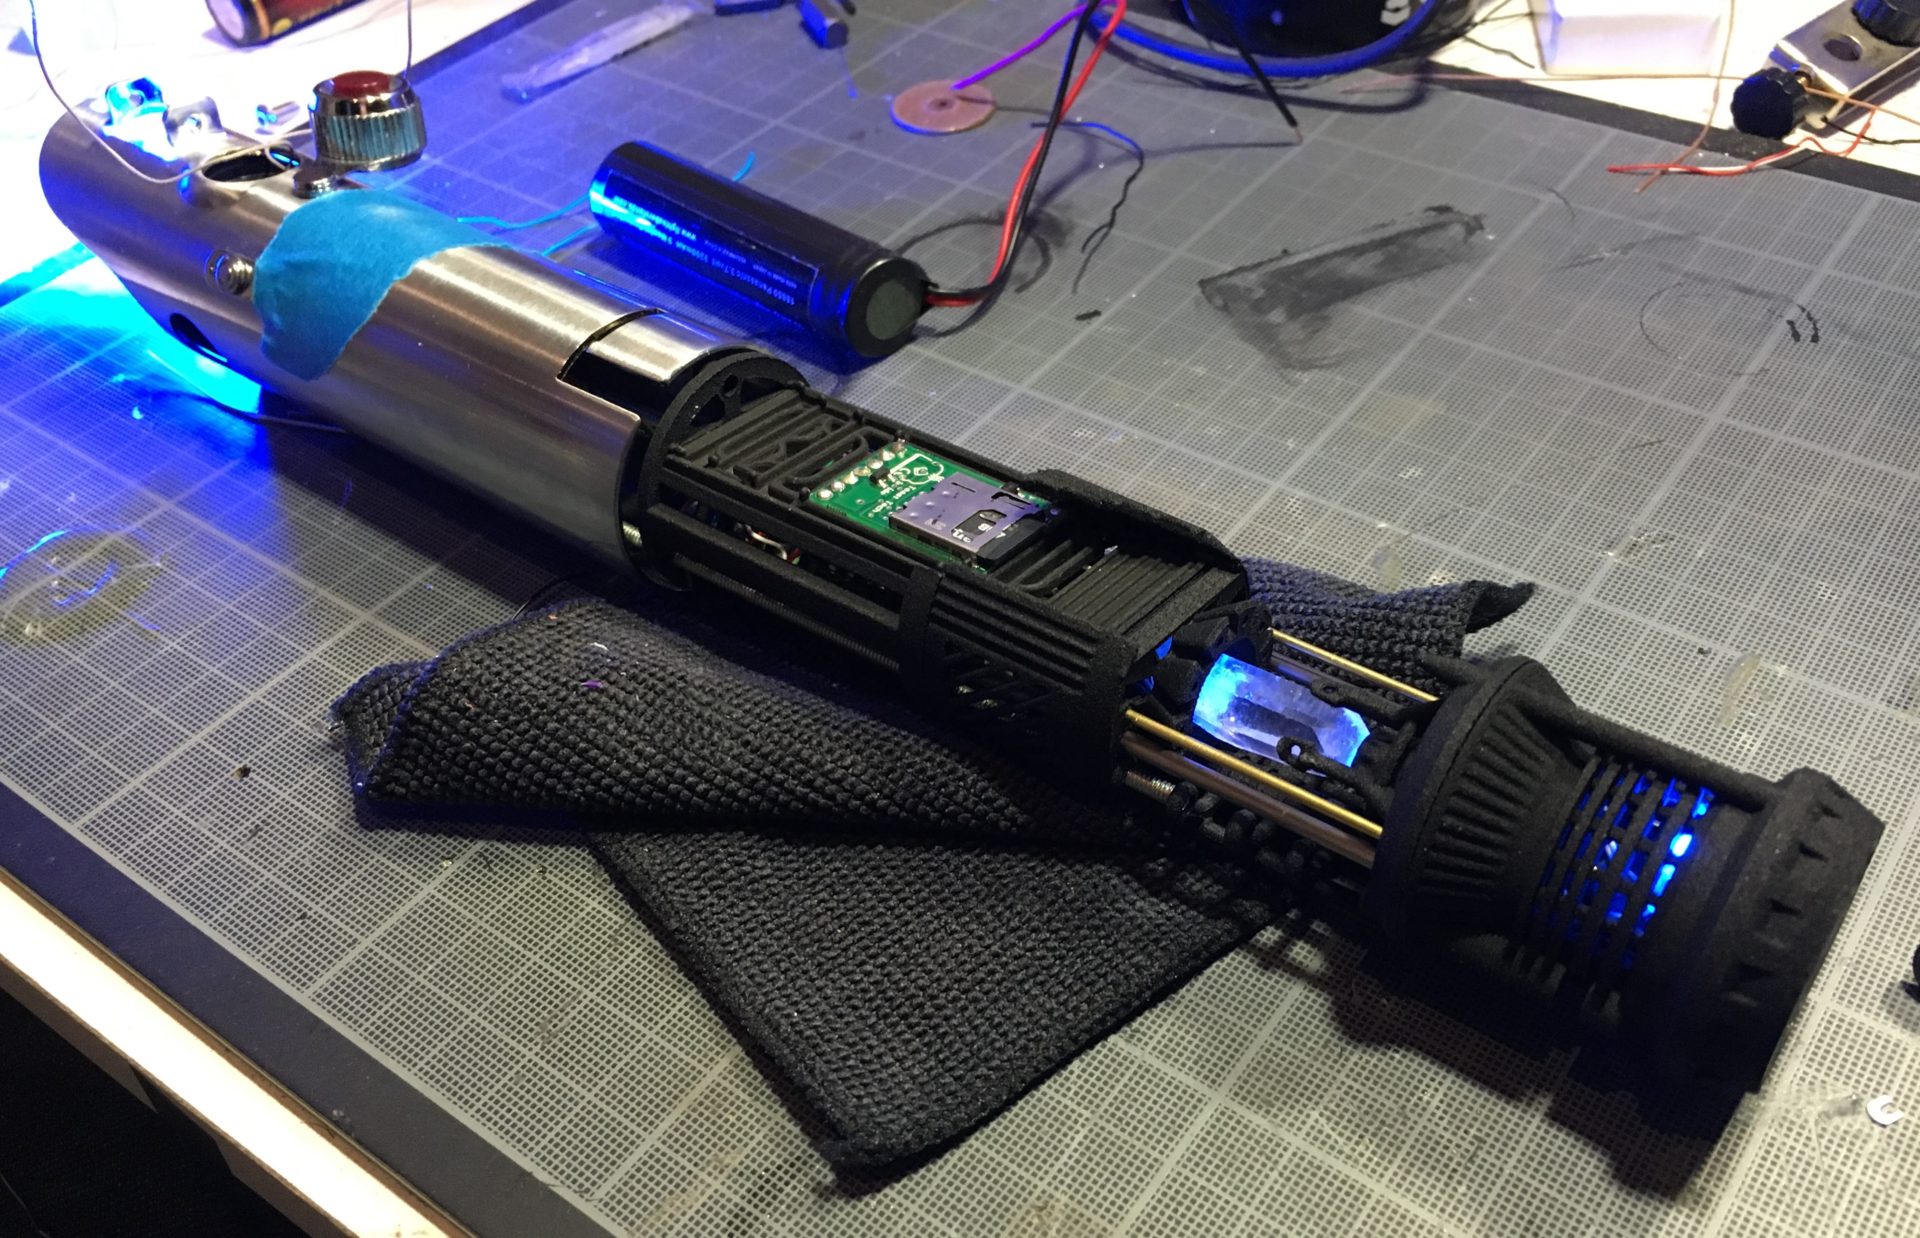
MutliBoards Adaptive Chassis 3.0
Teensy Saber V3 can be installed using this adapter.
ProffieBoard can be installed using this adapter.
Disclainer:
– These instructions will details the install procedure as much as possible. GOTH-3Designs cannot be held responsible for any mistakes made by DIYers.
– Always wear protective gear when working on install (gloves, eye protection, …), GOTH-3Designs cannot be held responsible in case of accident.
Note 1: These instruction will cover the Nano Biscotte install, however the MultiBoards Adaptive Chassis will allow other soundboards to be installed. We do not cover wiring instructions tho, please read your soundboard manual before starting the install.
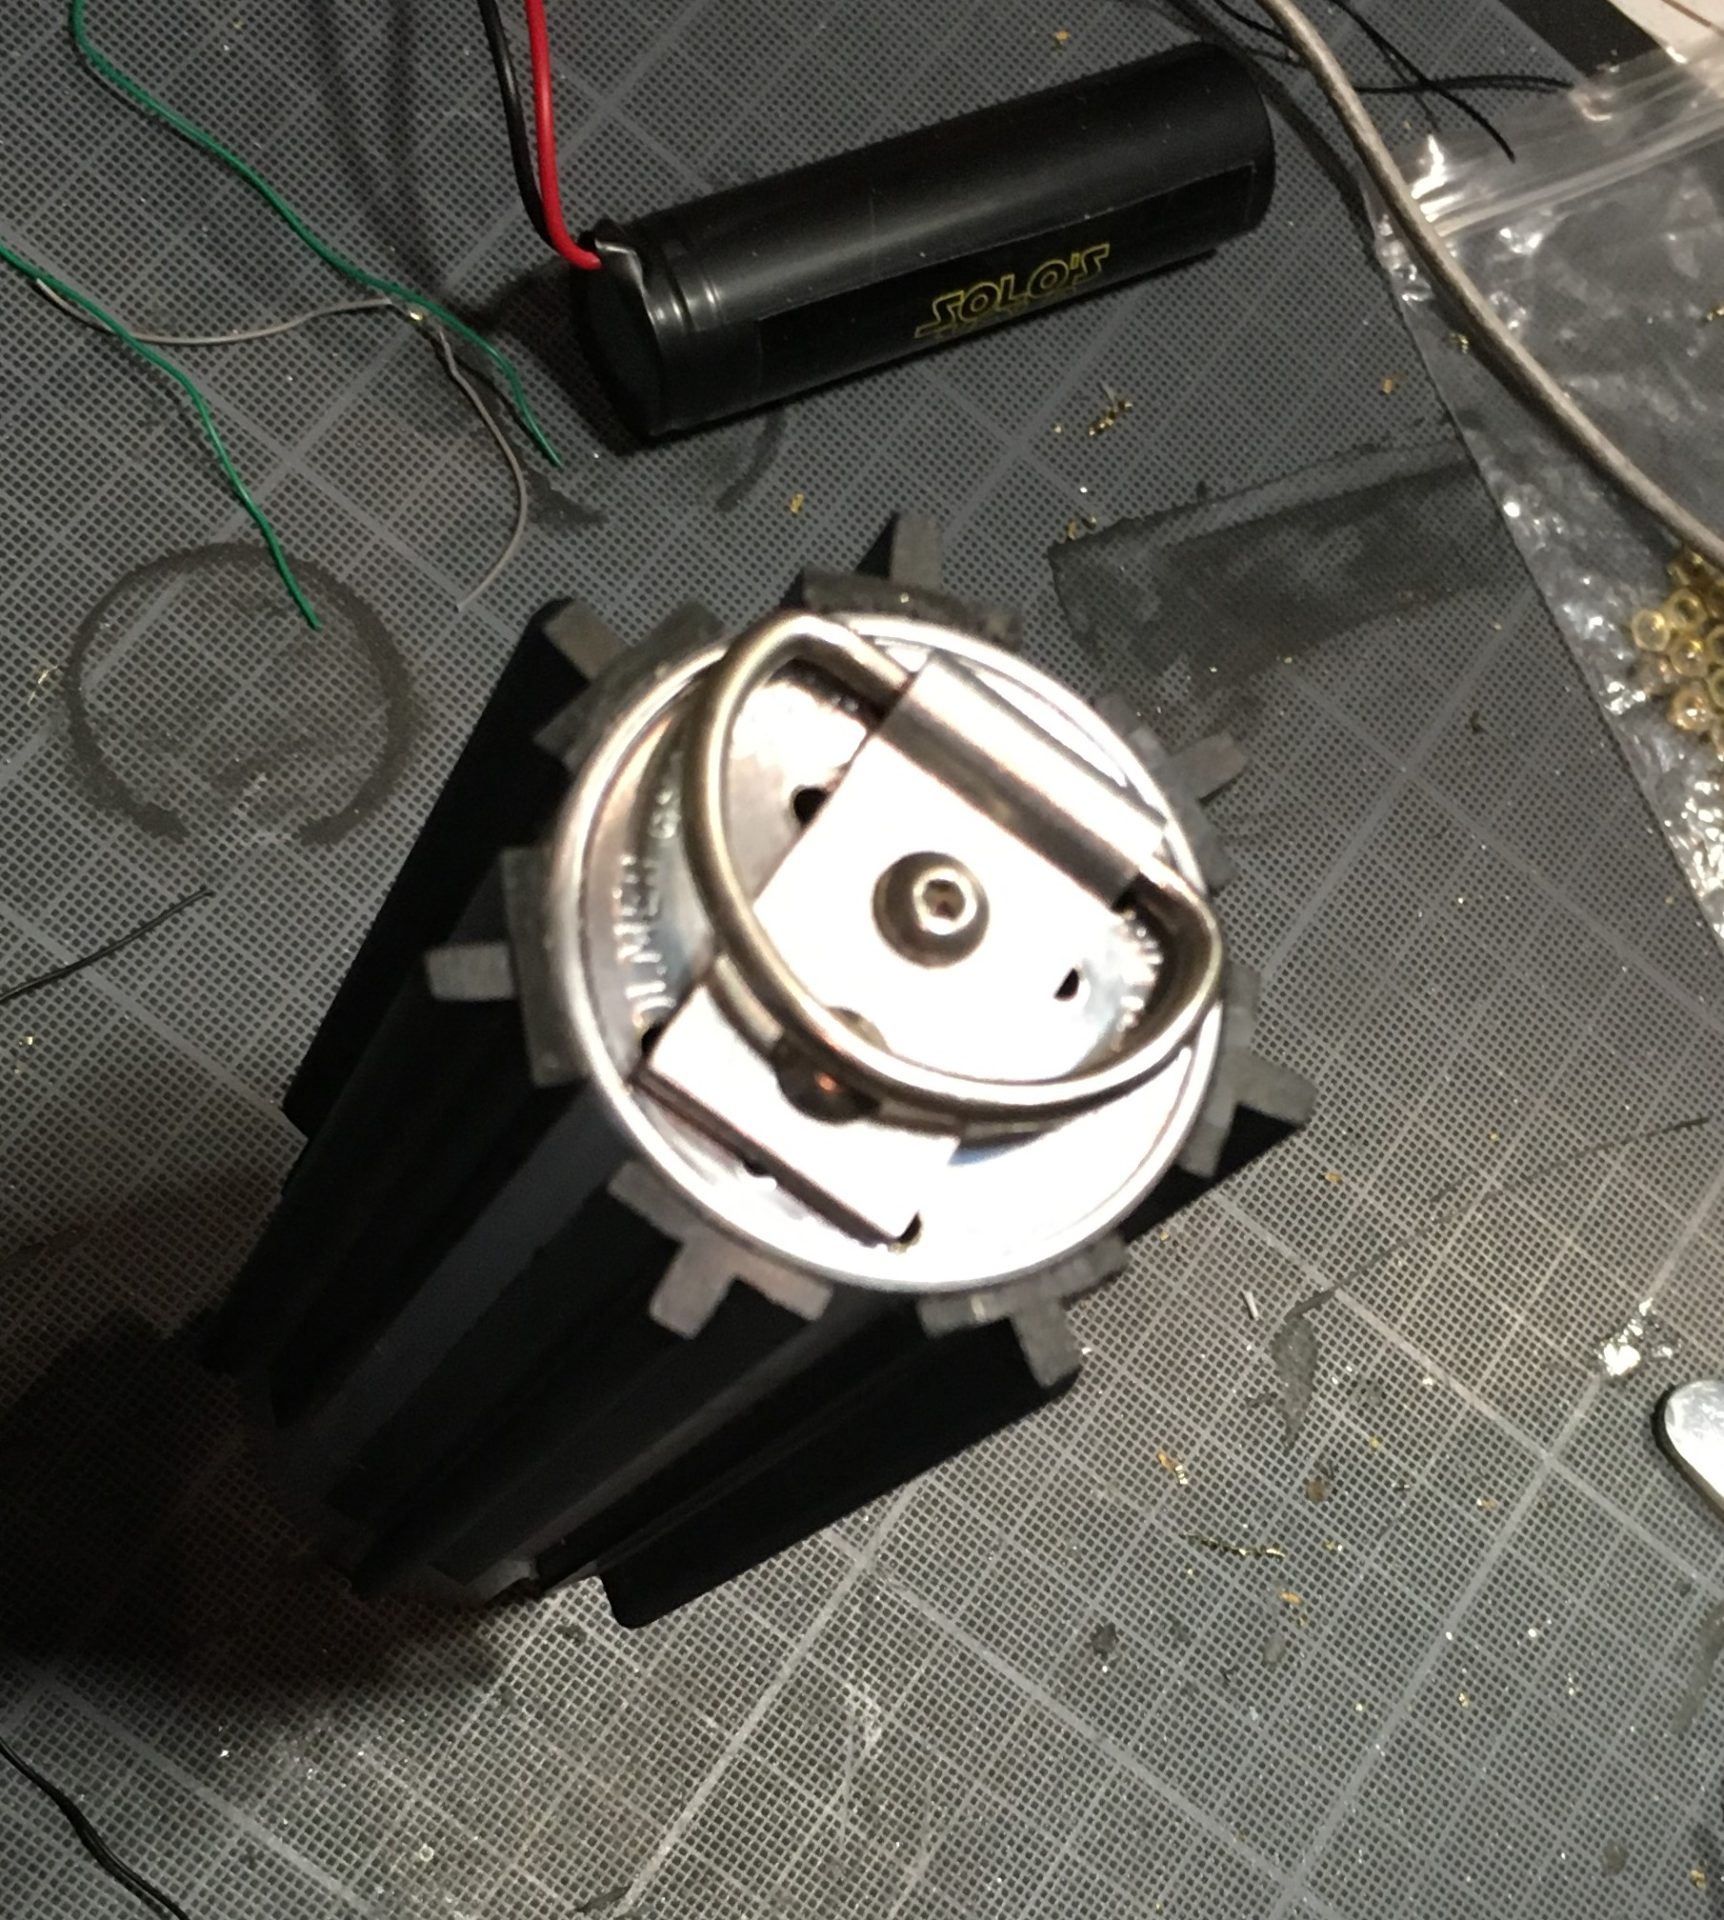
Note 2: The install can be done with any of blade holder available (TCSS, The Graflex Shop, Solo’s Hold). These instructions are done with TCSS blade holder, as it inserts from the top, it’s a bit more complicated. Solo’s Hold or The Graflex Shop blade holders insert from the bottom, making the install much easier!
Note 3: About the Kill Key. It is recommended to sand a bit the side of the kill key “on/off” slot, in order to make them more round and to turn better in the recharge port. (as a reminder, this slot allow to start / stop the saber without removing the kill key).

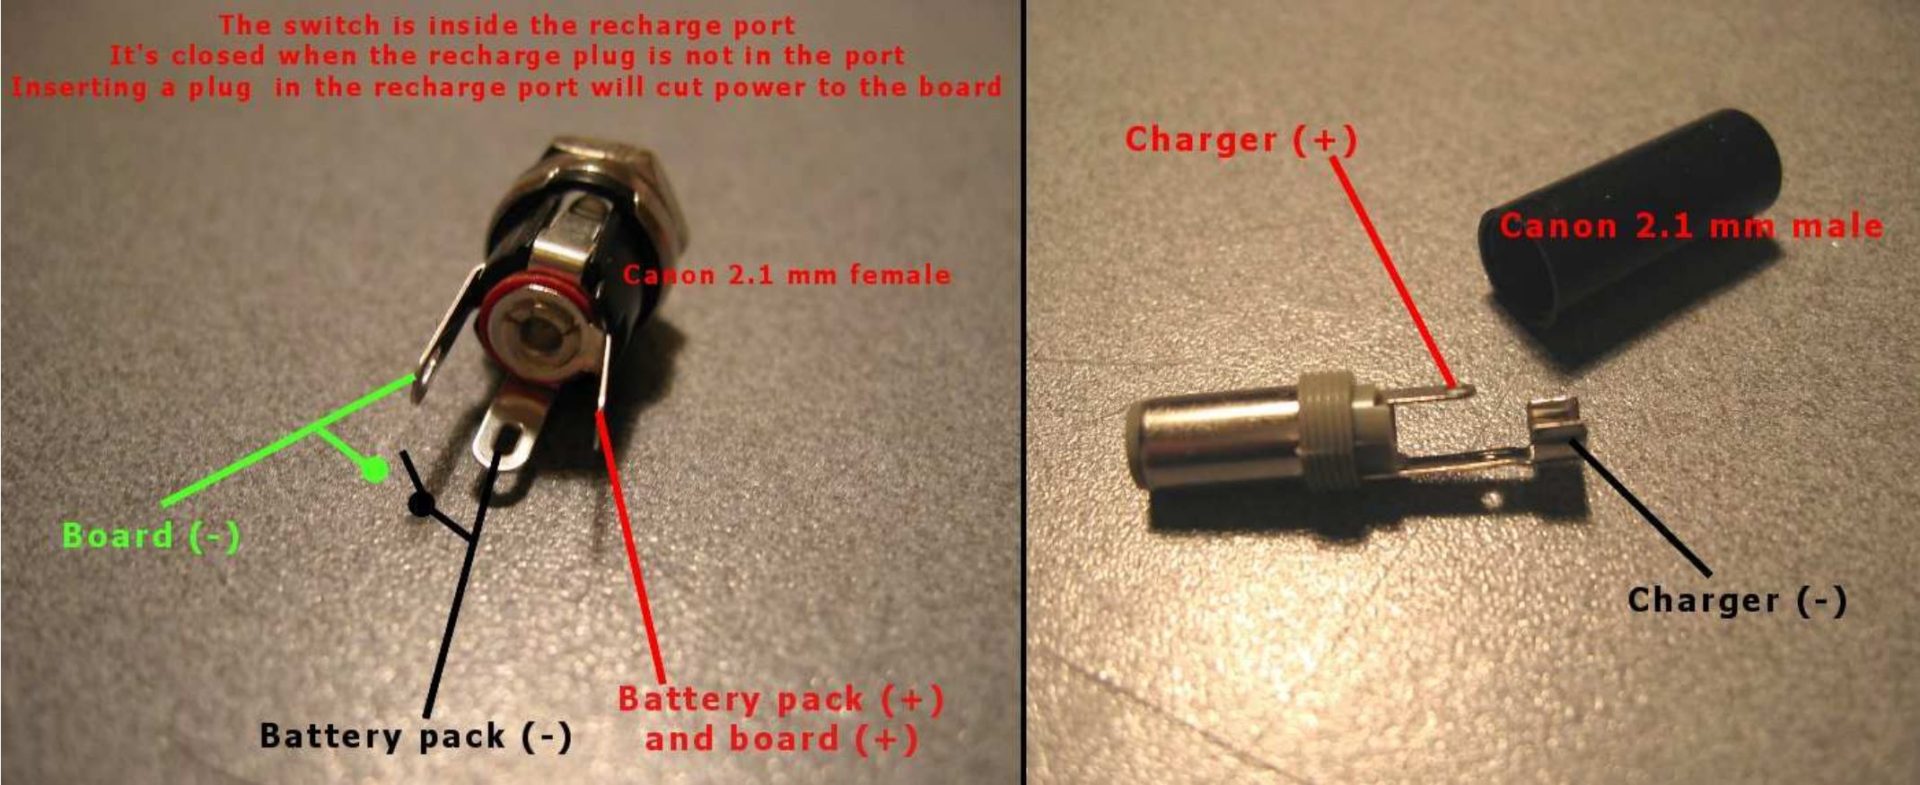
Note 4: Recharge port wiring reminder:
Note 5: The instructions below are from the old design. Apparence will differ but install steps remain similar.
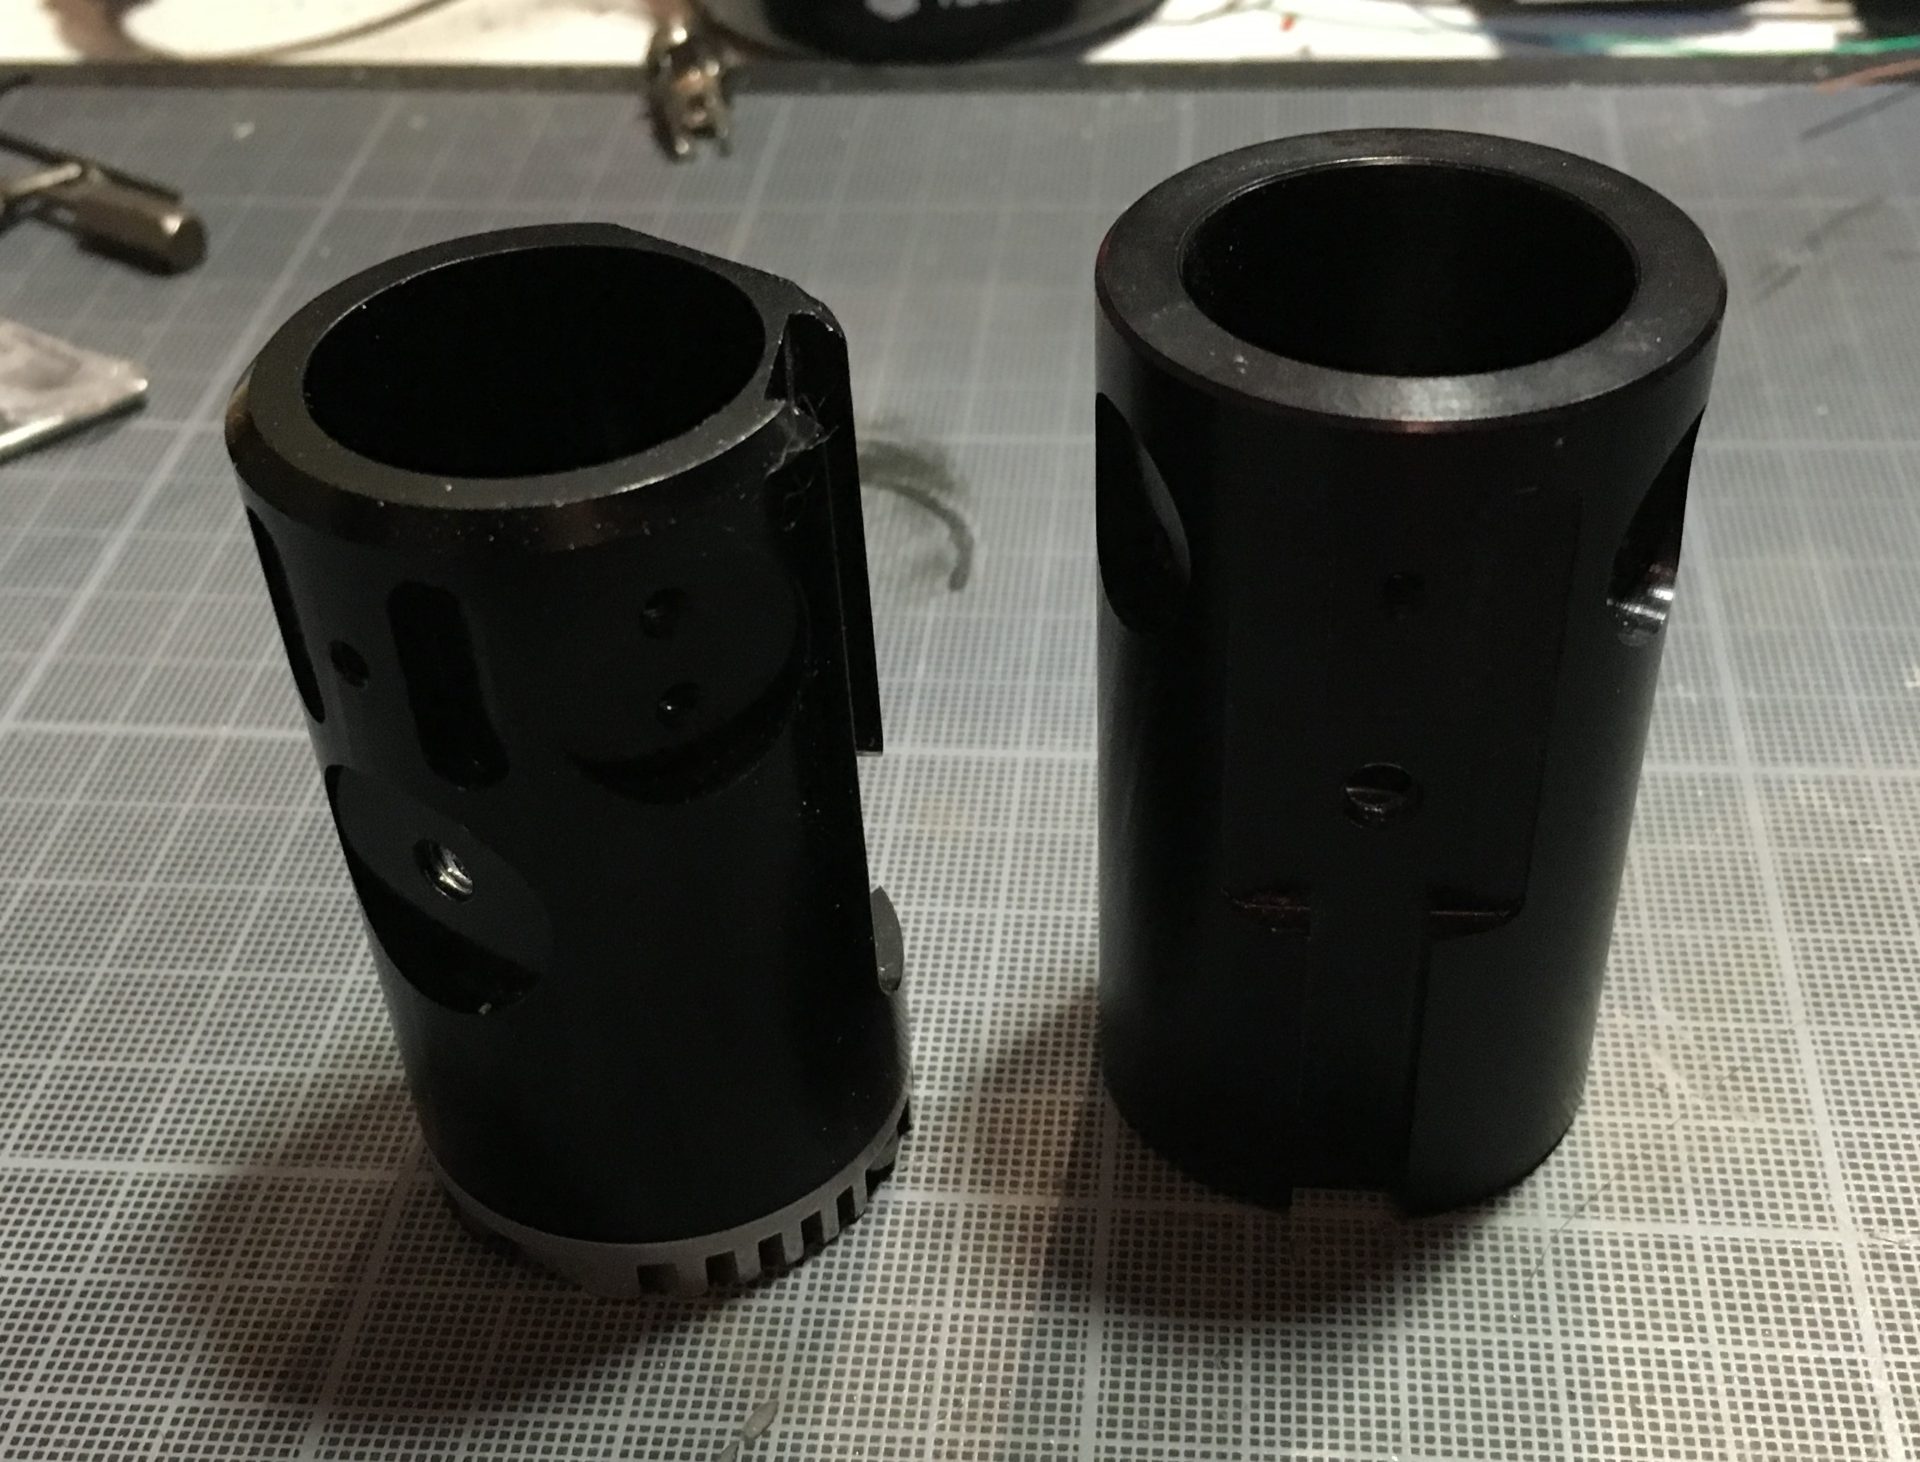
Step 0- About TCSS blade holder. Skip if you use TGS or SH blade holders.
Mod: TCSS blade holder is longer than the others (Solo’s Hold or The Graflex Shop), but such extra length is really not necessary. While this is optional, it is recommended to shorten this blade holder (using a dremel for example). Recommended blade holder length is 63,23mm to work best with my chassis (this is the length of TGS and SH blade holders).
You’ll then need to drill the holes further and tap them again with a 4-40 tap
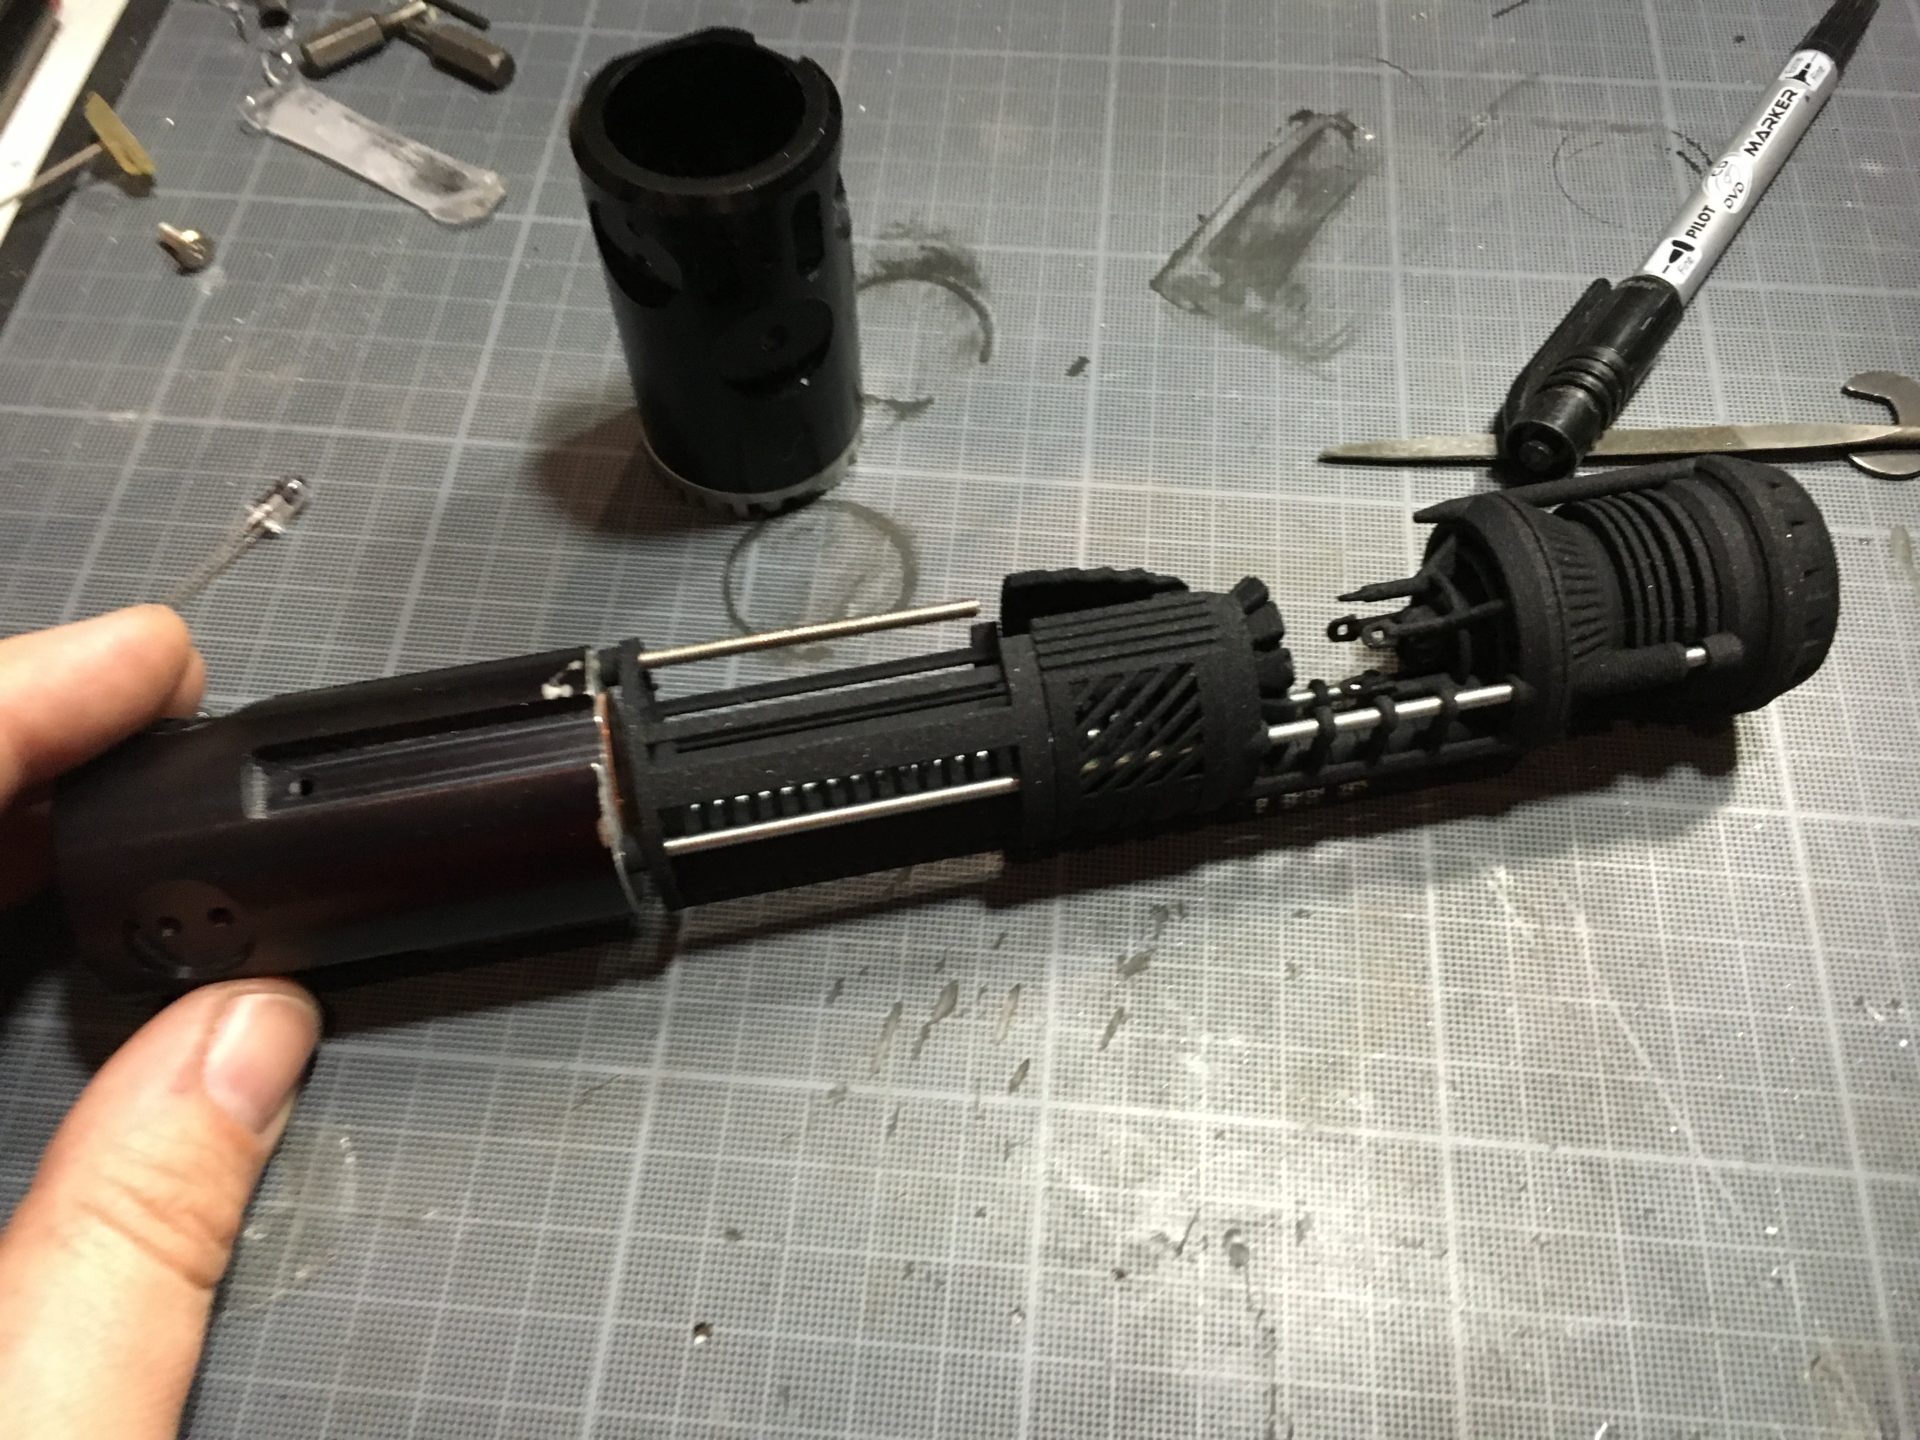
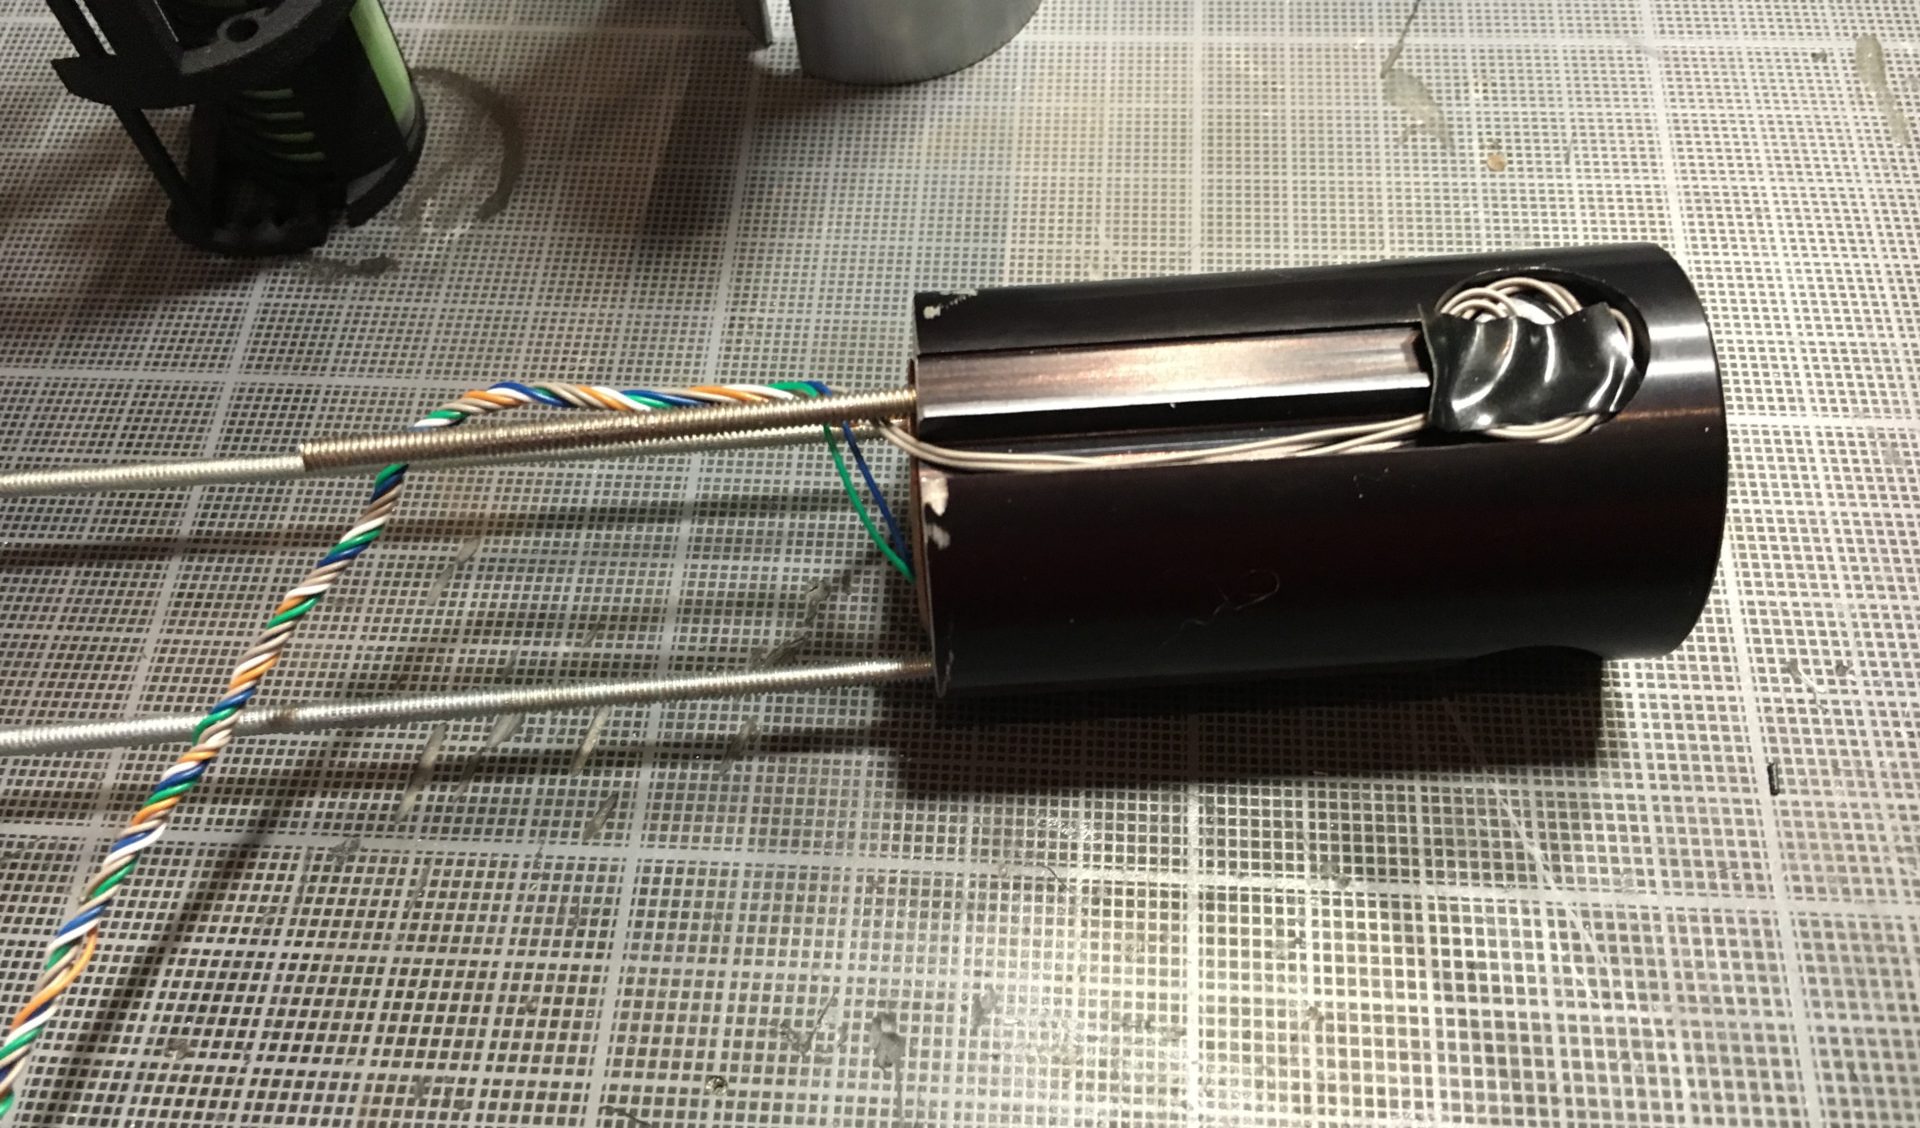
Step 1- Prepare you threaded rods. Cut the rods to the proper length according to the blade holder you use. There is a stopper at the end of the chassis, so you will see what length to cut to make it fit properly with the blade holder
Notes: Using a 3rd rod isn’t necessary, but you can still add one to secure even more the chassis (only with SH and TGS blade holder).
Step 2- Wire and install your main led. Also add the 2 wires for the main switch (and install your Aux slider switch if any).

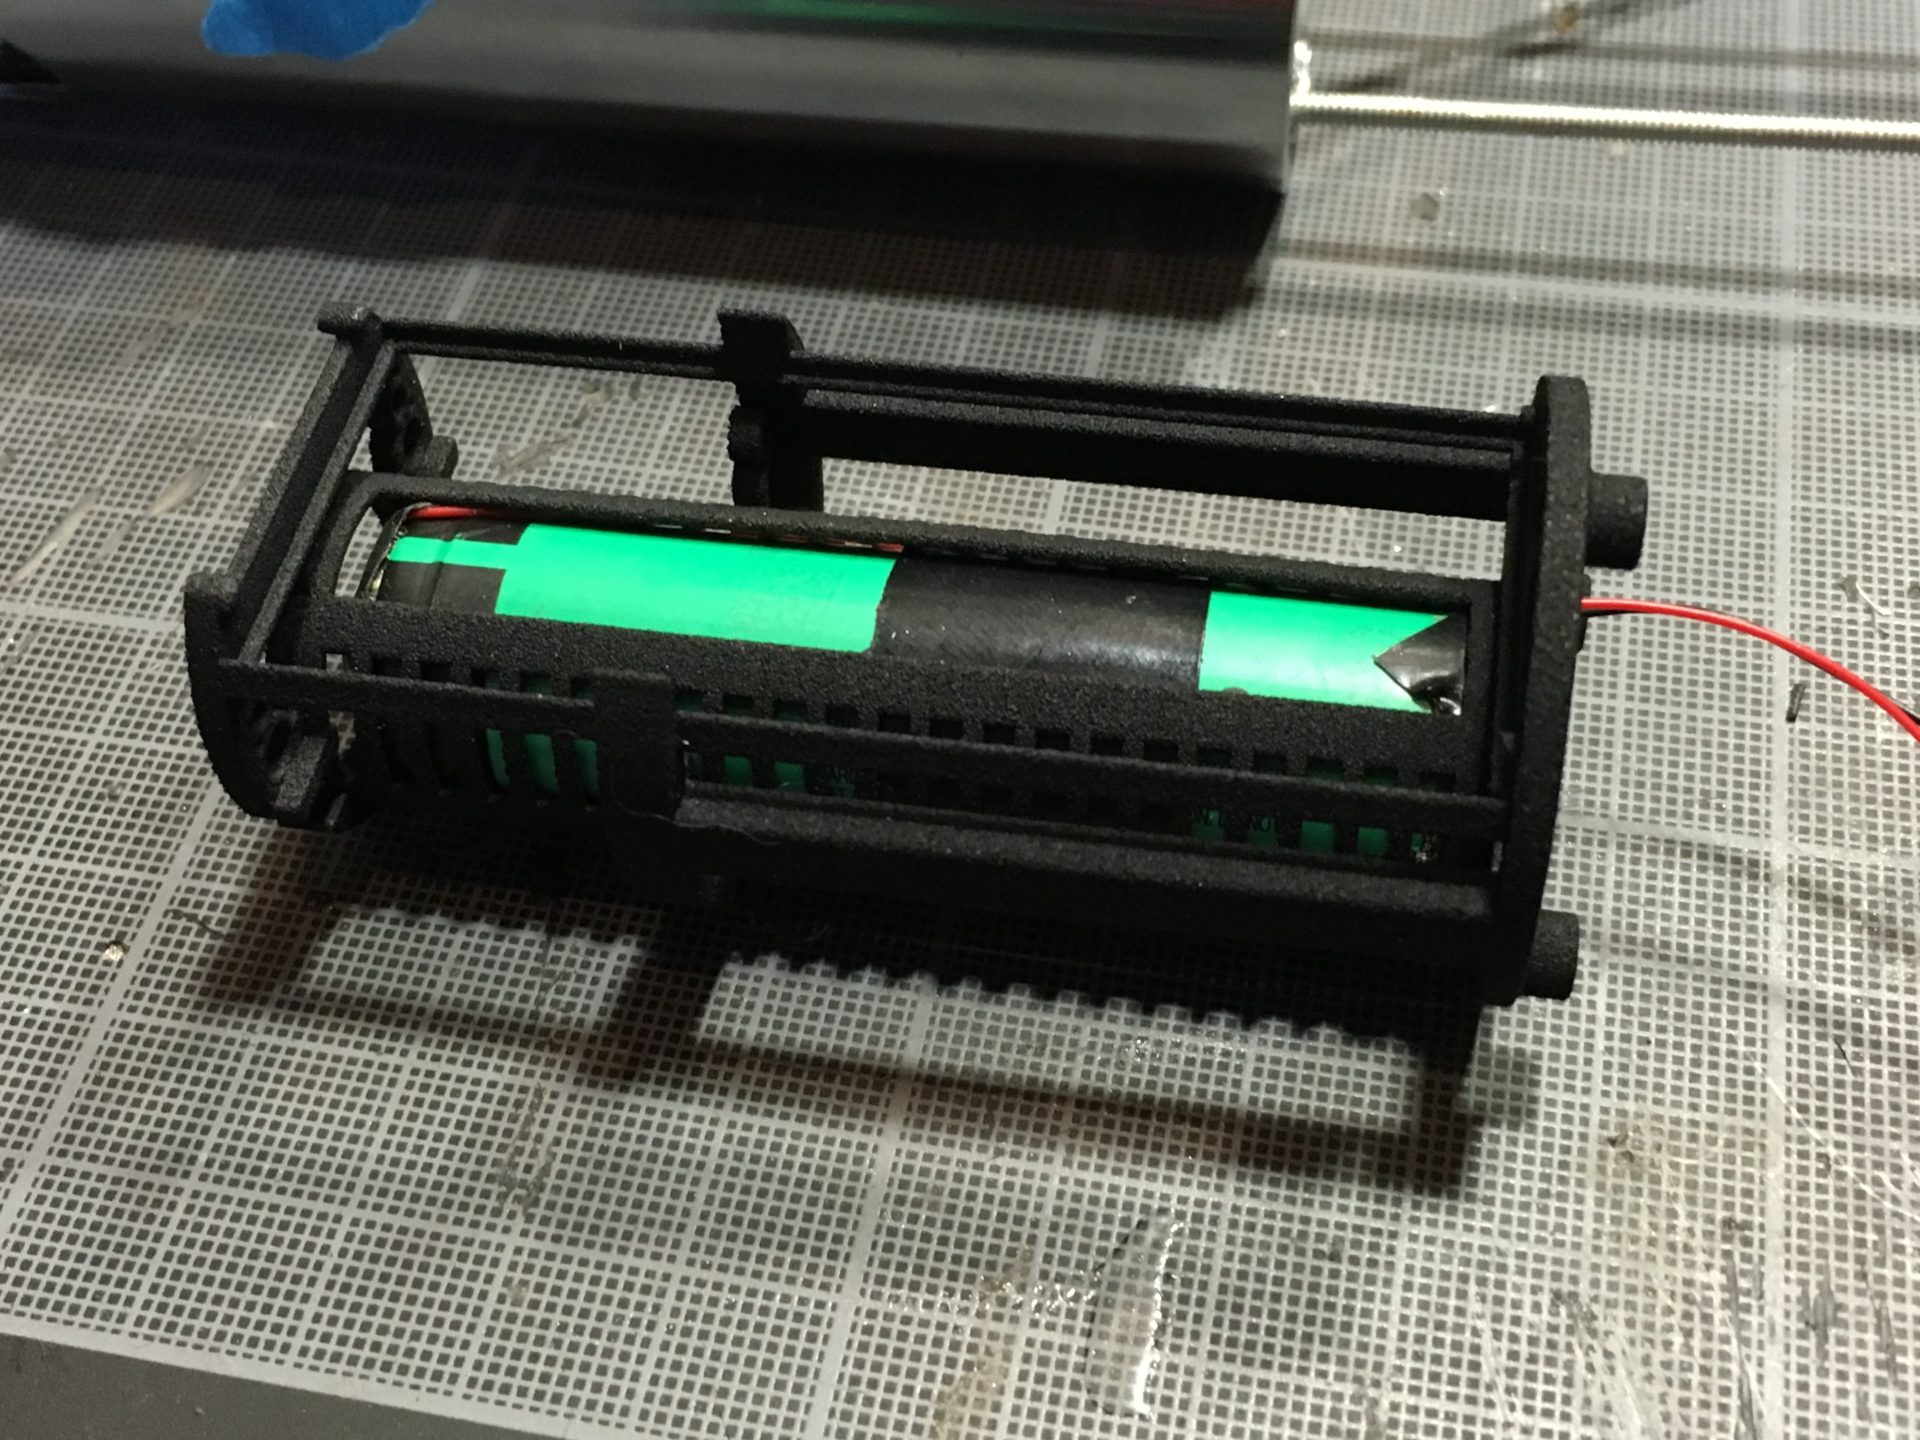
Step 3- Install your battery. It is recommended to slightly glue it to secure it to the chassis.
Step 4- Add the soundboard. It is also recommended to slightly glue the soundboard (a tiny drop of super glue is enough and will still allow the board to be removed).
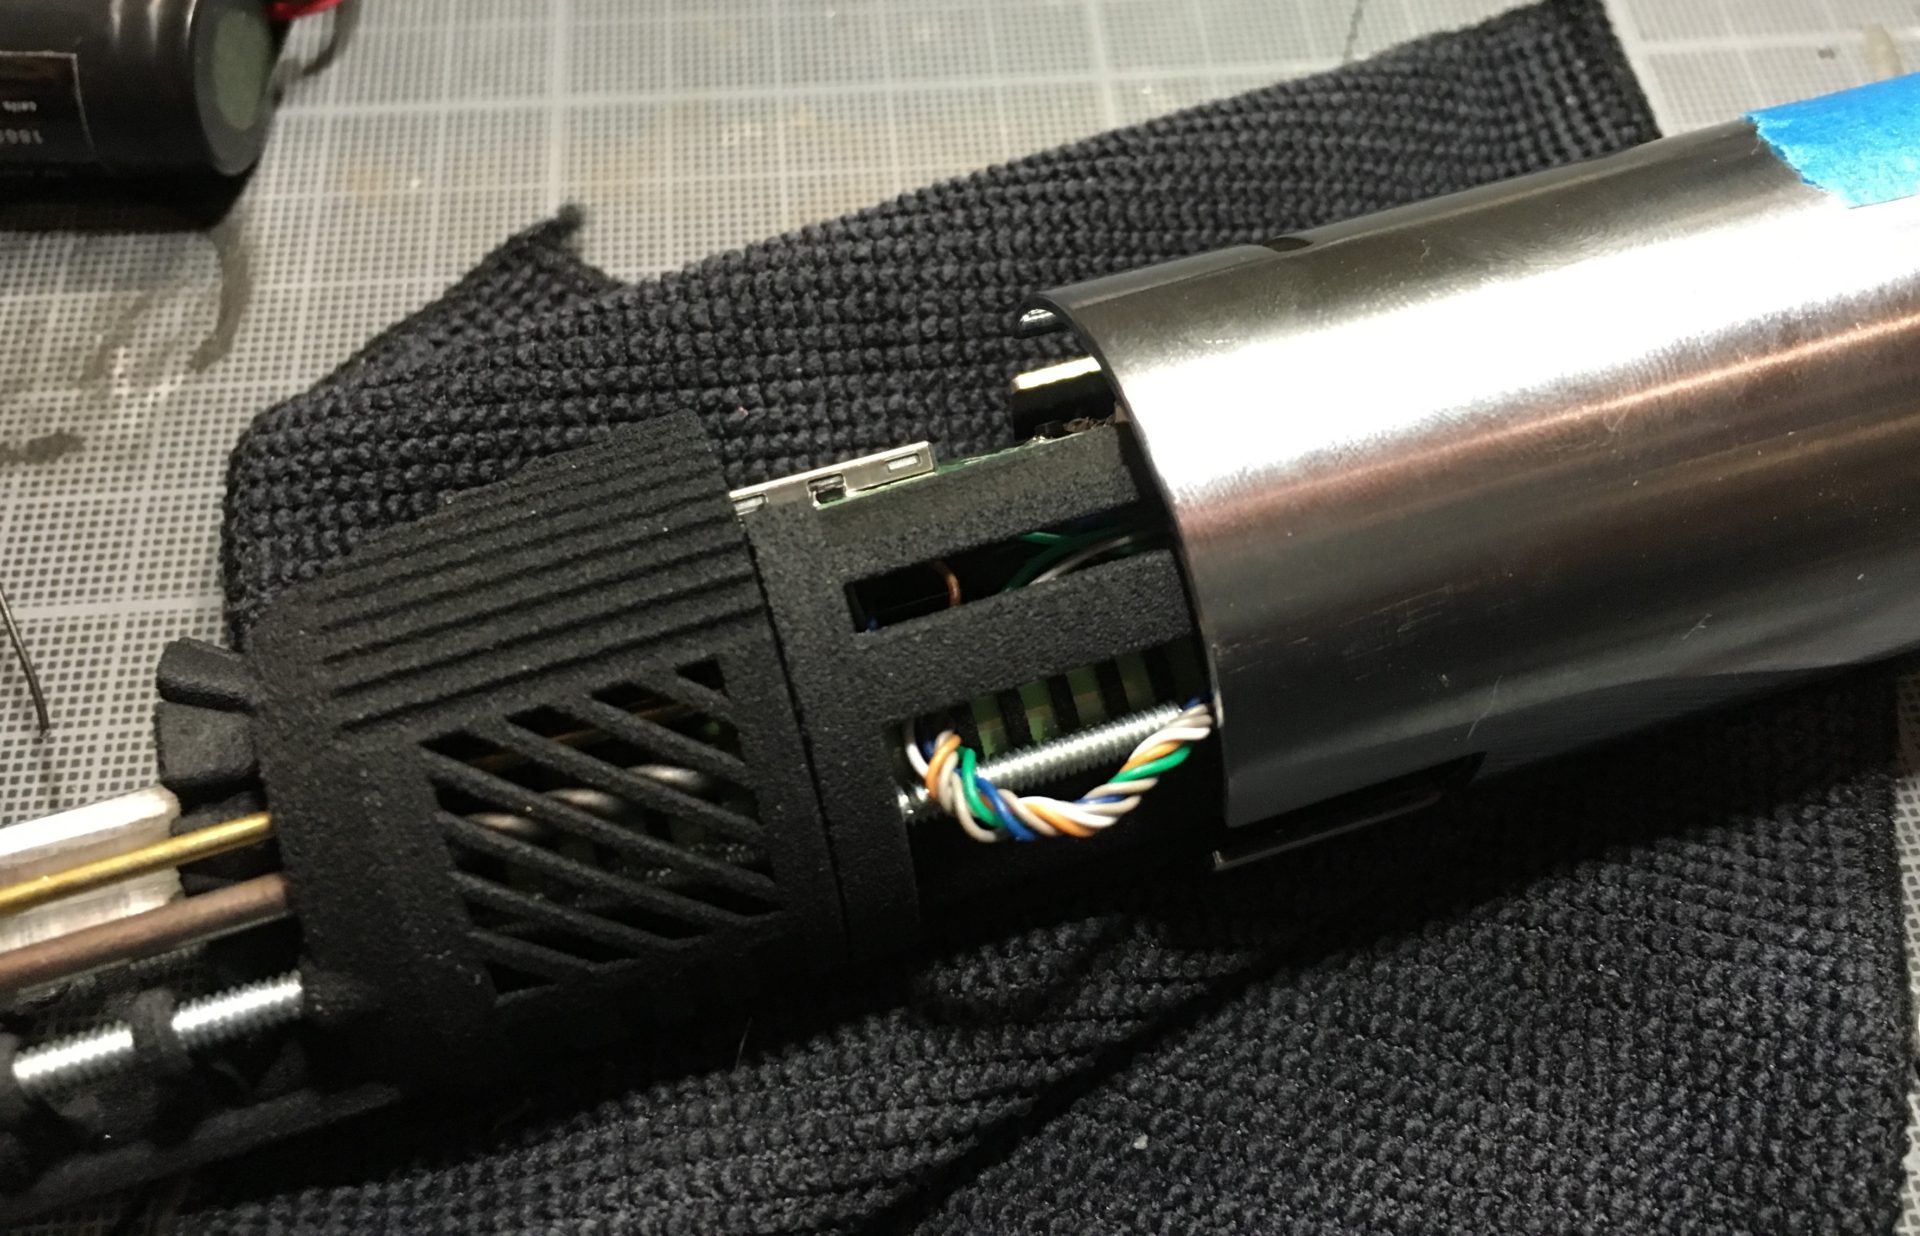
Step 5- Wire and install your 28mm speaker (bass or premium).
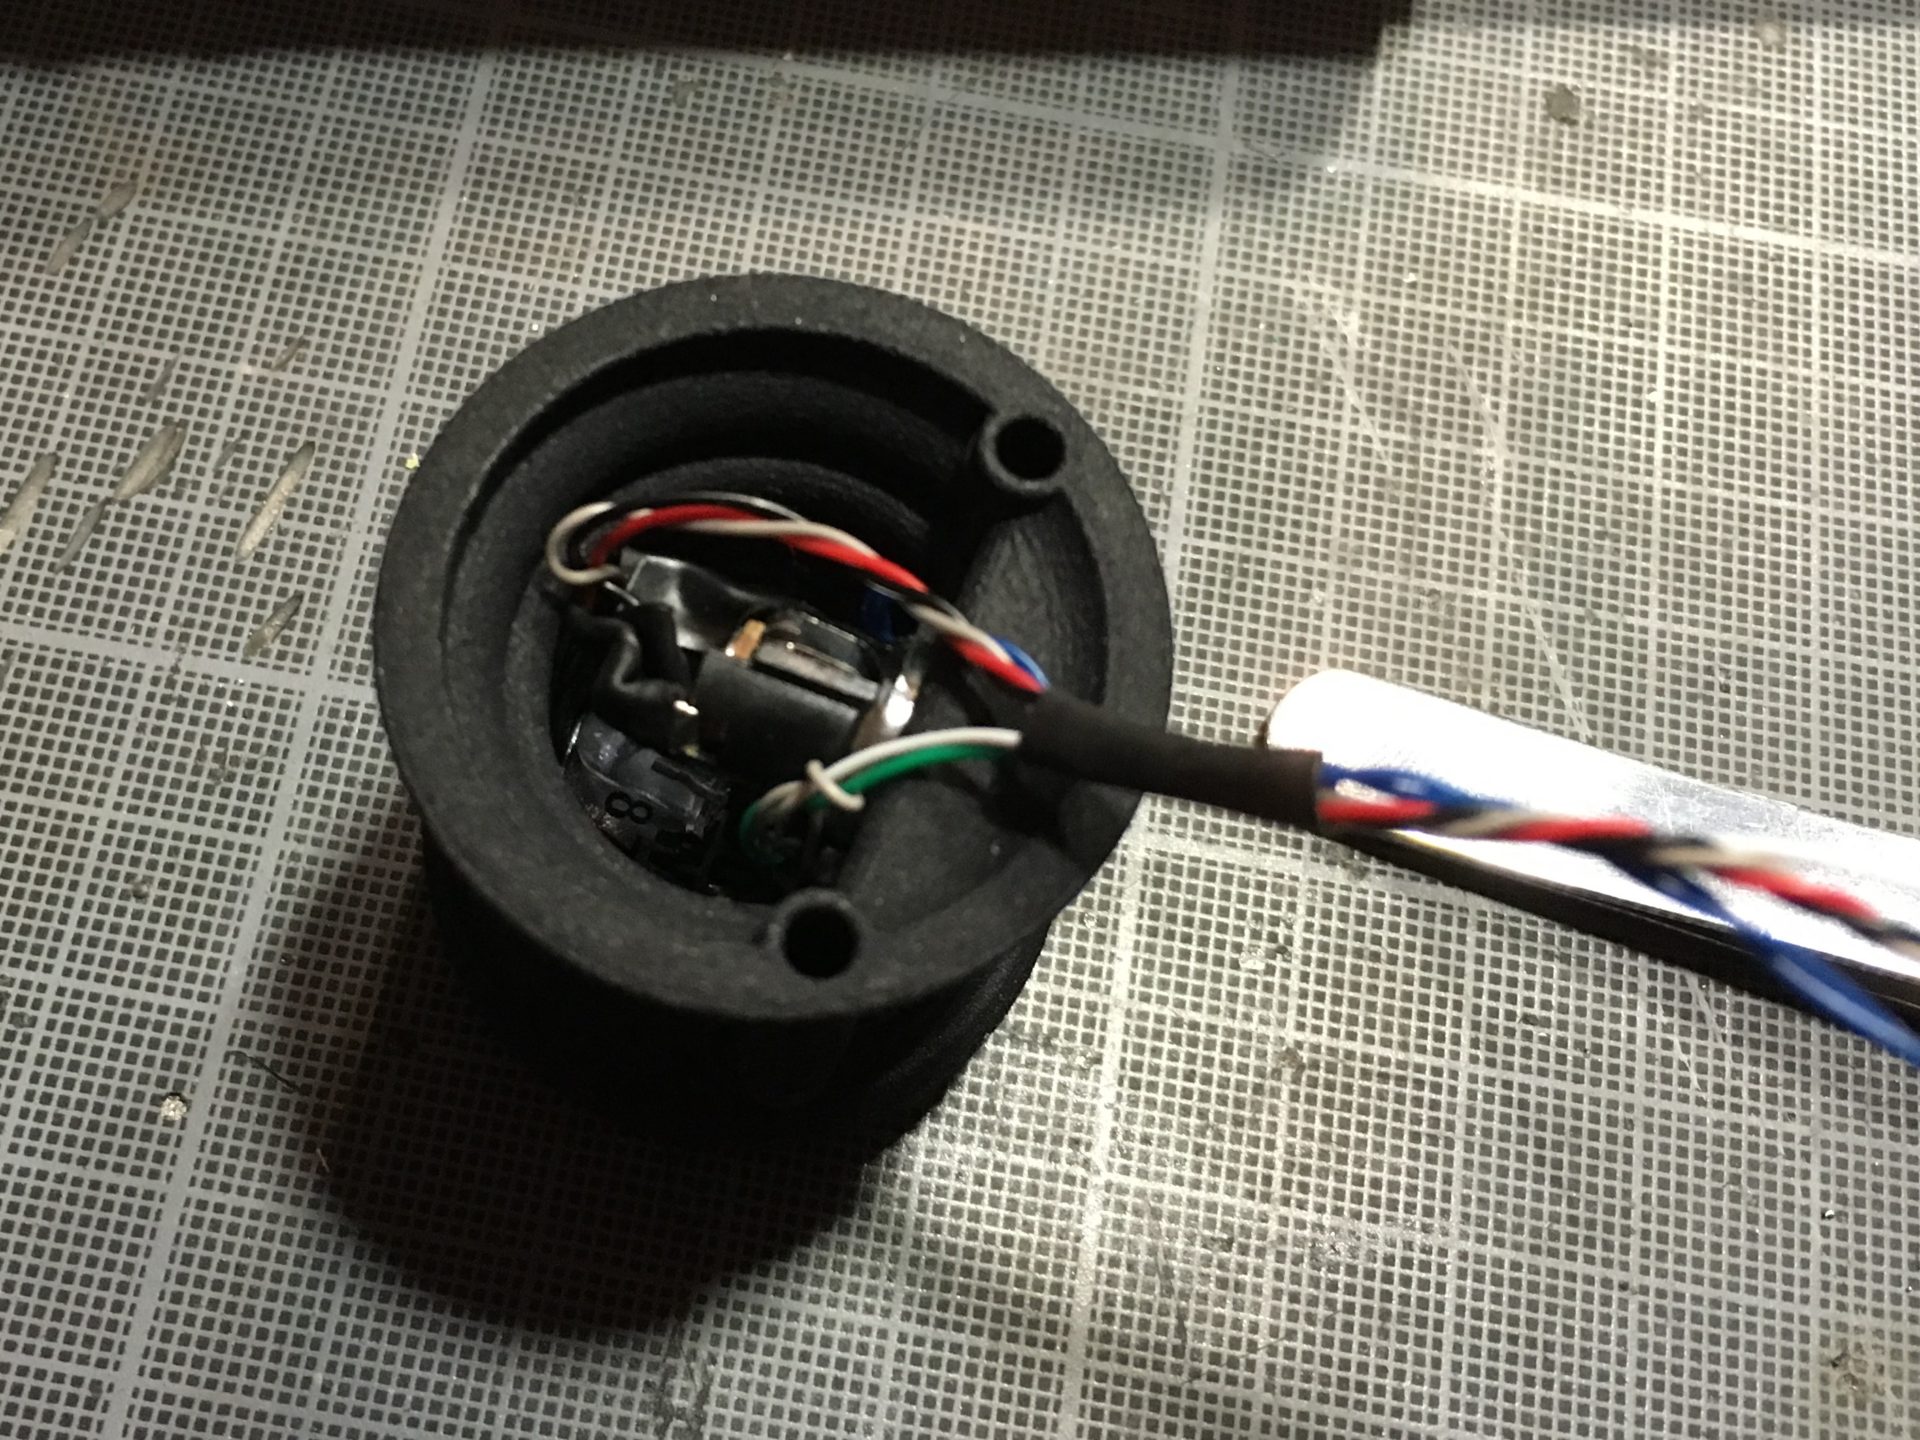
Step 6- Wire the recharge port (and optional accent leds). Then insert them into the speaker module.
Tips: Cut the lead on the recharge port to make it shorter.

Step 7- Prepare your Crystal Chamber 5mm led, wire it and make the bunch of wires into something well organized to go through the dedicated channel/tube in the Crystal Chamber module.
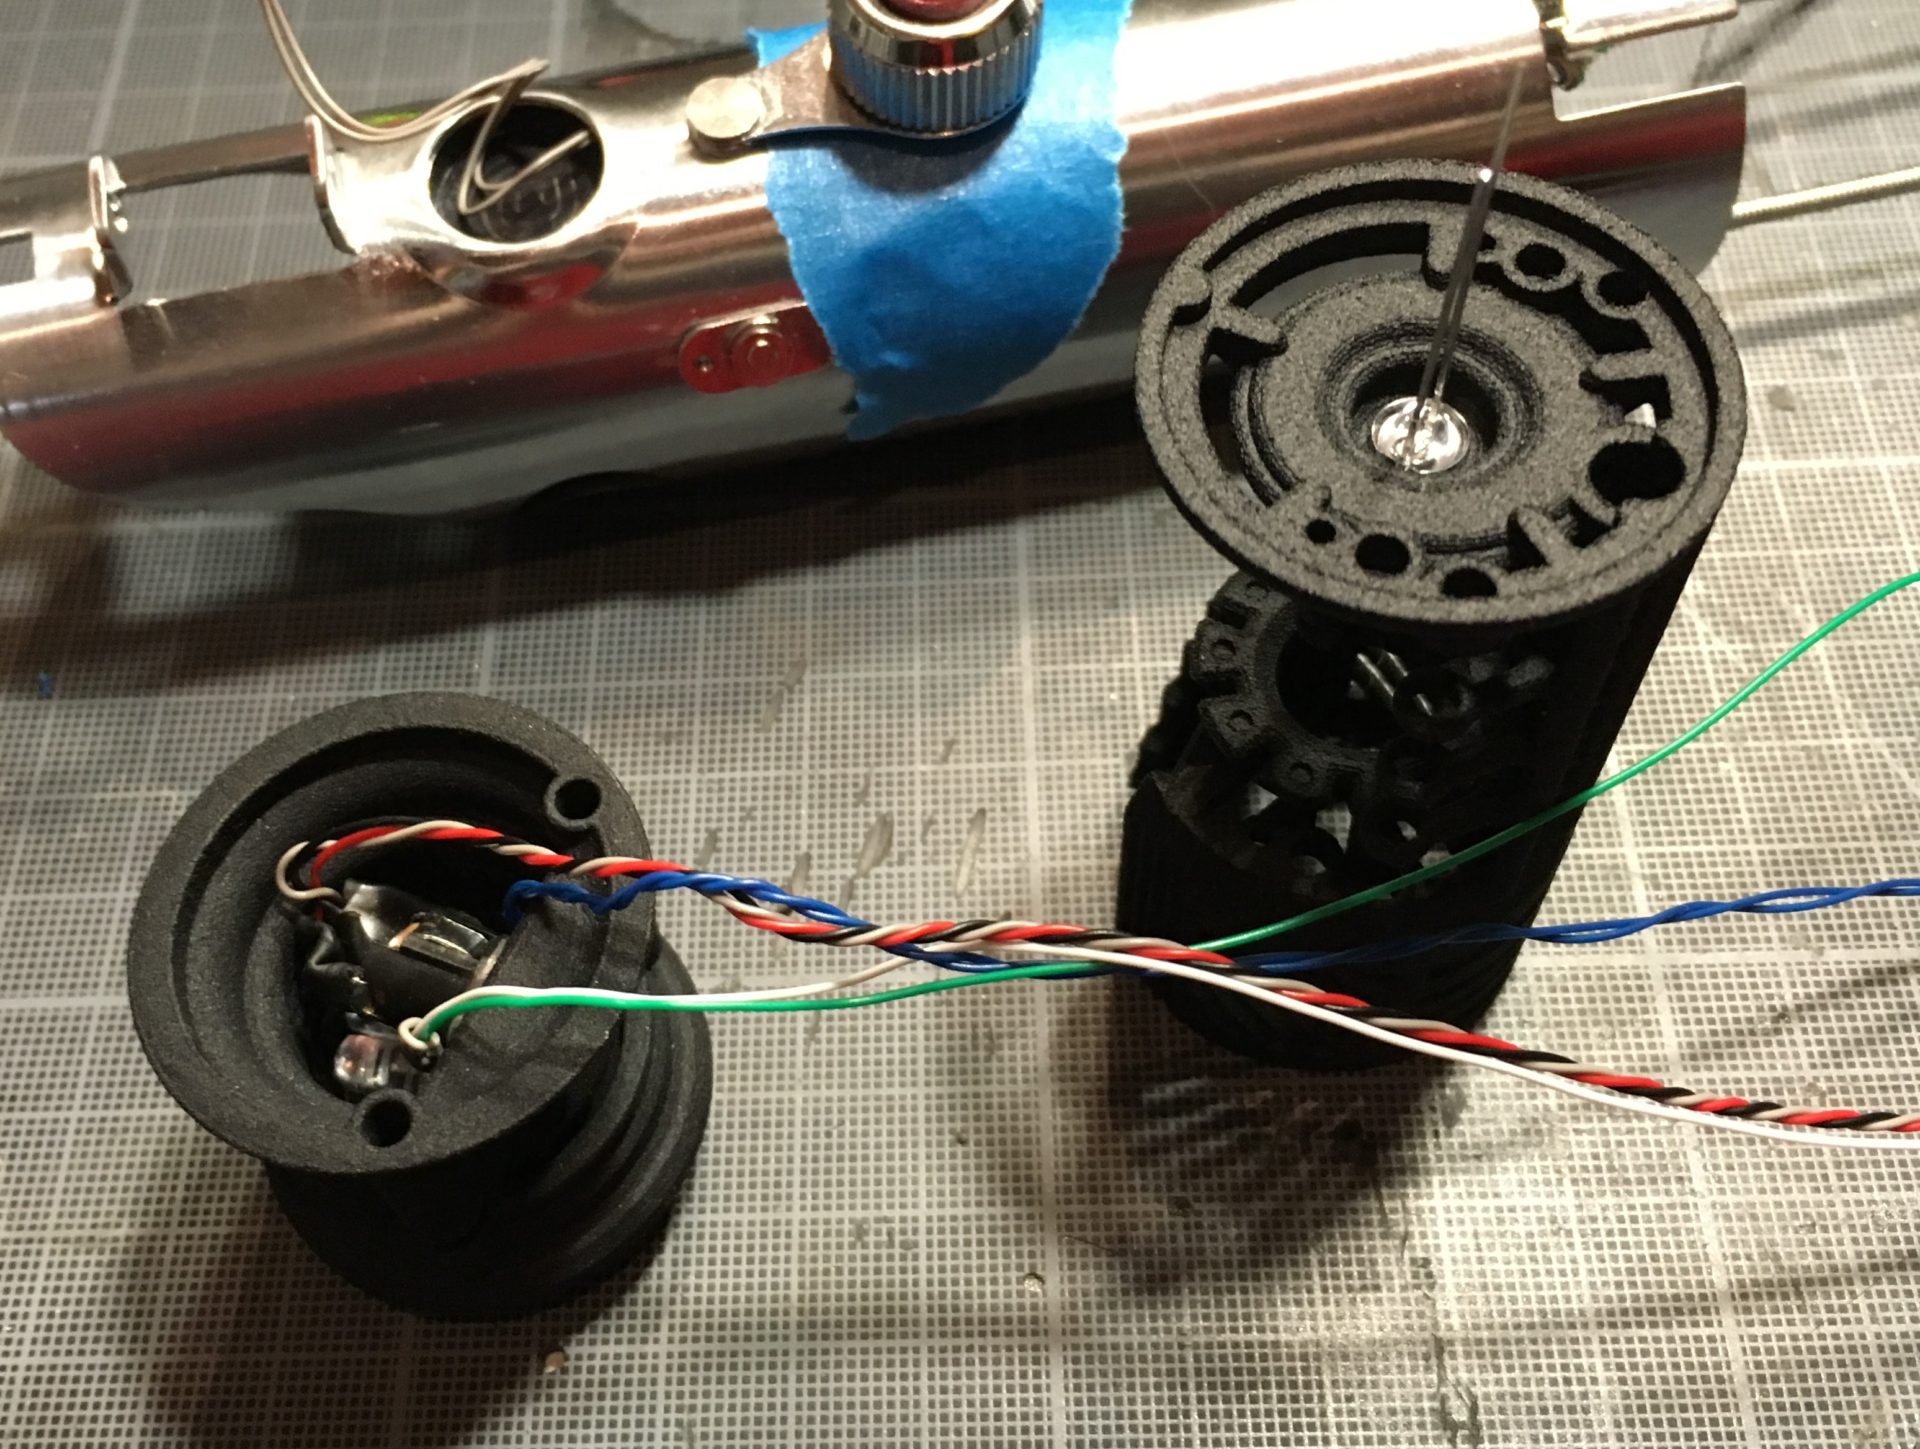

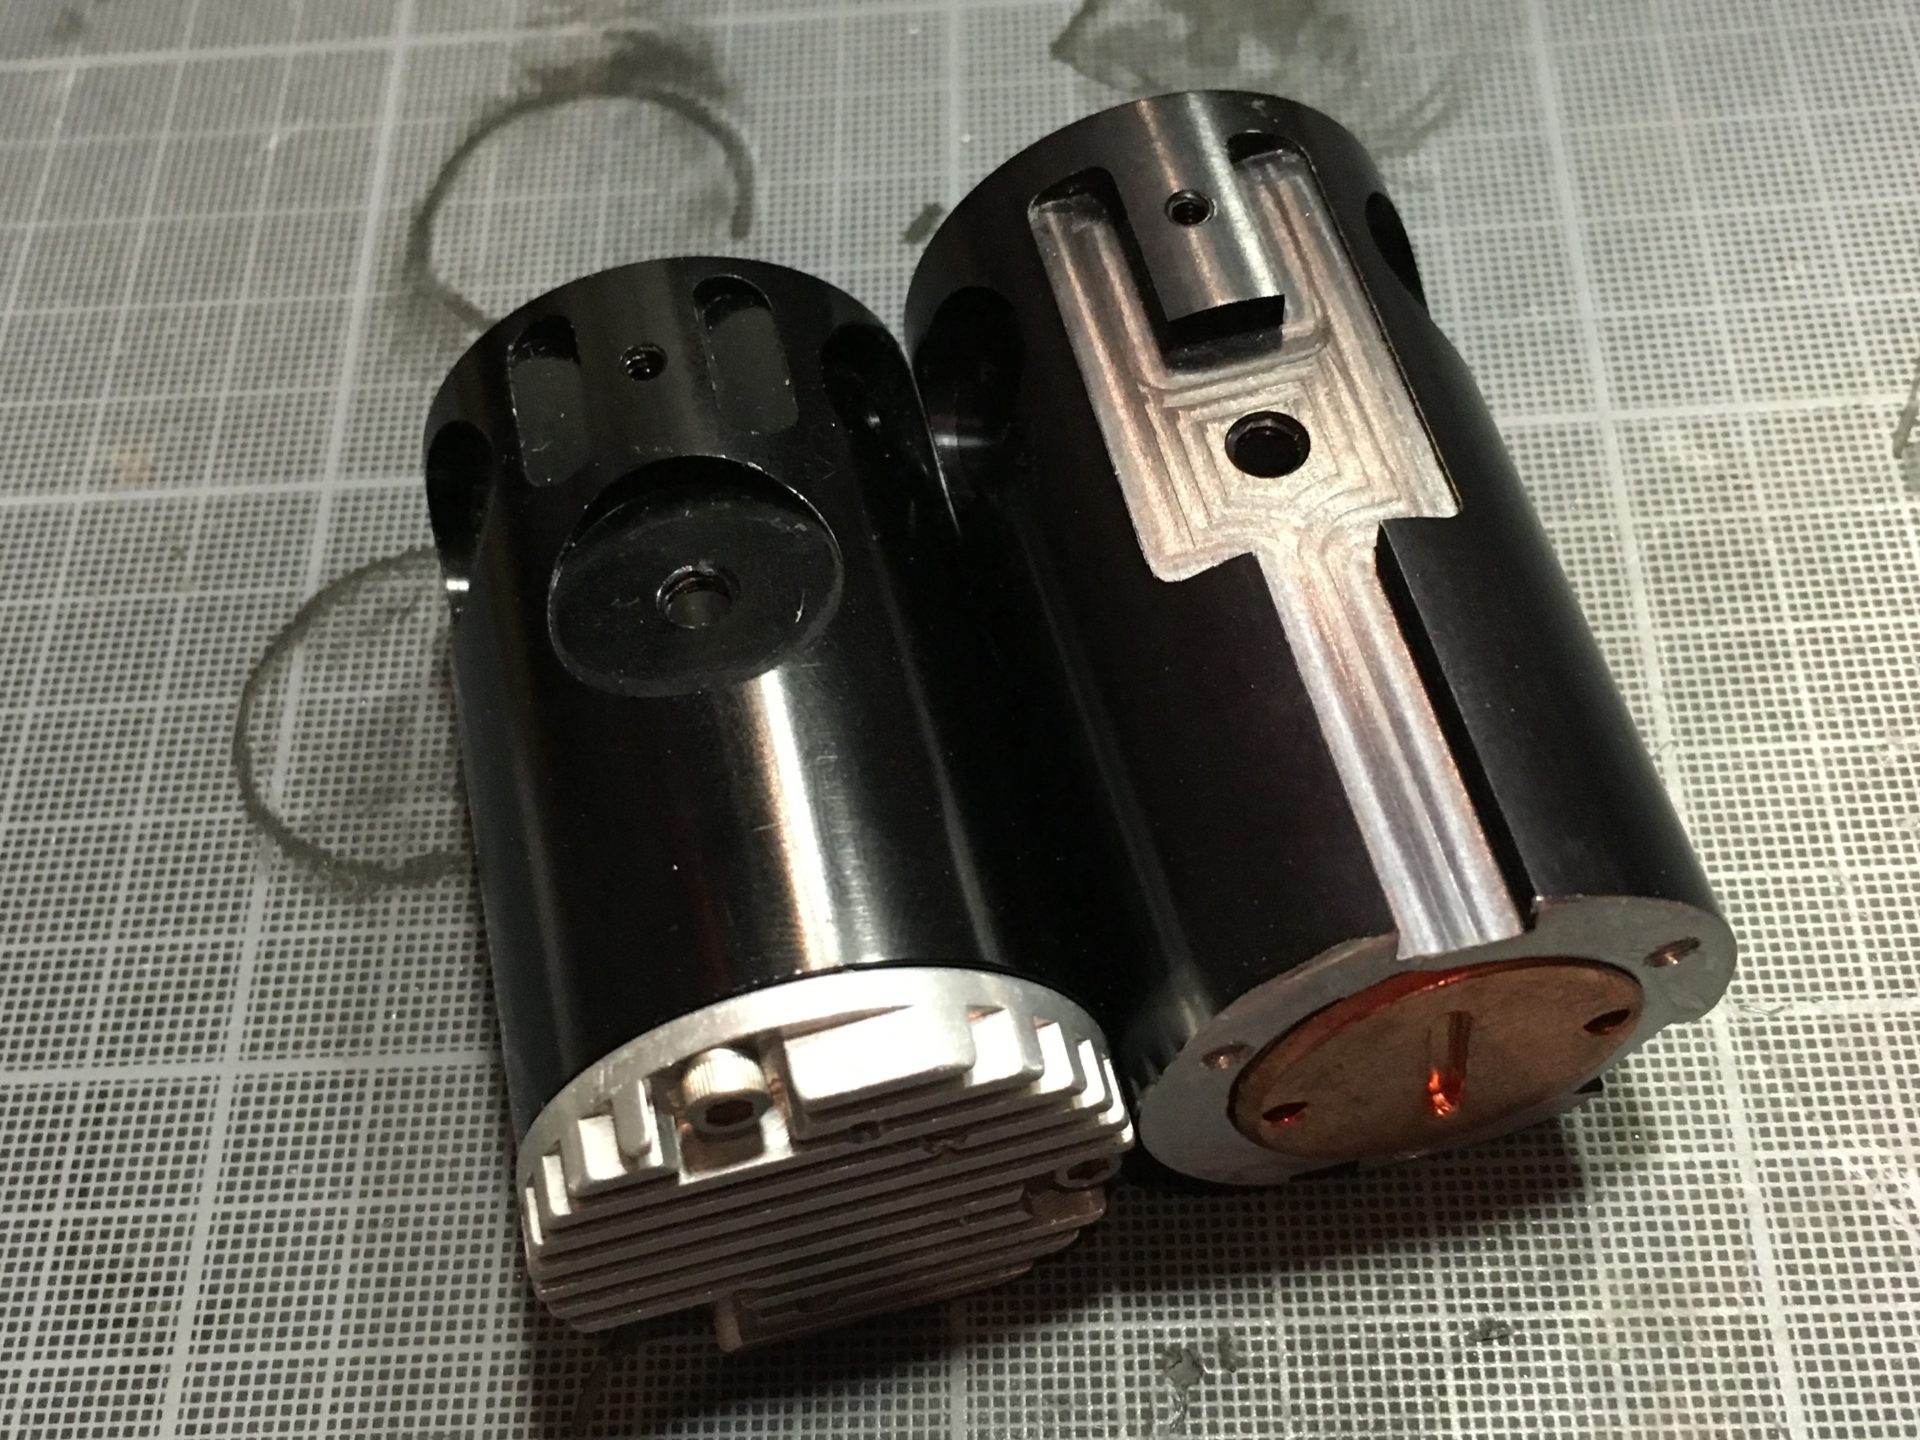
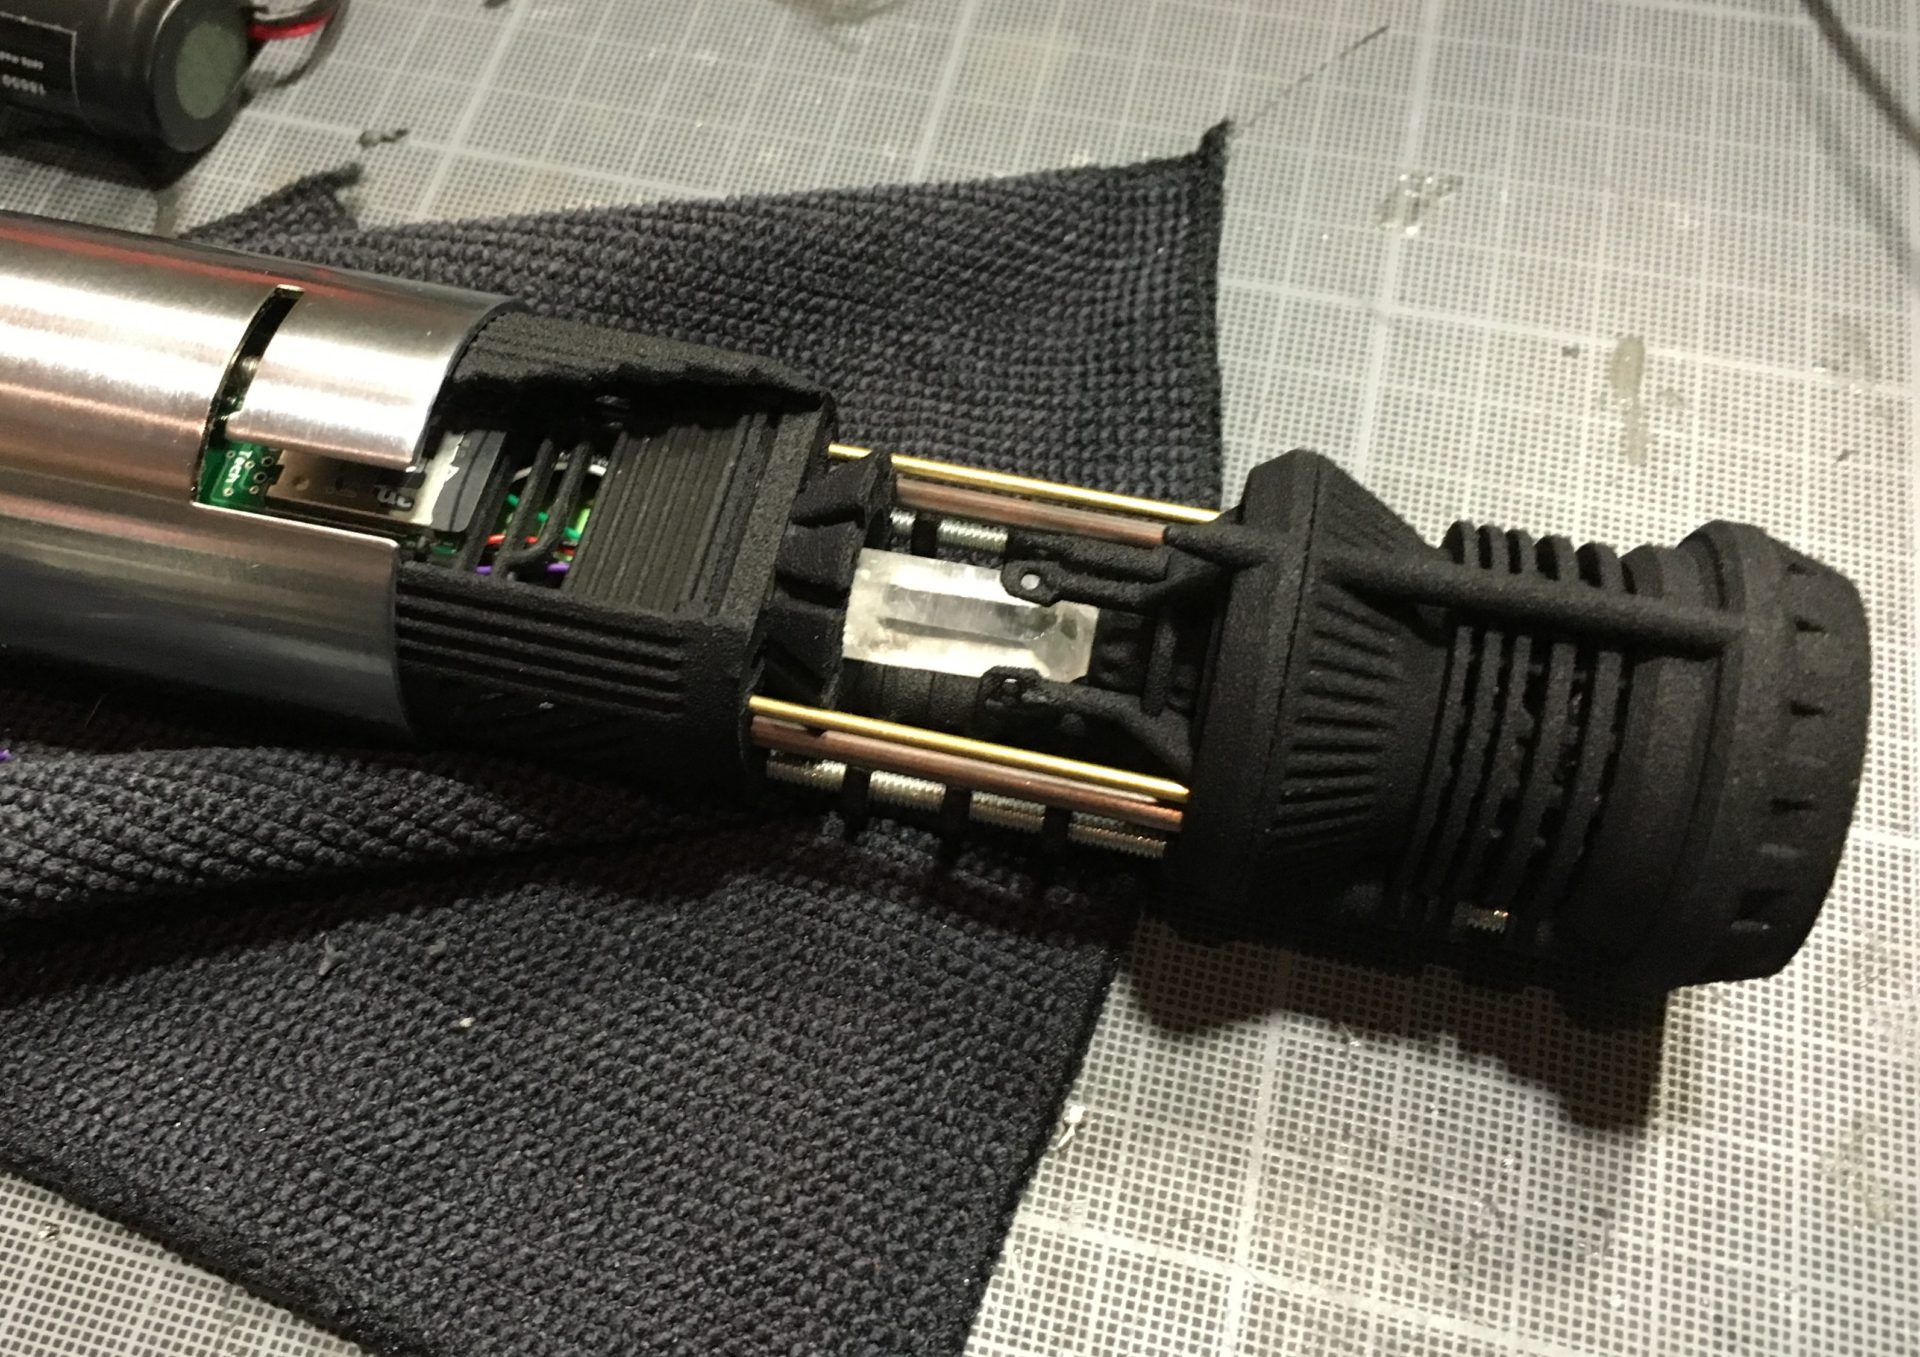
Step 8- Assemble both Speaker and Crystal Chamber modules.

Install the 5mm accent led for the Crystal while doing so.

Tips: You can slightly glue both module together, using the threaded rods as help (not too much, just to keep them together while continuing on the install). Better test your accent led, recharge port and speaker before doing that to make sure everything works properly.
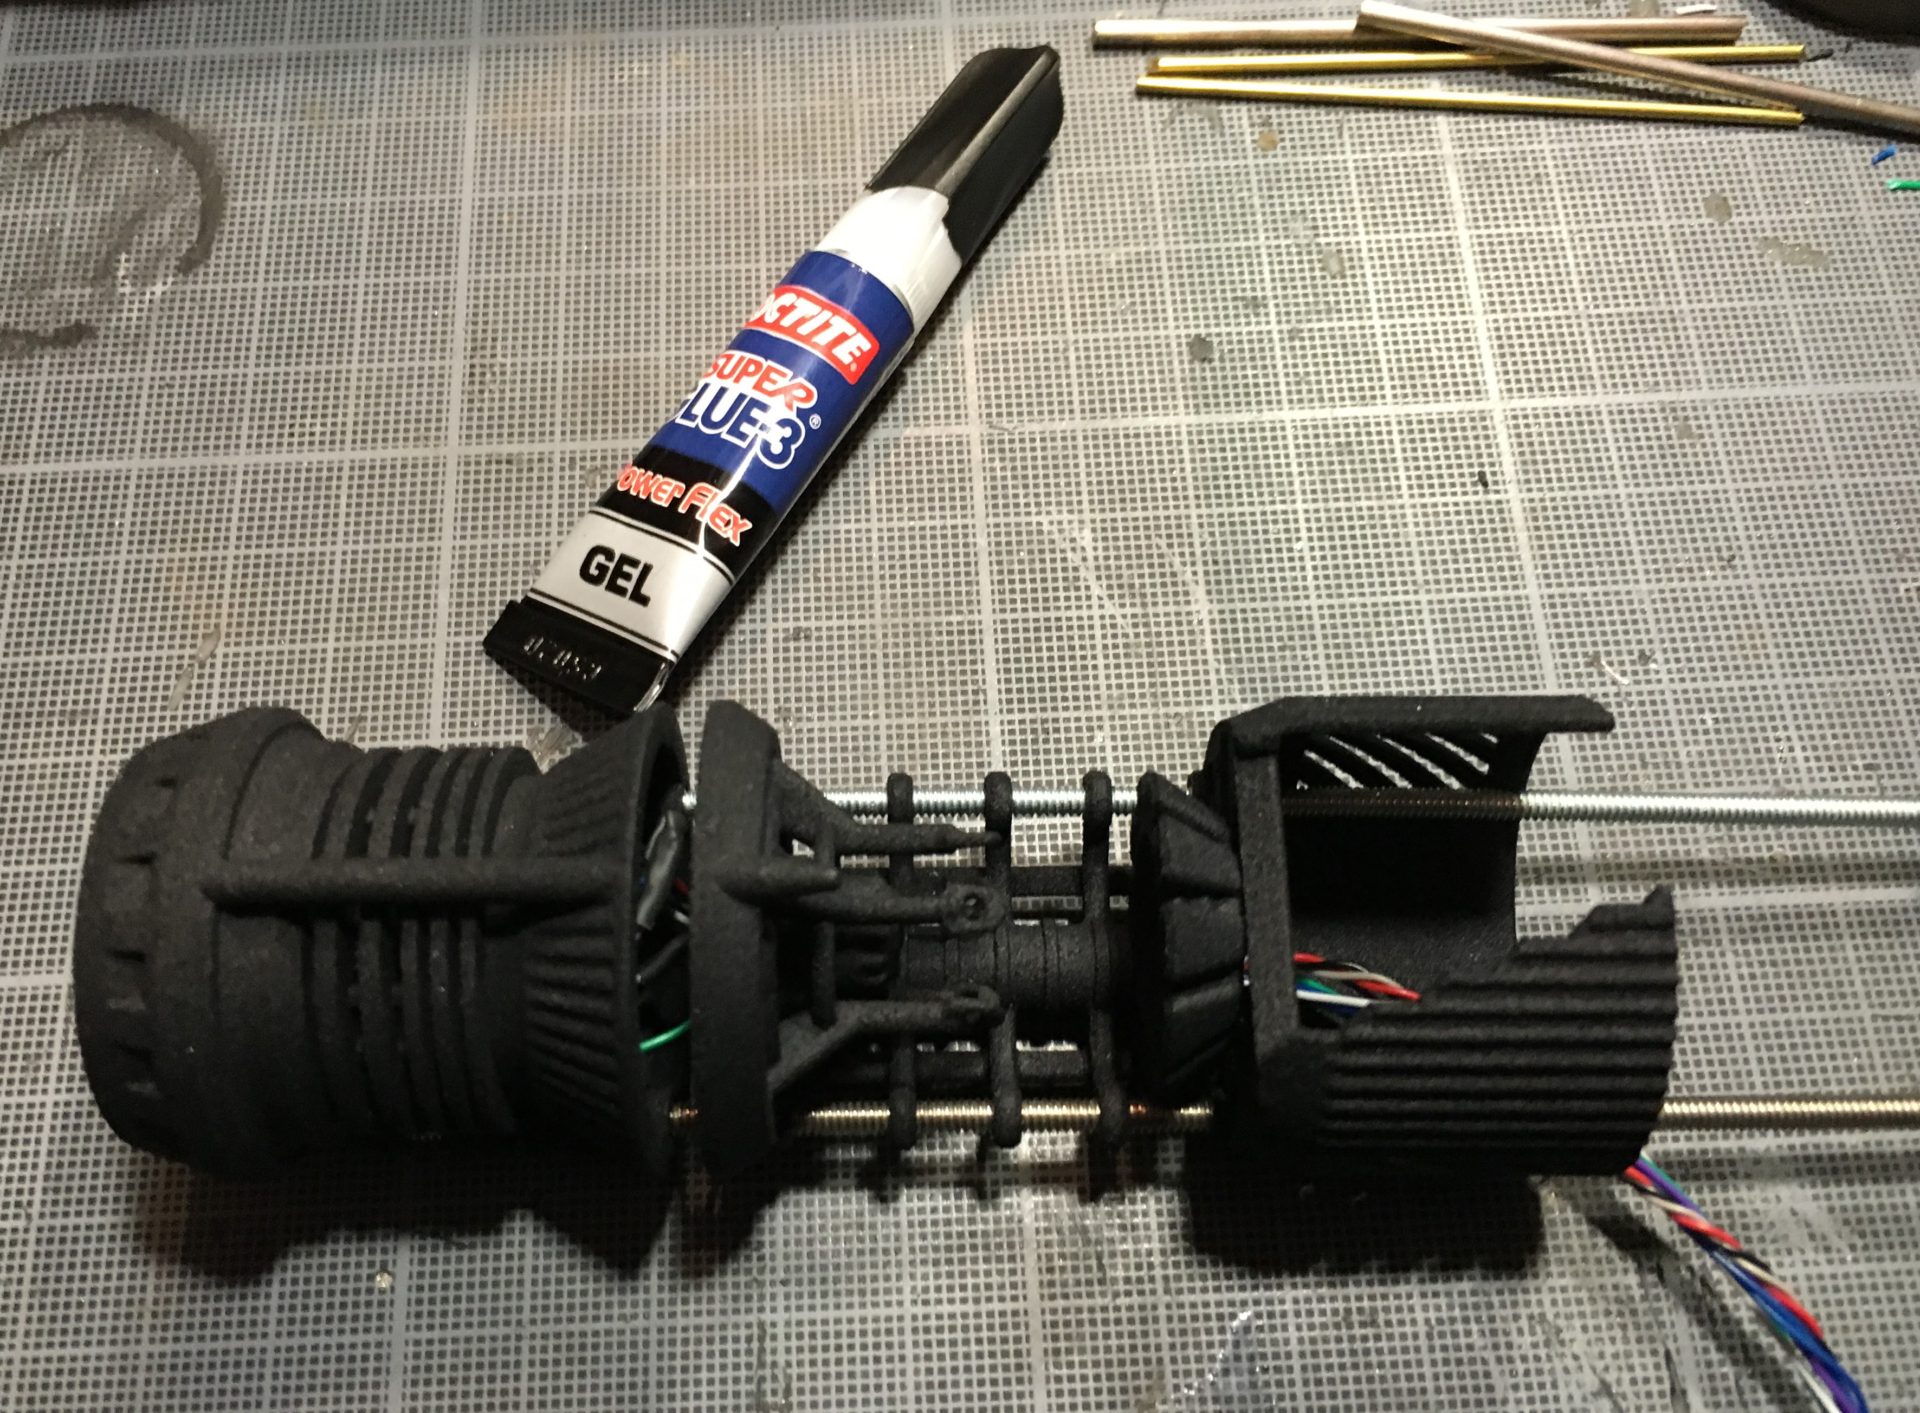
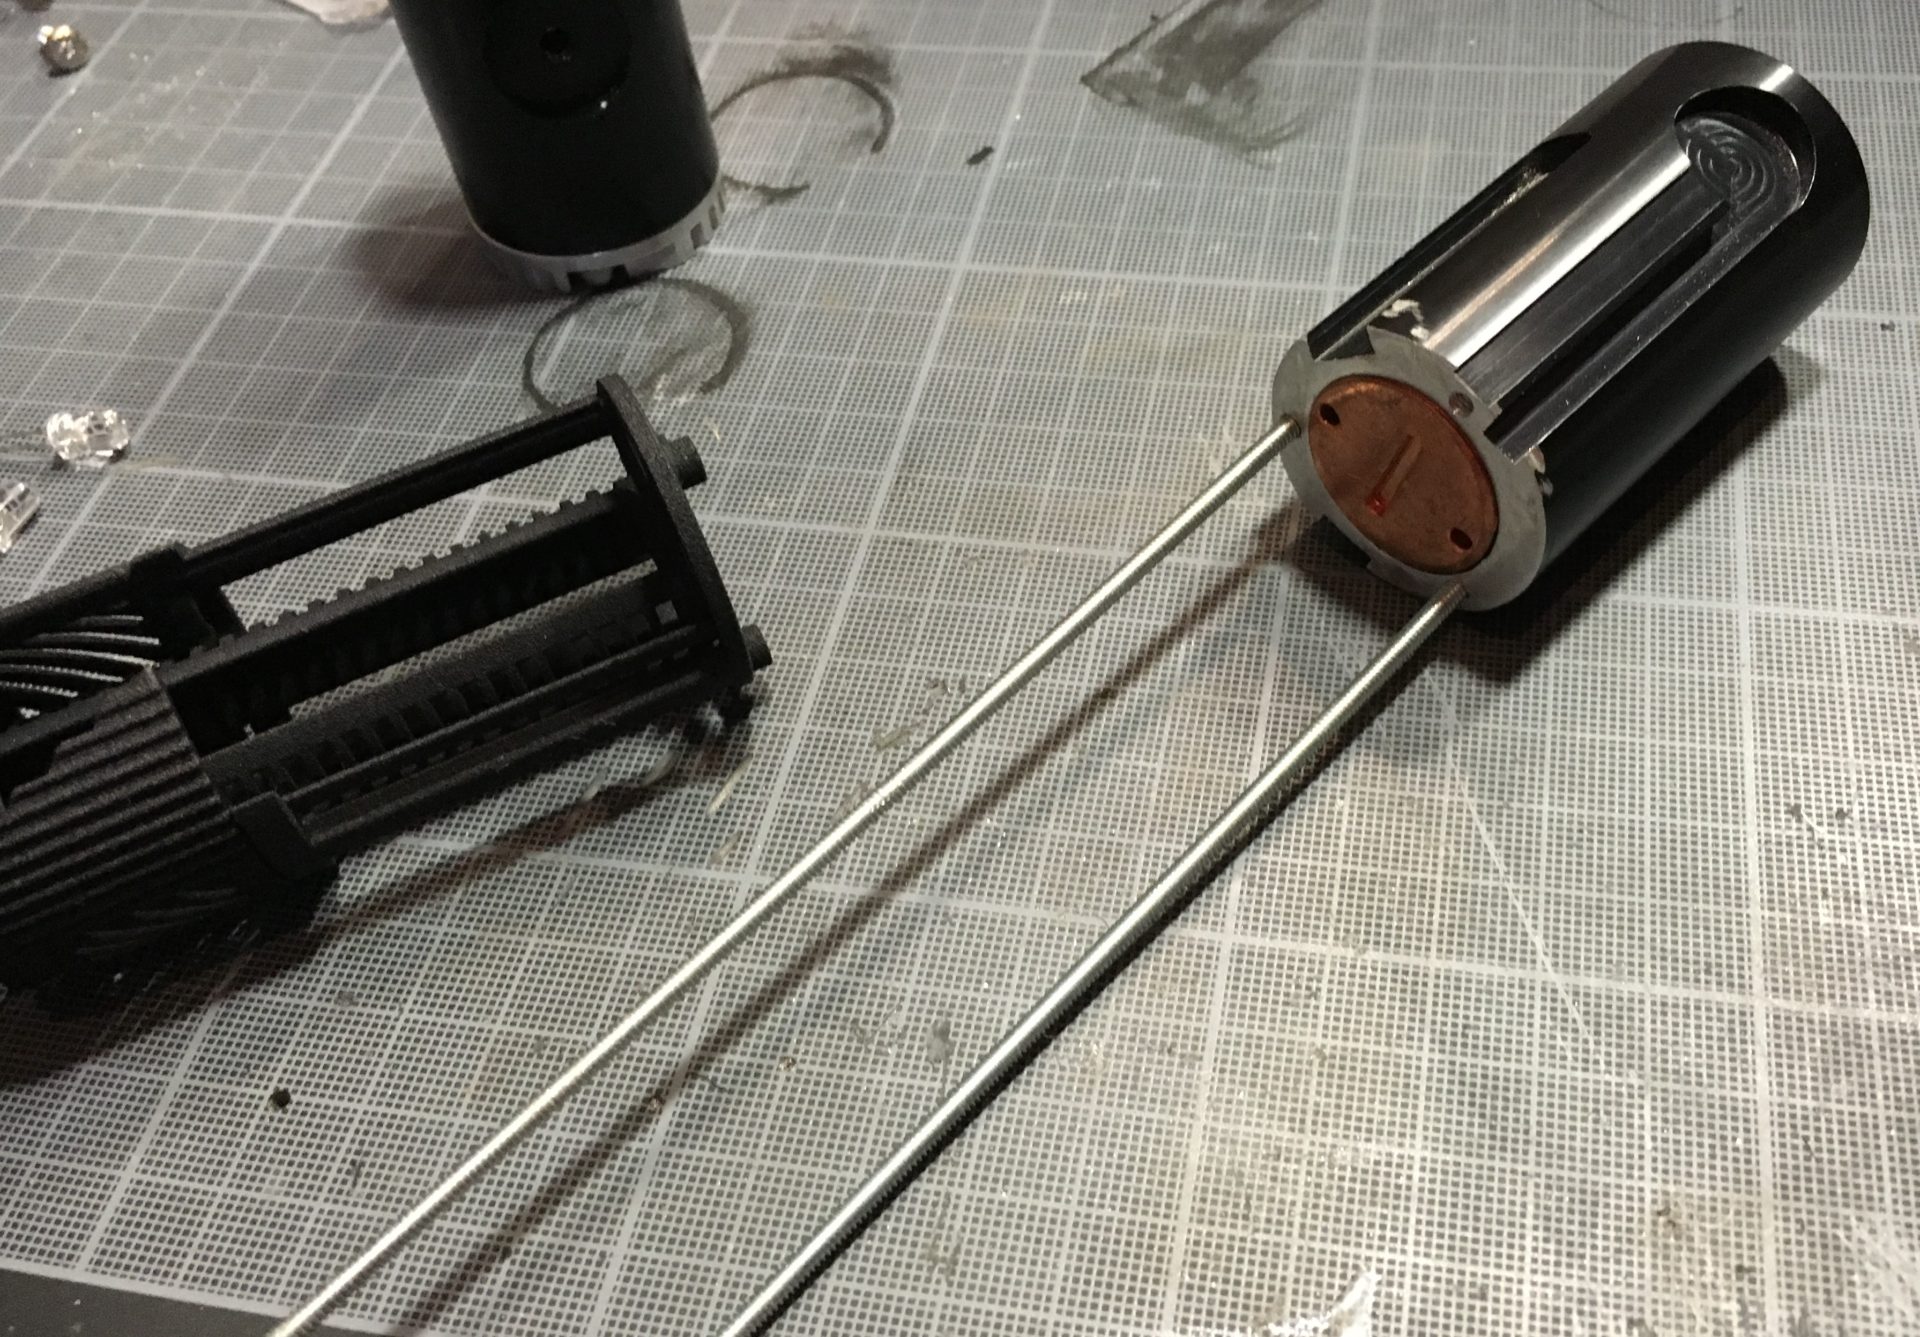
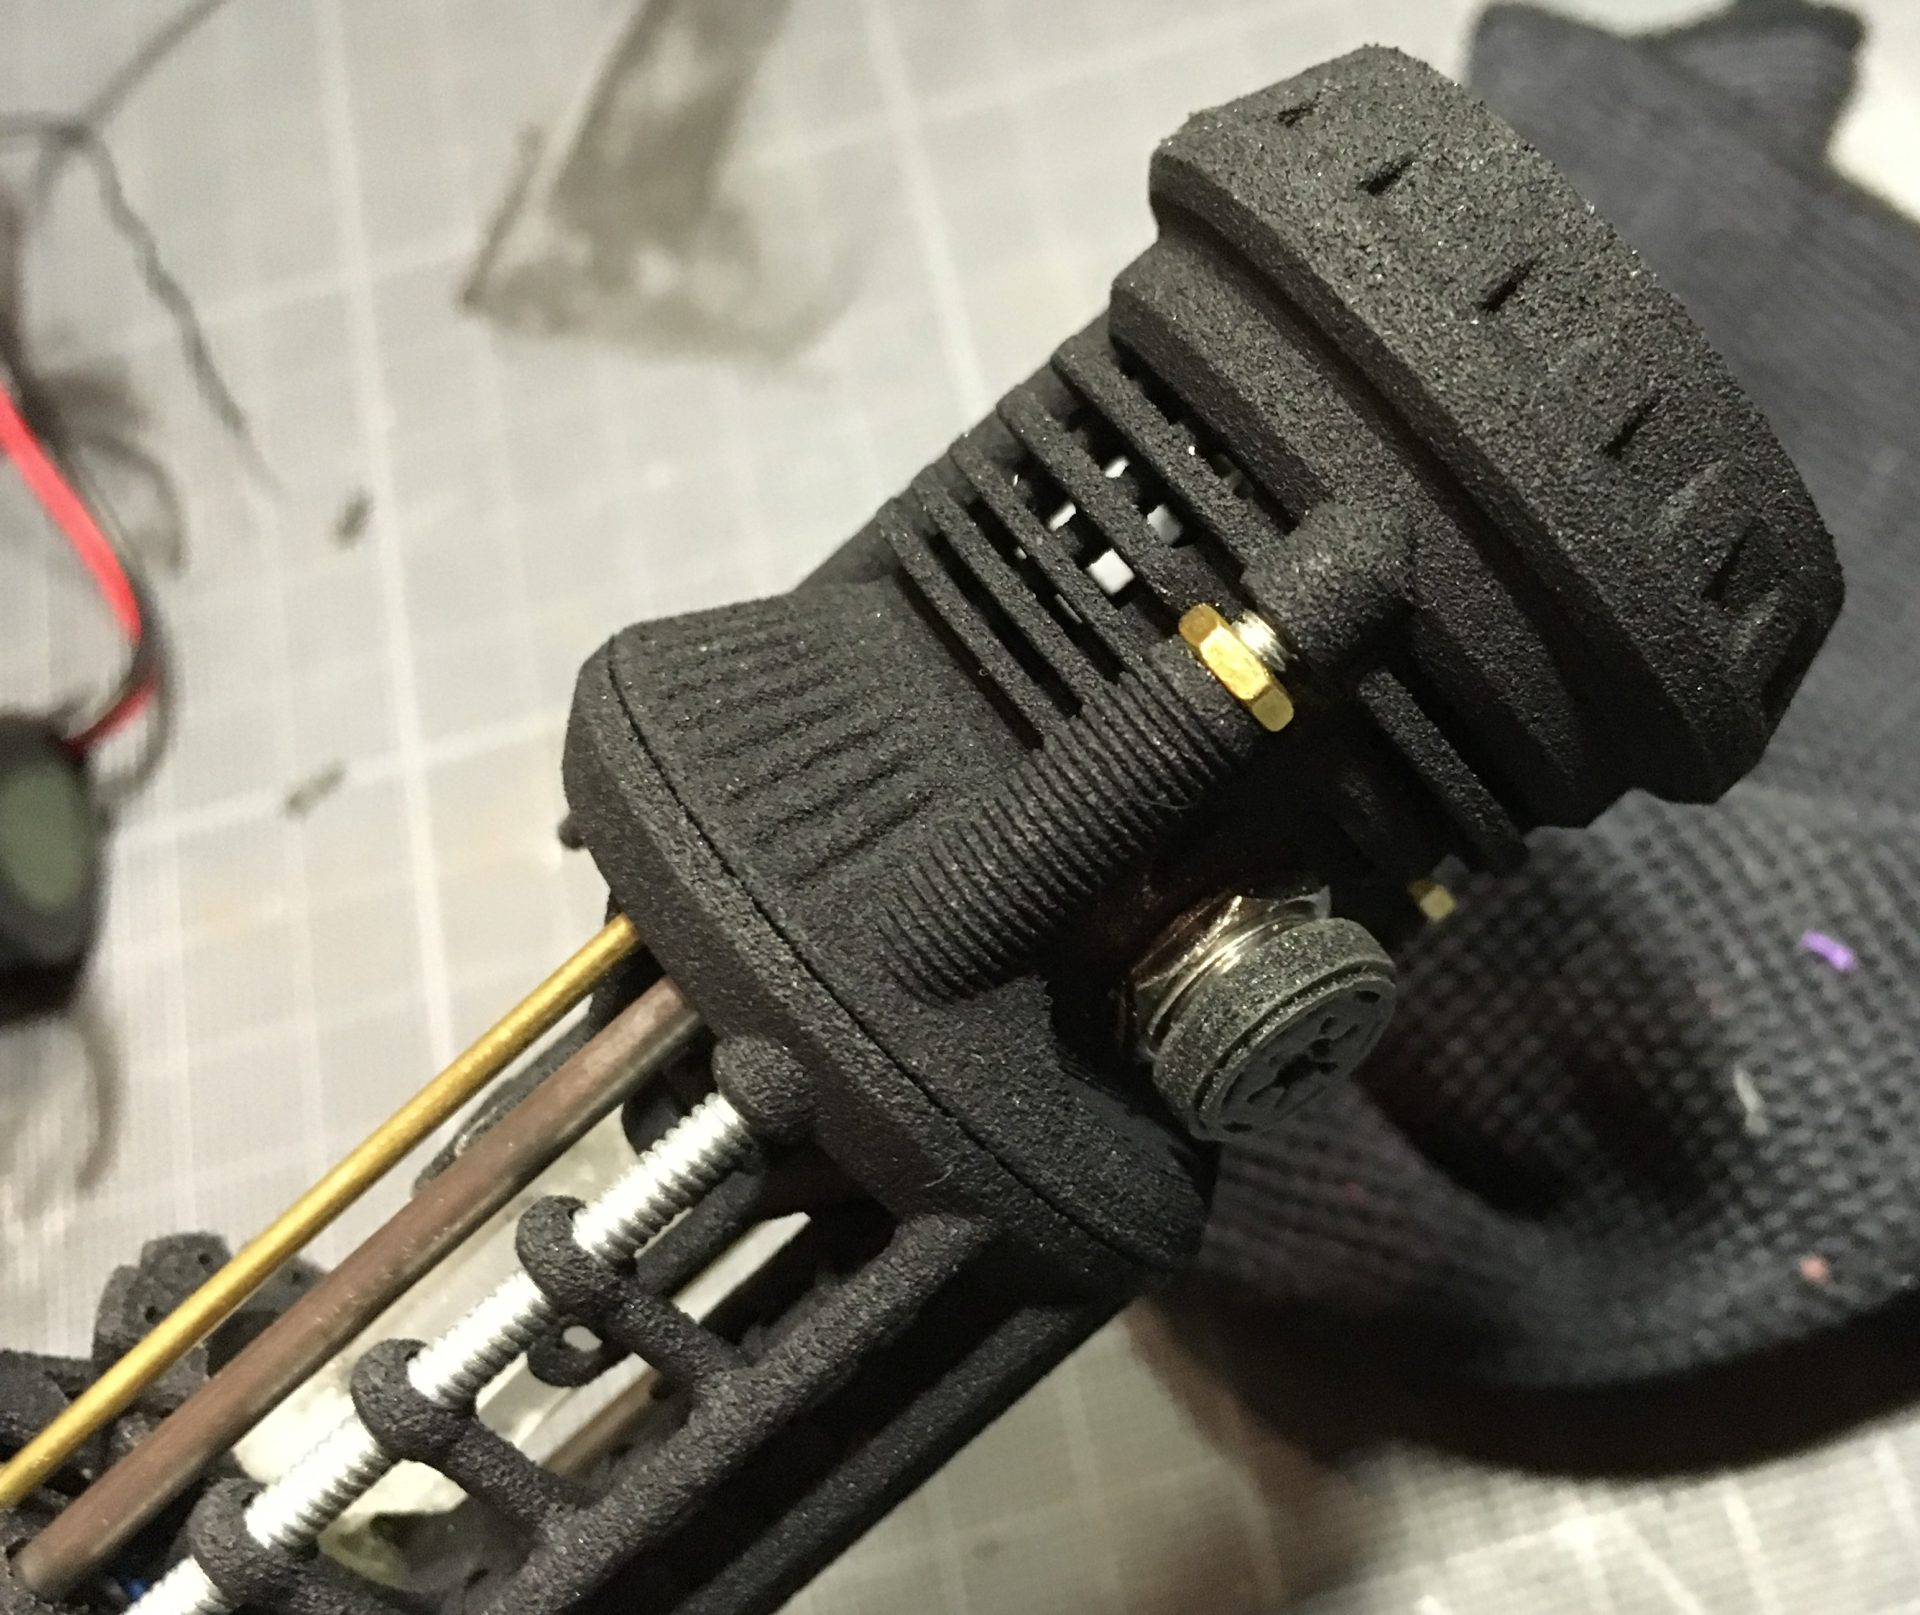
Step 9- Add the extra brass/copper/steel rods and the crystal

Notes: I used clear hot glue to secure the crystal on the soundboard module side, cause my quartz stone OD was smaller than recommended (12mm OD). (it’s hidden, so no problem, just be careful, hot glue can be messy).
Step 10- Wire the soundboard. If you use TCSS blade holder, first install your blade holder into the upper half of the Graflex for the top (with the rods still install into it, as done at stap 1). If you have another blade holder, you can continue the install as stand alone.
Step 11- Add the Multipass card to the Soundboard module, and complete the assembly by sliding the chassis up to the blade holder. Of course, and again, test everything before doing so.
Tips: Use the sides of the soundboard module to stack your wires.
Step 12- Secure the chassis with hex nuts (I use the small ones sold at TCSS). The space is pretty narrow, it take a bit of time to get this done. Make sure the rods are clean there, the nuts have to screw easily.

Step 13- Wire and install the main switch.
Notes: I used a piece of plastic under the red button, so that it could properly make contact with the tactile switch I used (TCSS one).
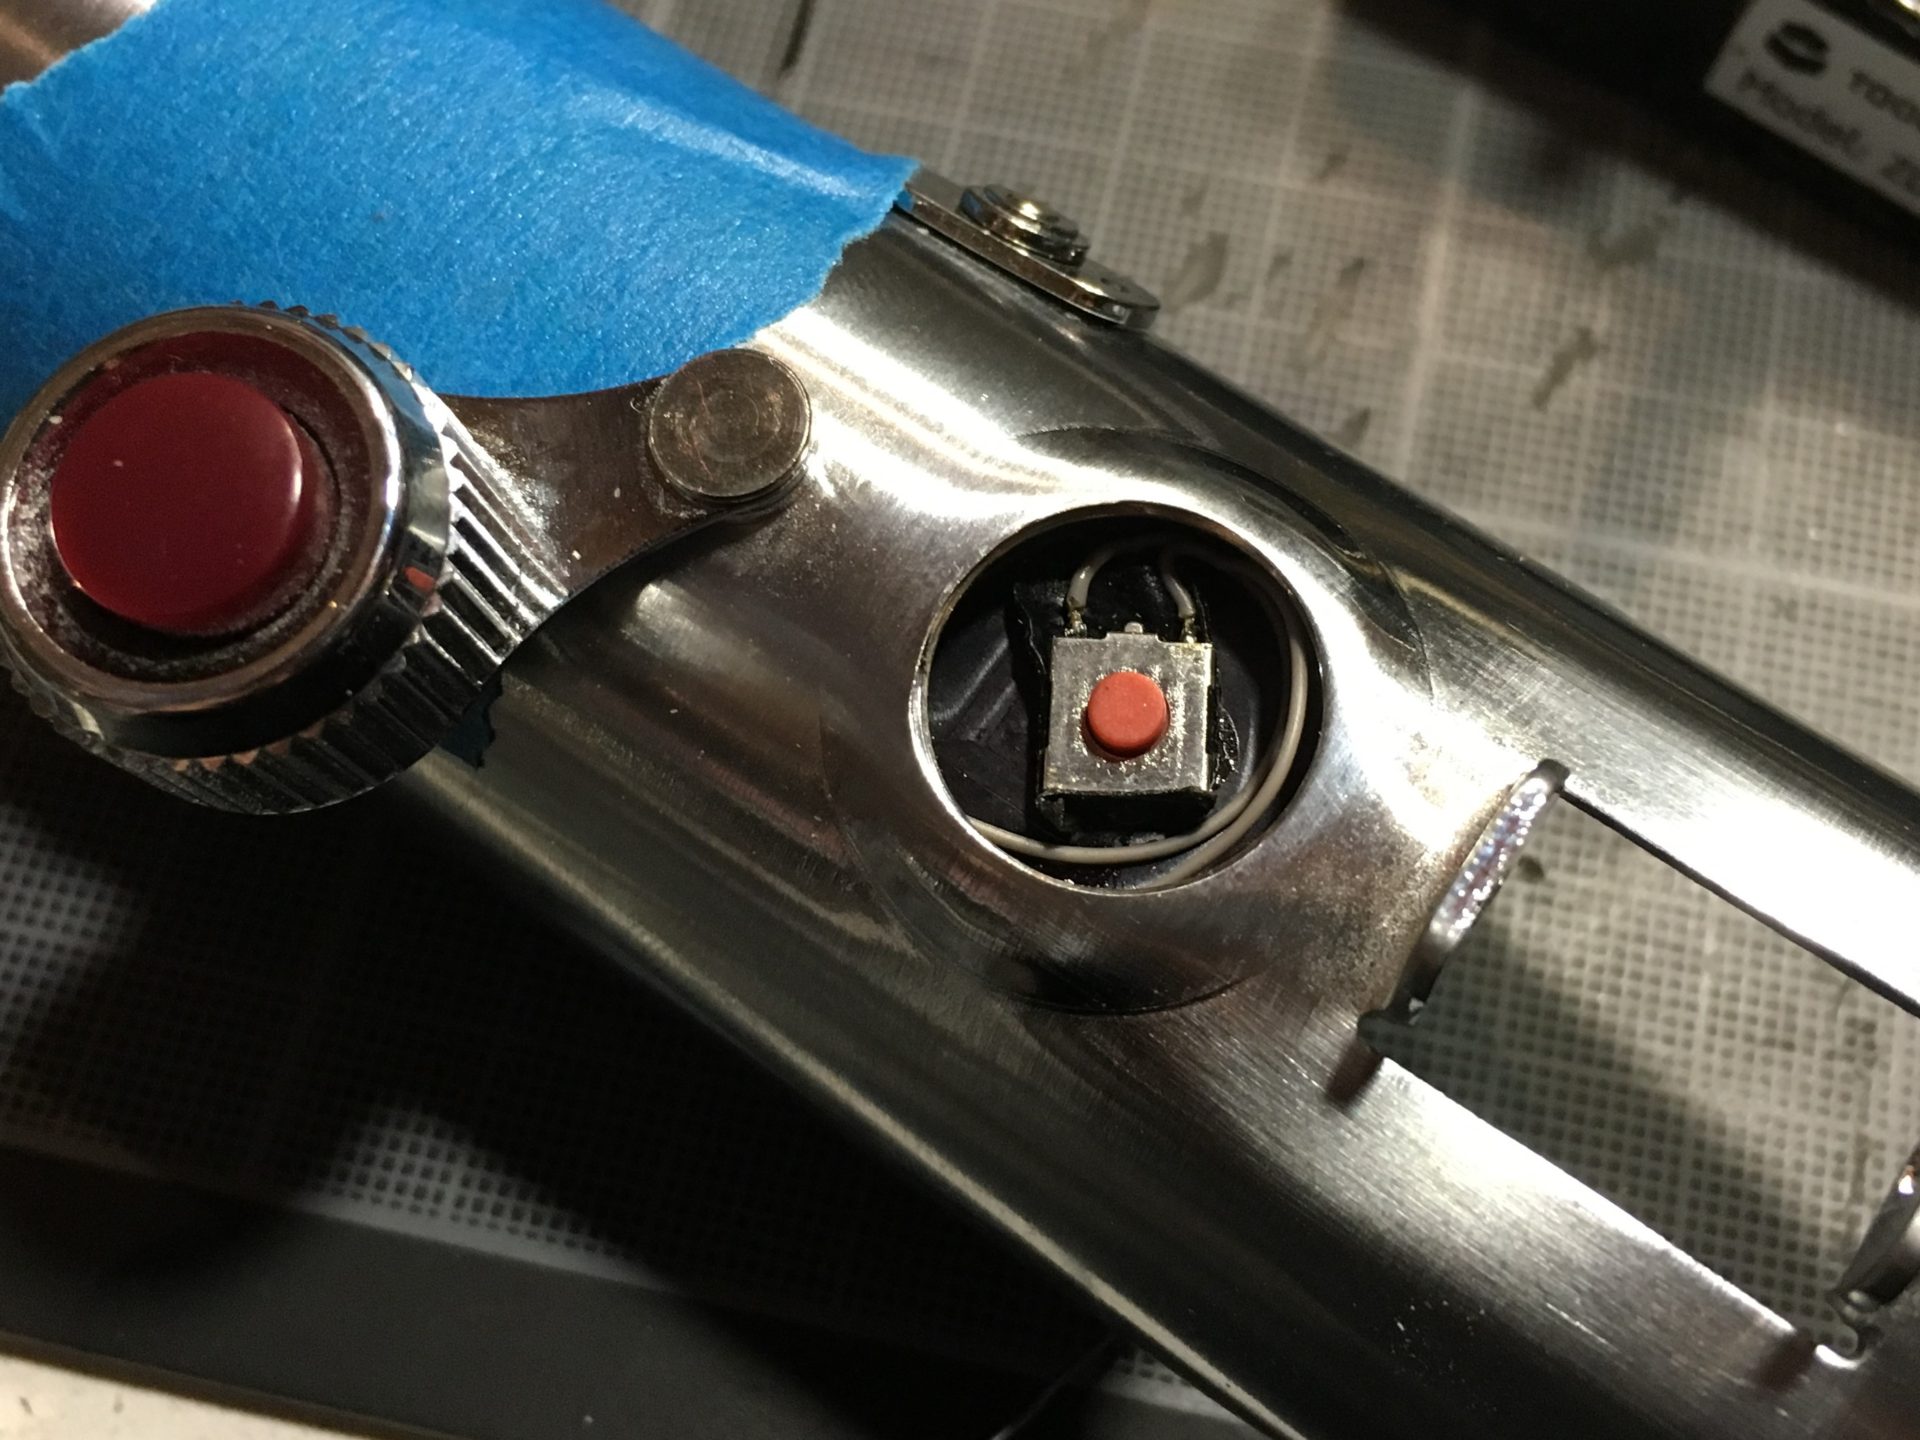


Test again.
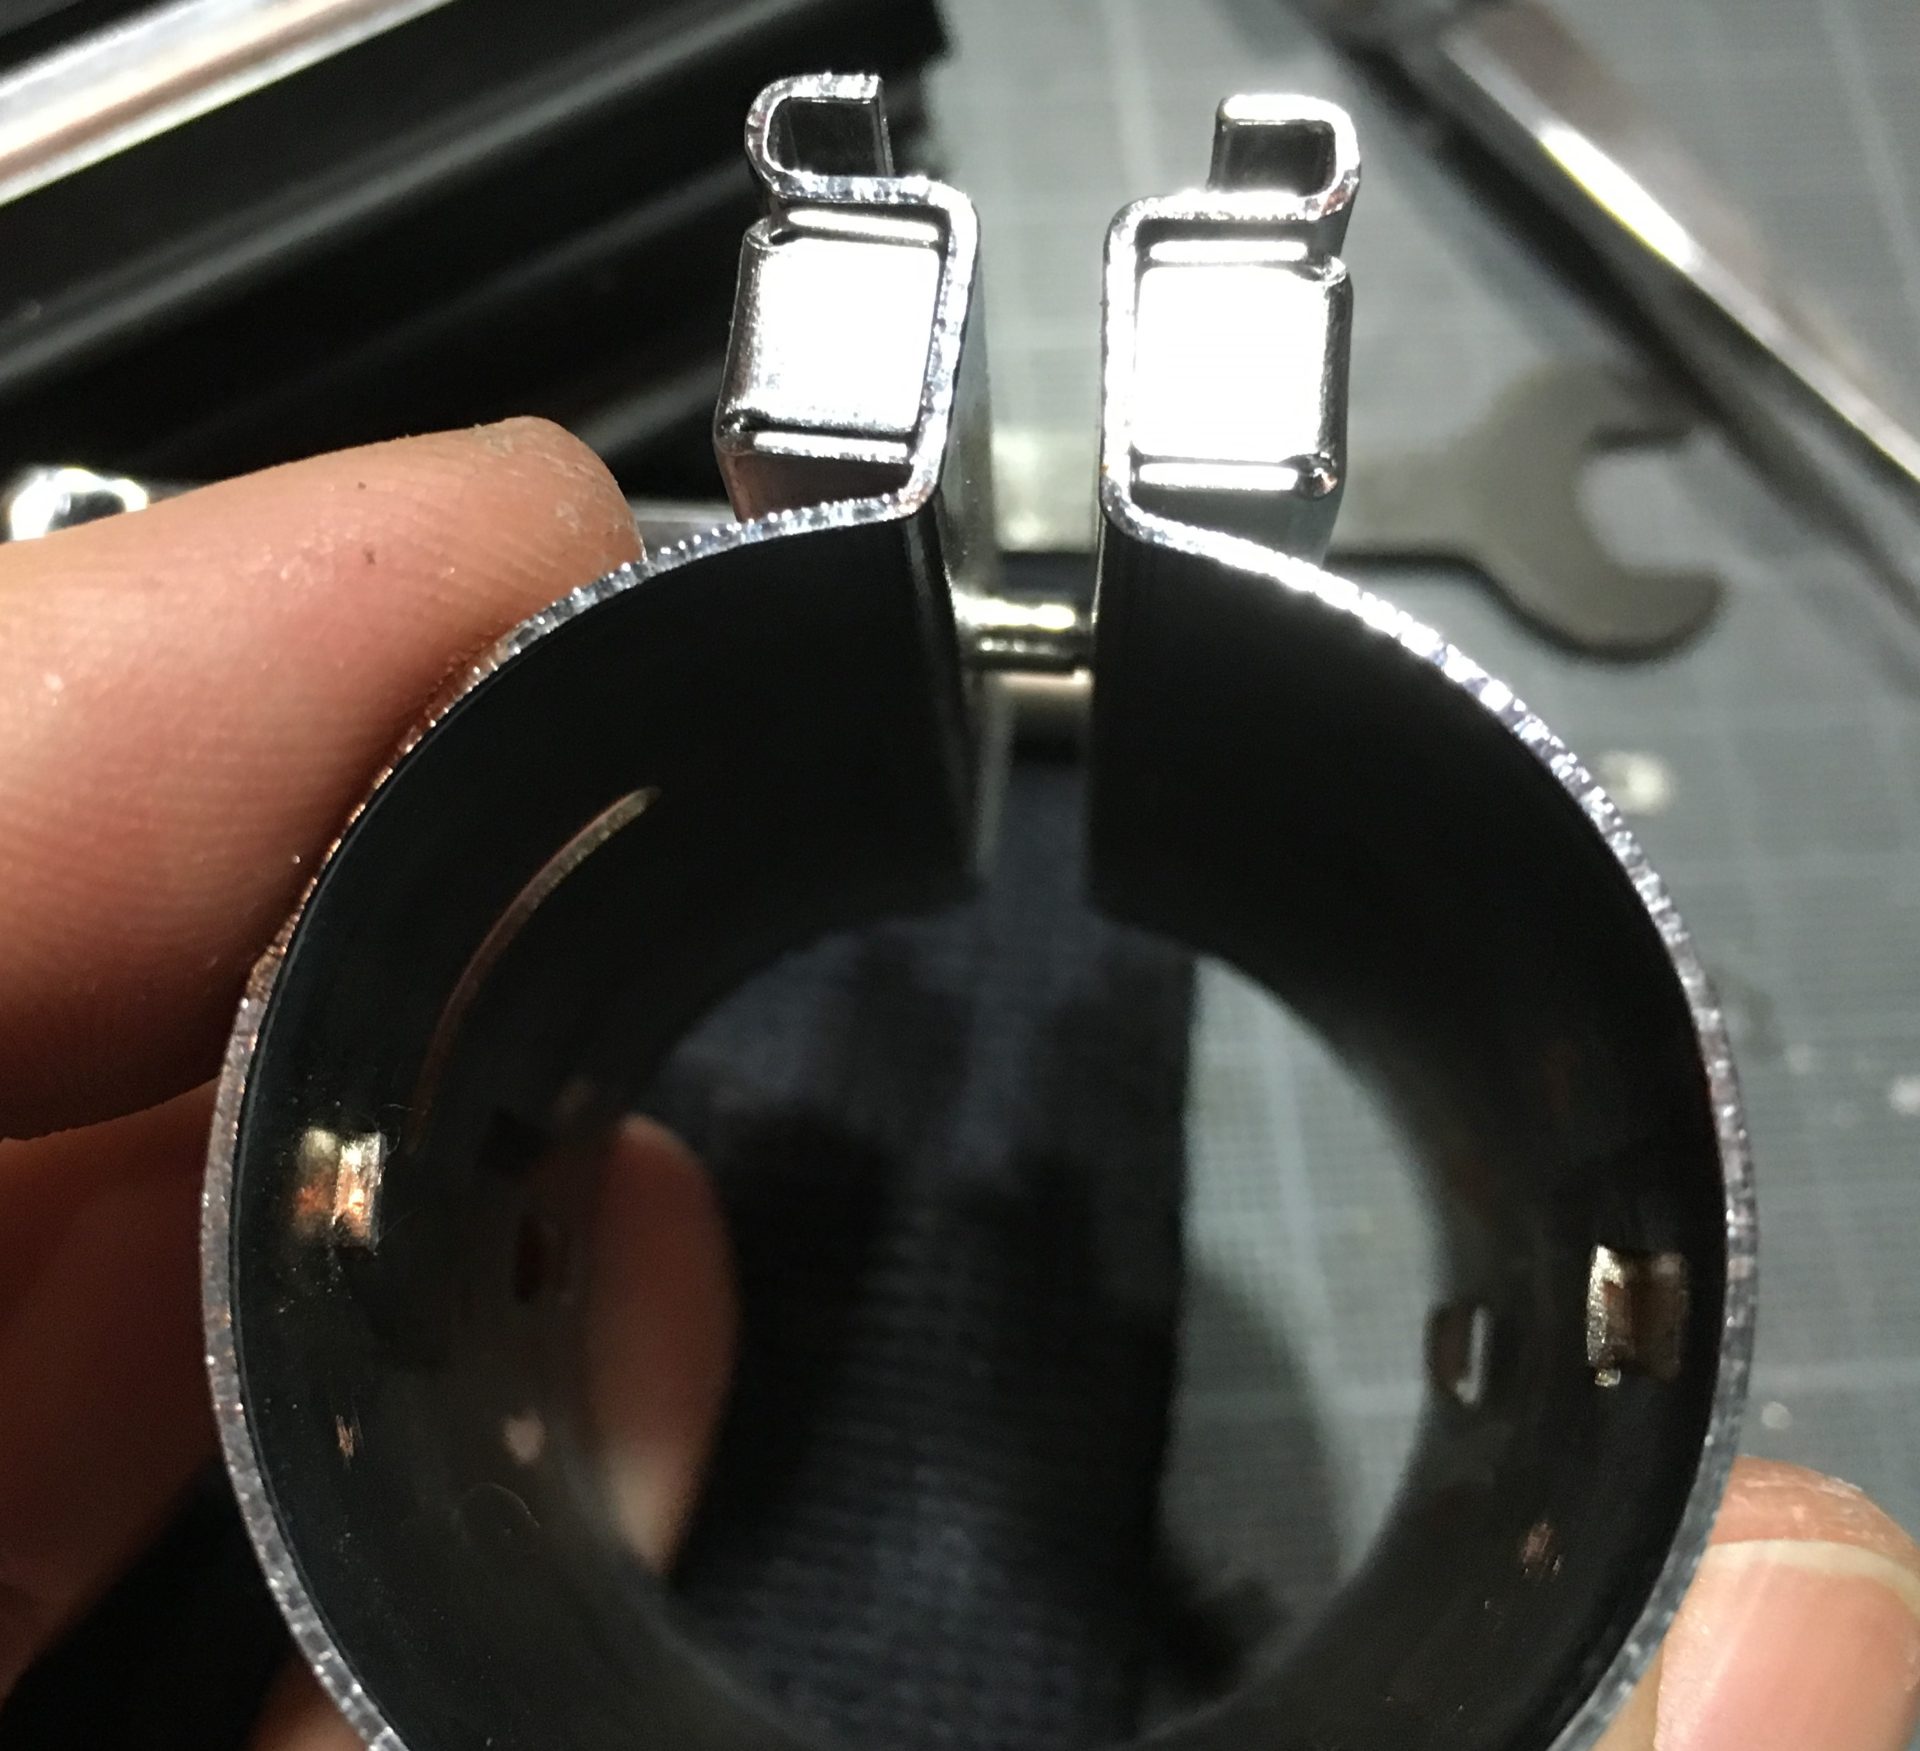
Step 14– Shorter a bit the clamp fins, so that they won’t be a problem when revealing the back section.
Step 15– Add the grips and sound holes to your Graflex bottom (according to the D-Ring used, here we have an ANH style).