These designs are no longer supported (FAQ)
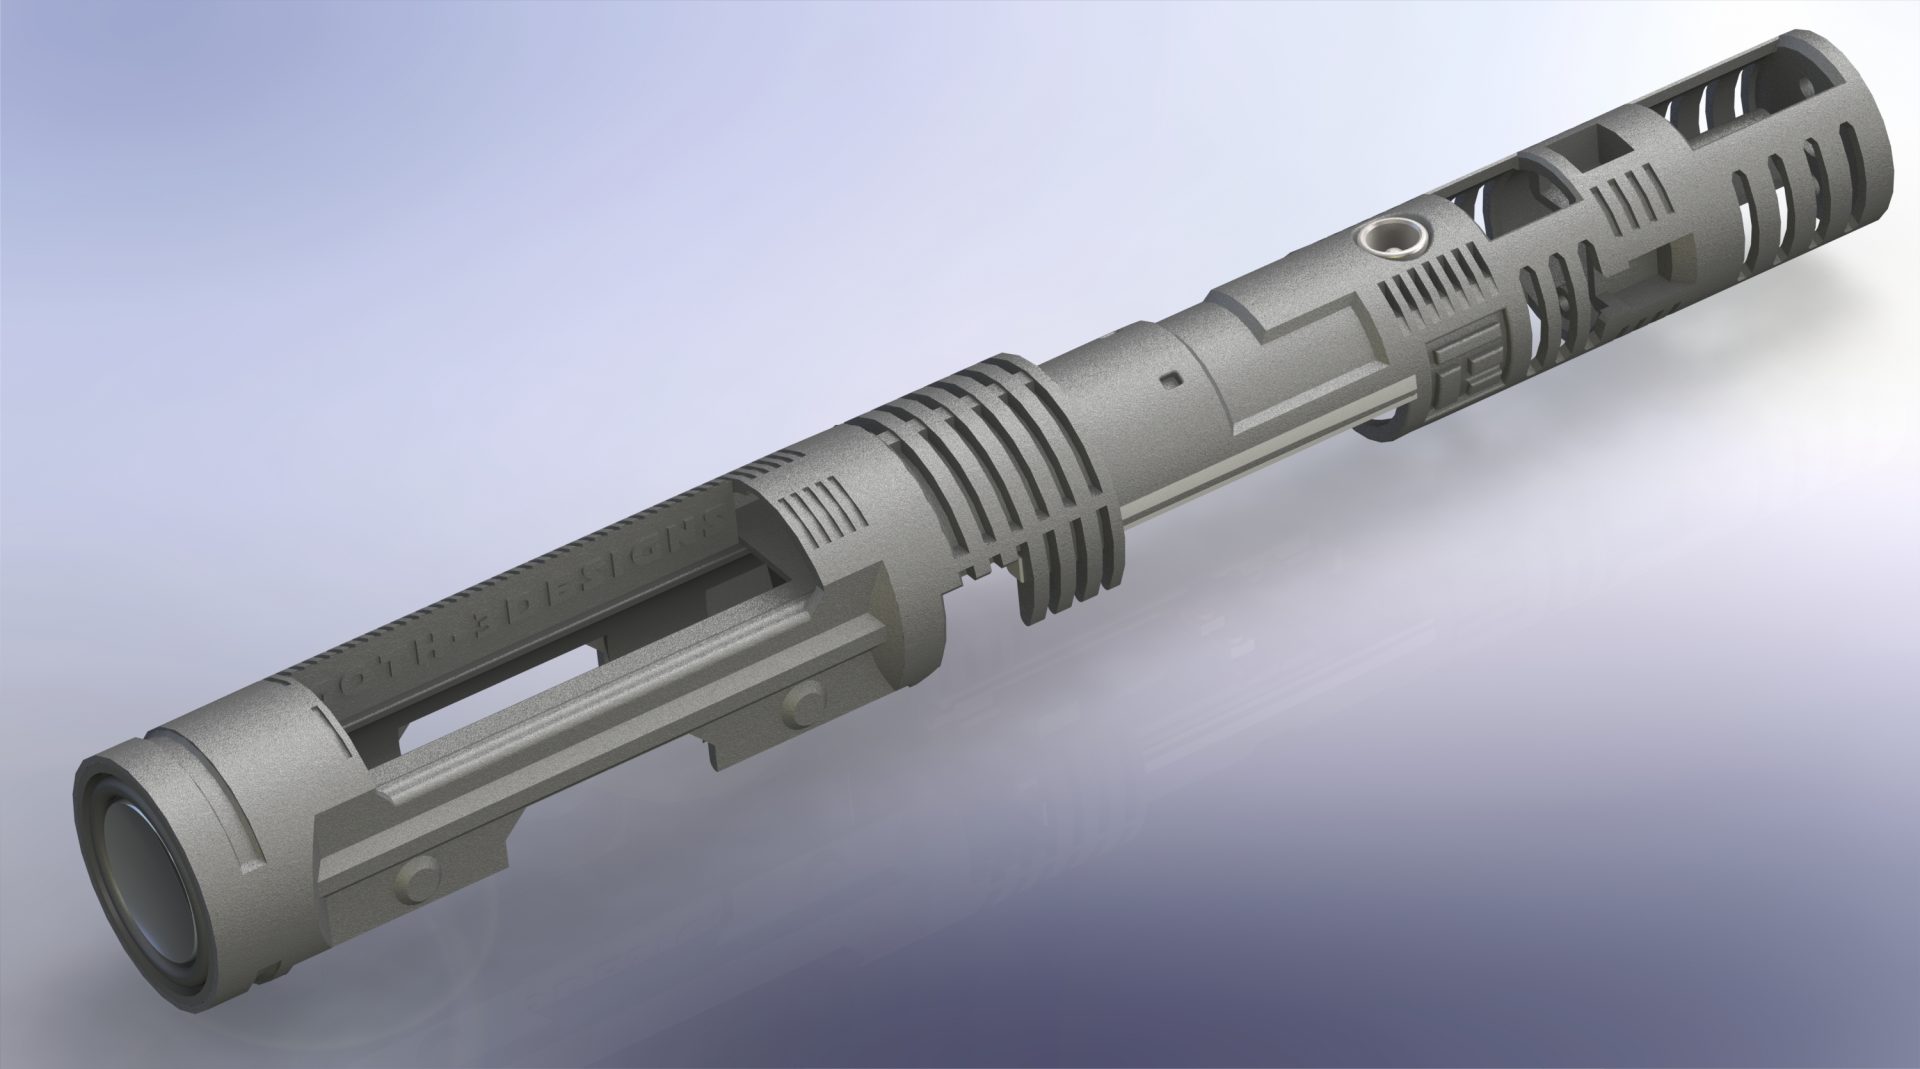
– All.In.One Chassis
Install the 2 halves separately, with 2 soundboards, ..etc. Easy to install, these chassis exist in 2 Variants, for static (26650) or removable battery (18650), both being good solutions for Neopixel builds.
/!\ 2 chassis are required to complete the staff install.
⇒ Chasiss Var1 (26650 battery): watto-s-junkyard-nightbrother-Var1-chassis
⇒ Chasiss Var2 (removable battery): watto-s-junkyard-nightbrother-Var2-chassis
Demo:
Quick Install Guide:
Disclainer:
– These instructions will details the install procedure as much as possible. GOTH-3Designs cannot be held responsible for any mistakes made by DIYers.
– Always wear protective gear when working on install (gloves, eye protection, …), GOTH-3Designs cannot be held responsible in case of accident.
Note 1: Use small wires to make your install easier
=> for Tri-cree install 30awg for main wires and 32awg for accent leds and switches are highly recommended
=> for Neopixel 26 or 28awg for main wires (battery and led strip + and -), and 32awg for accent leds and switches are highly recommended
Note 2: These instructions will not cover how to wire the soundboard, make sure to learn how to by reading the manual. Make sure to test your install along the way! Making sure everything works after important steps is better than having to dismount everything because something wasn’t wired properly.
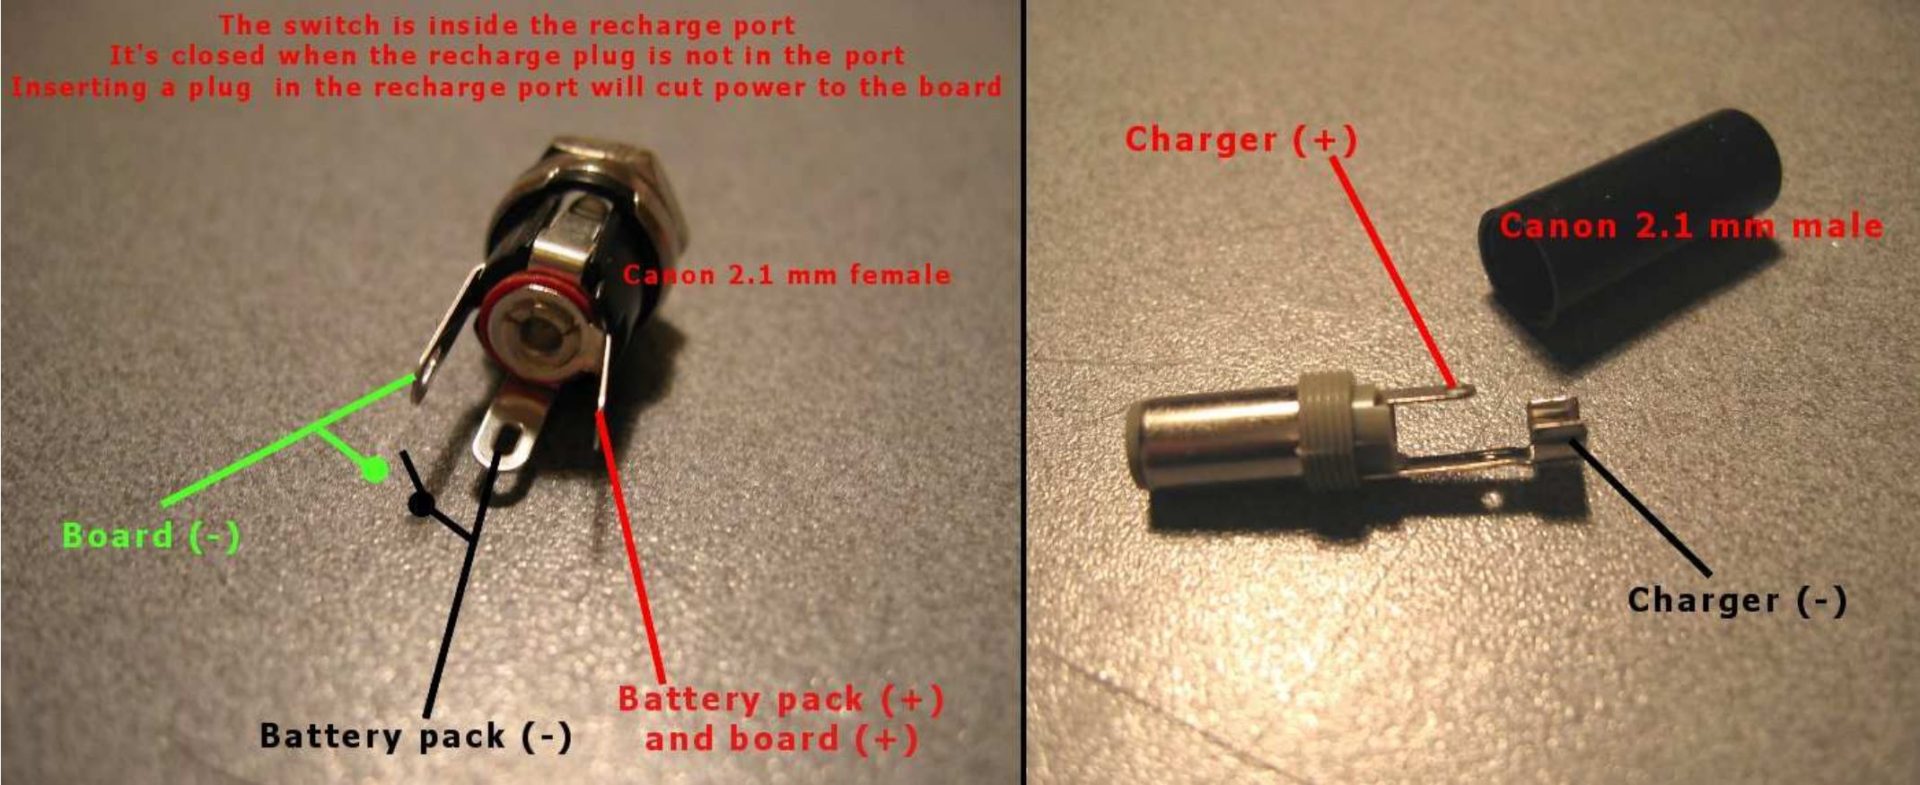
Recharge Port Wiring
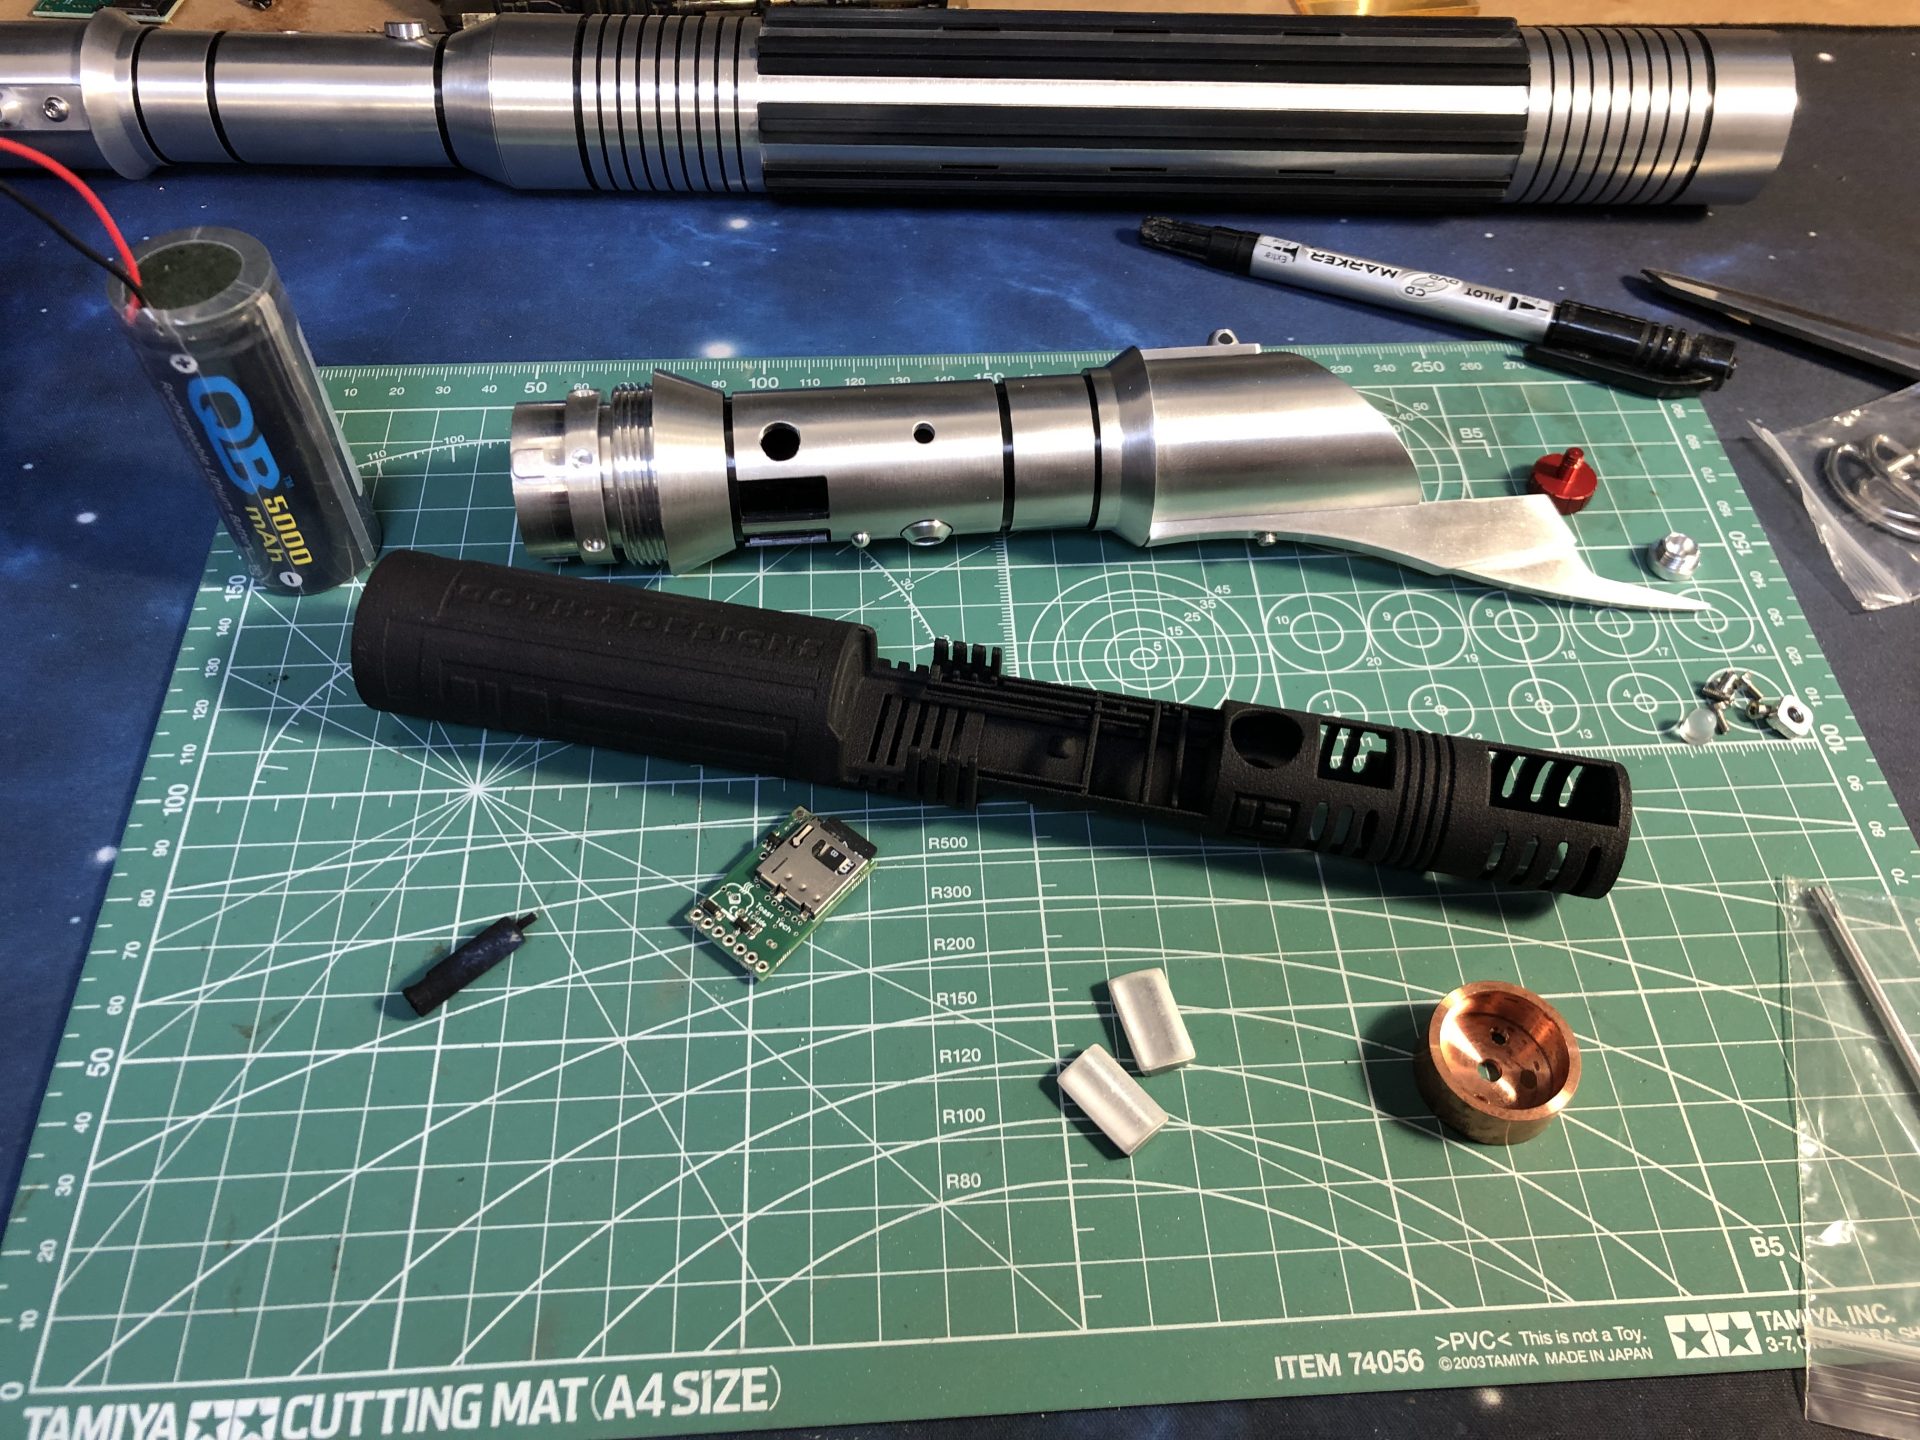
MULTIBOARDS ADAPTIVE CHASSIS
These instructions will cover the install for half the staff, with the chassis Var1. The other half being the same.
Remember, 2 chassis are needed to complete the staff install.
For Chassis Var2 install, the only difference is the Keystone Holder – all prongs are to be cut on the bottom of the holder (must be flat), then the holder is glued into the chassis.
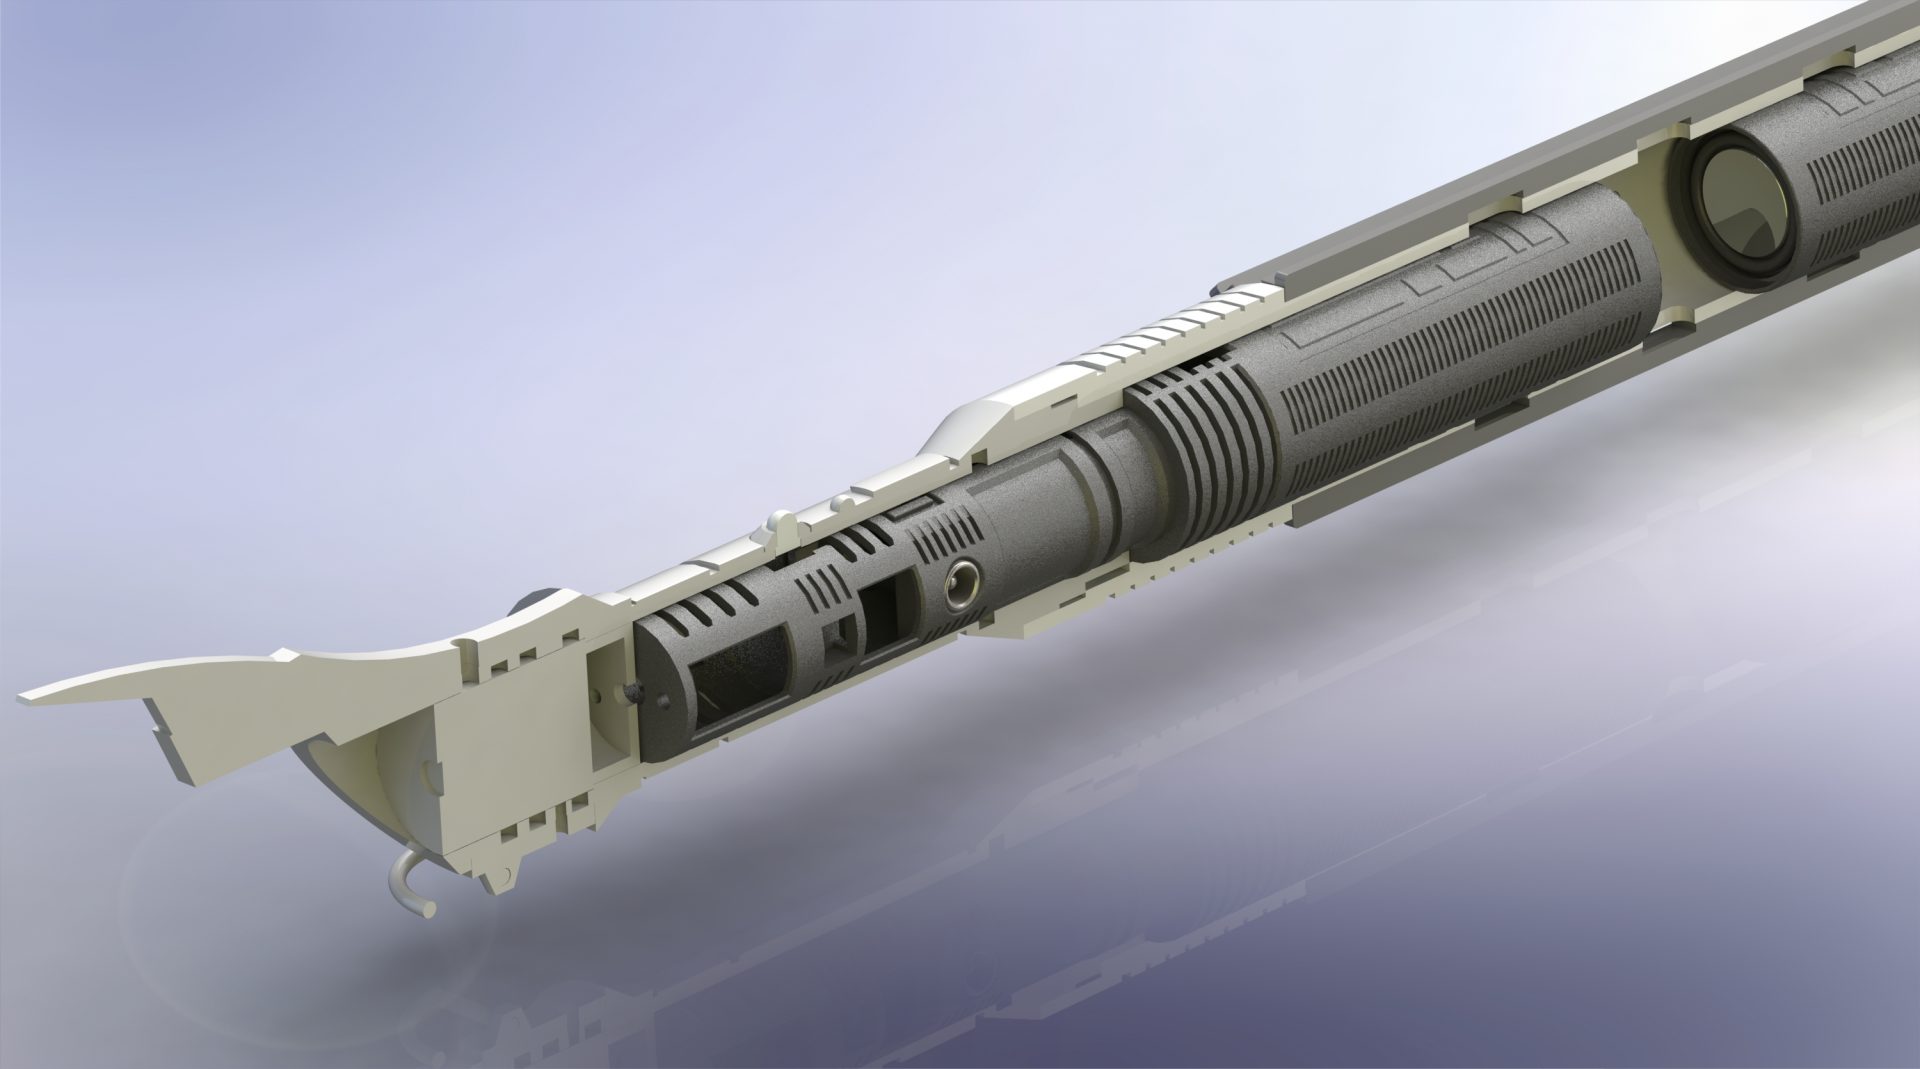
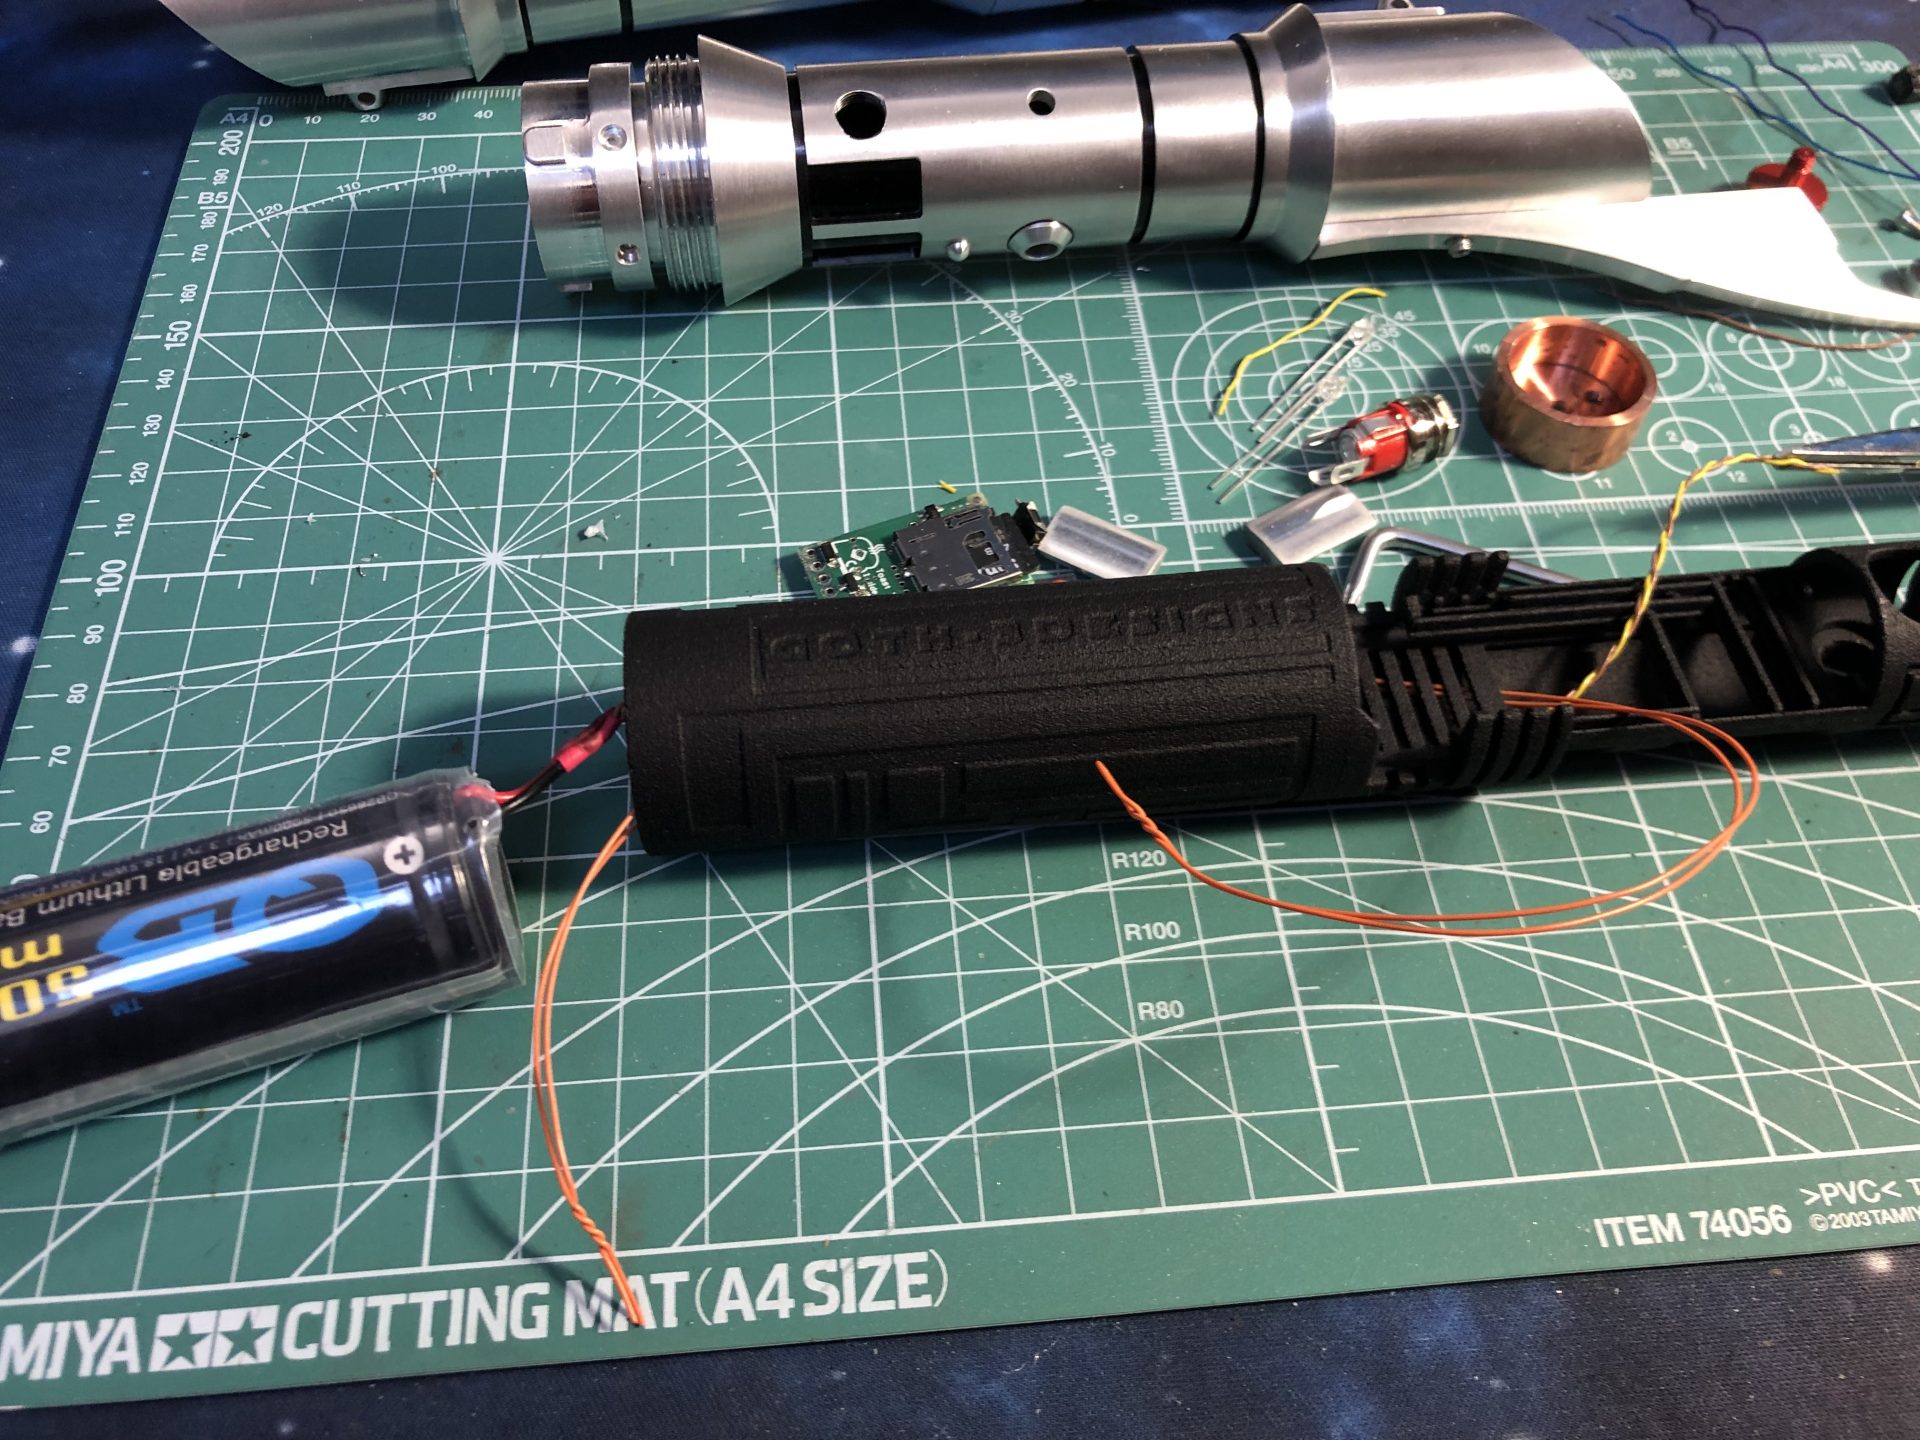
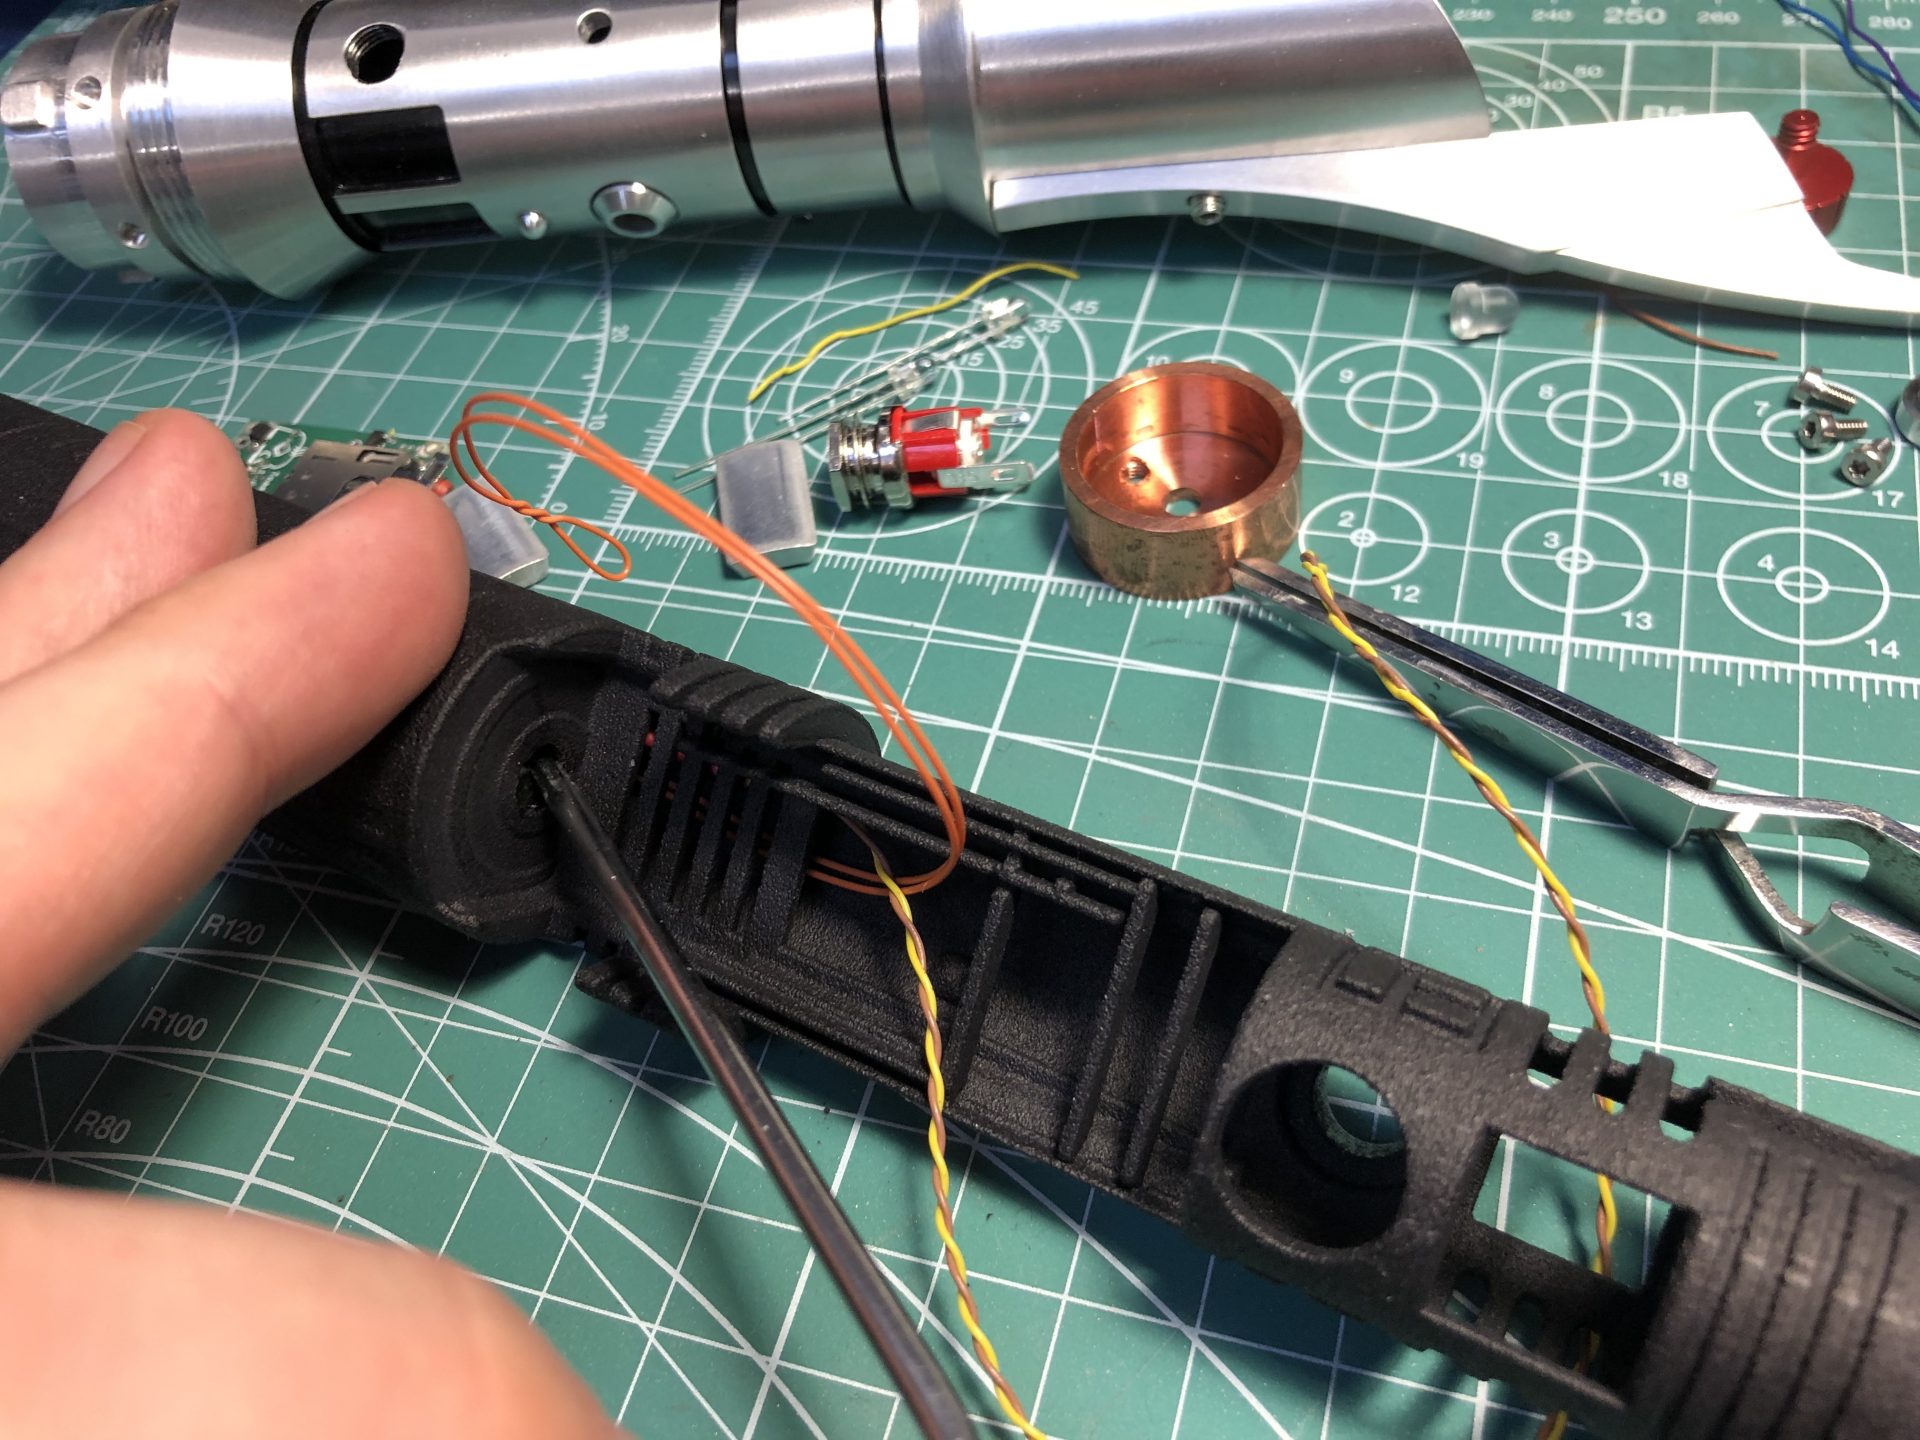
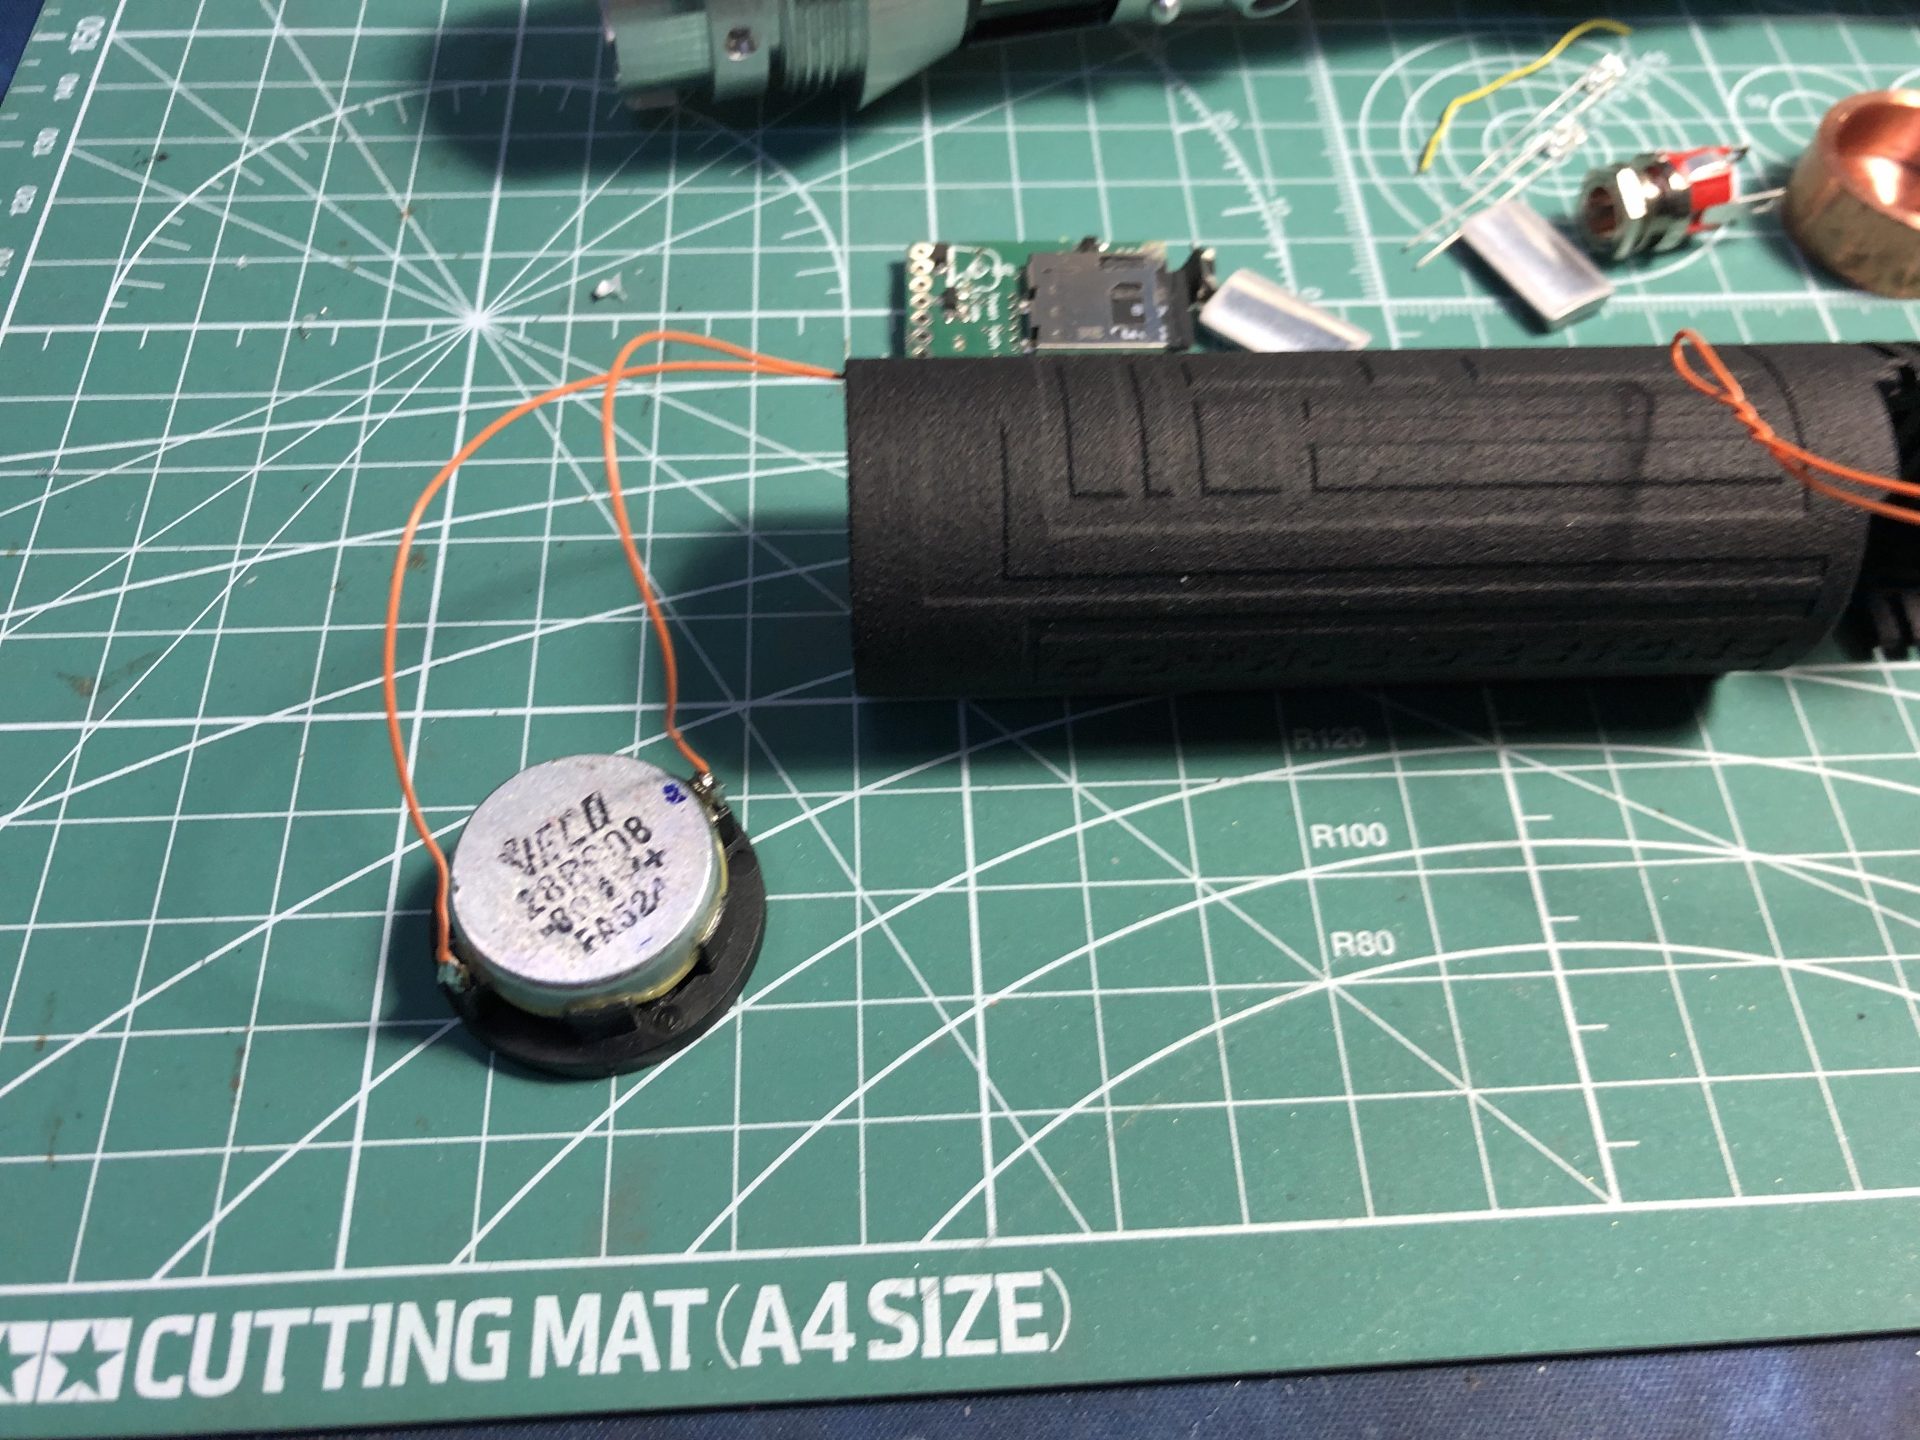
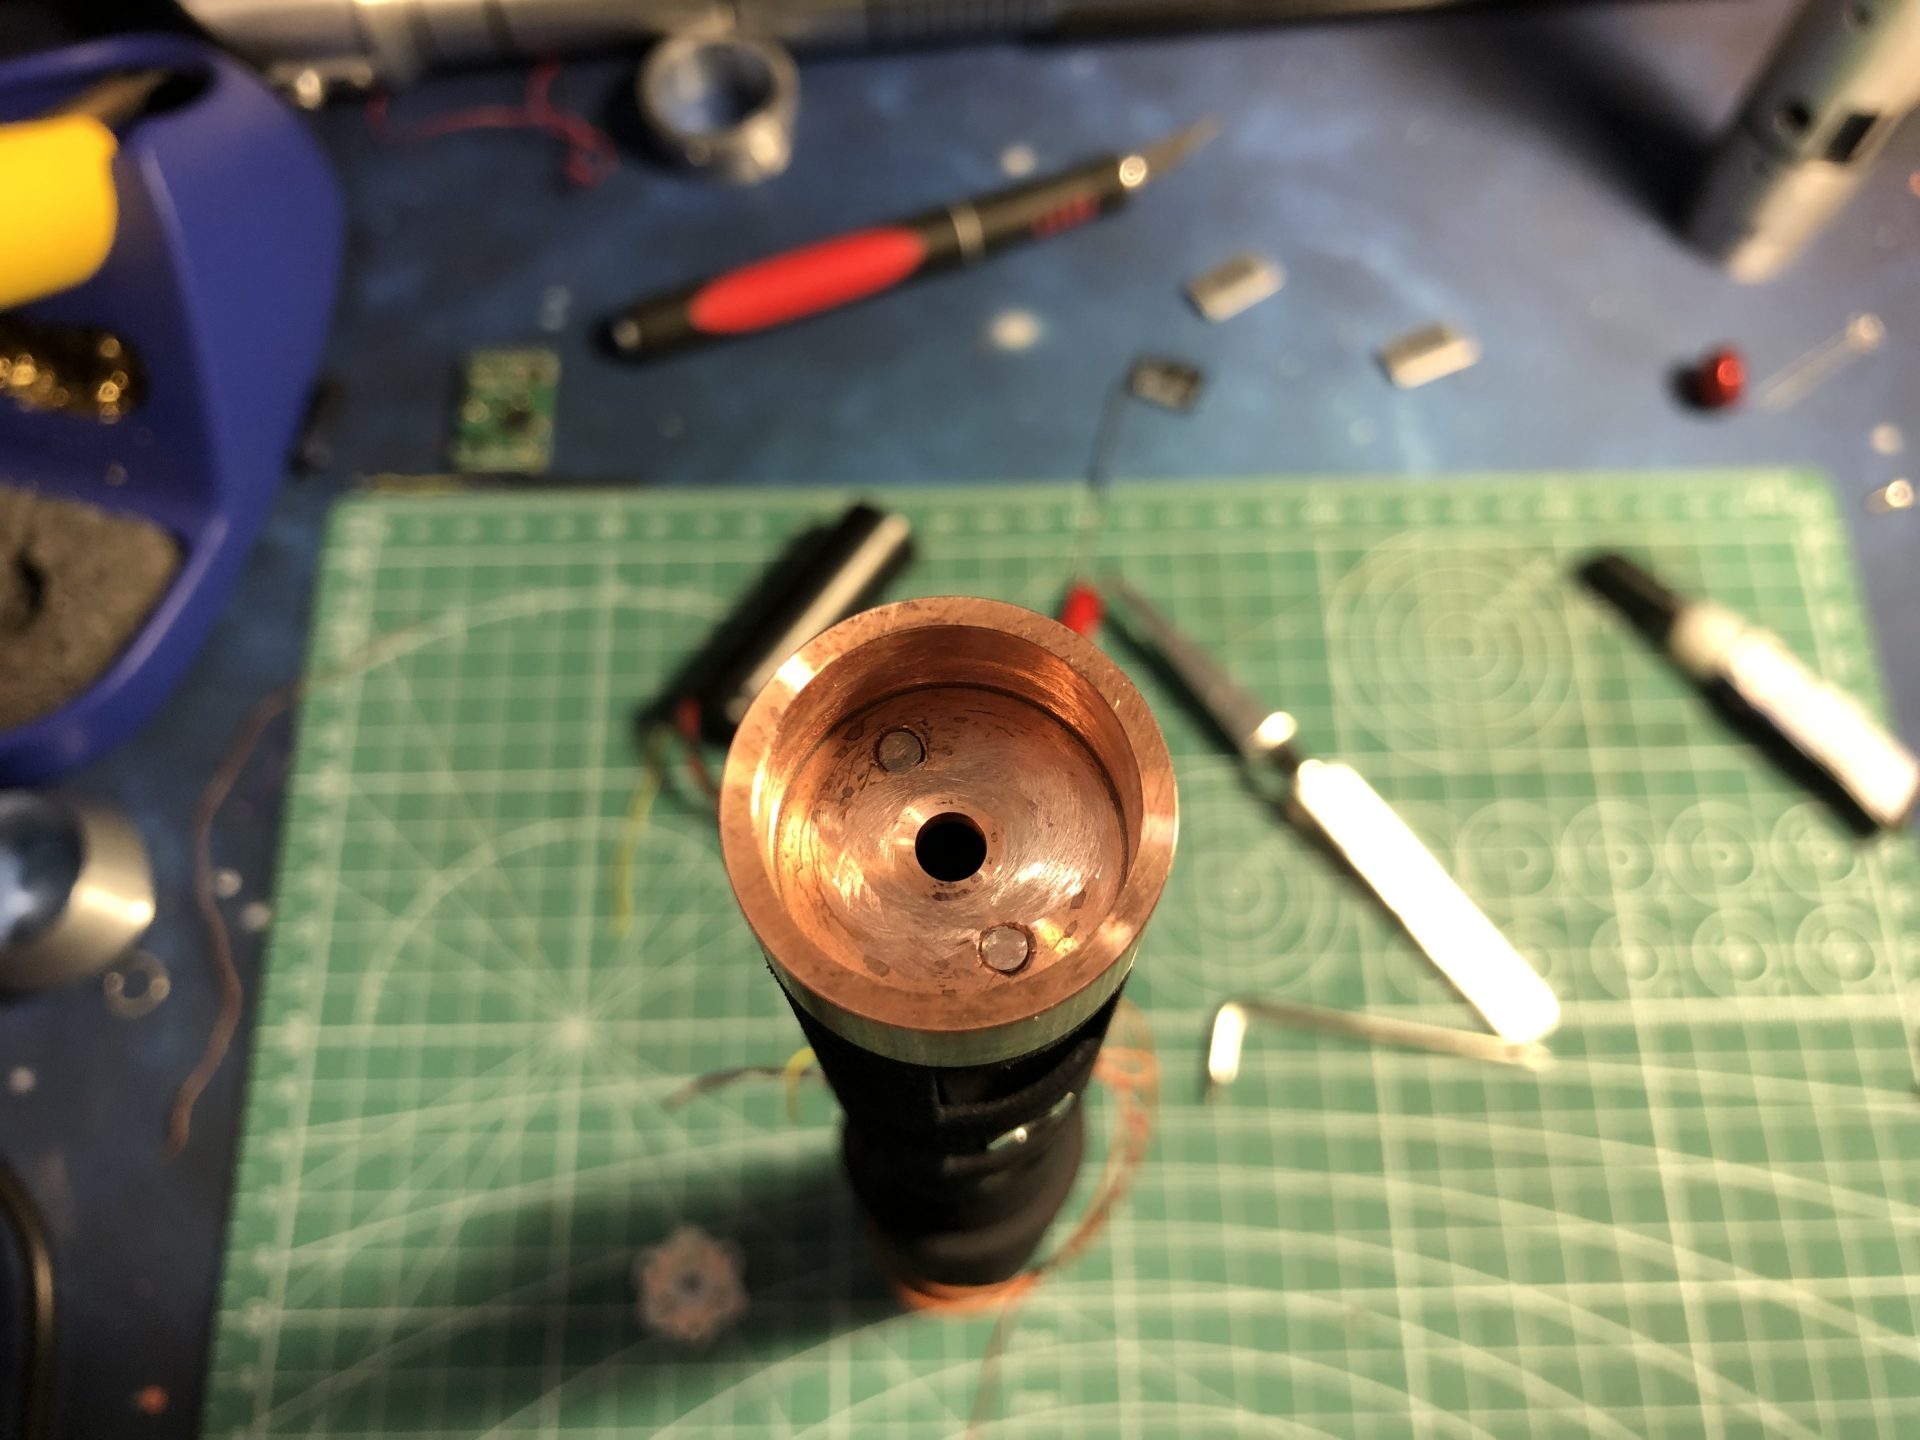
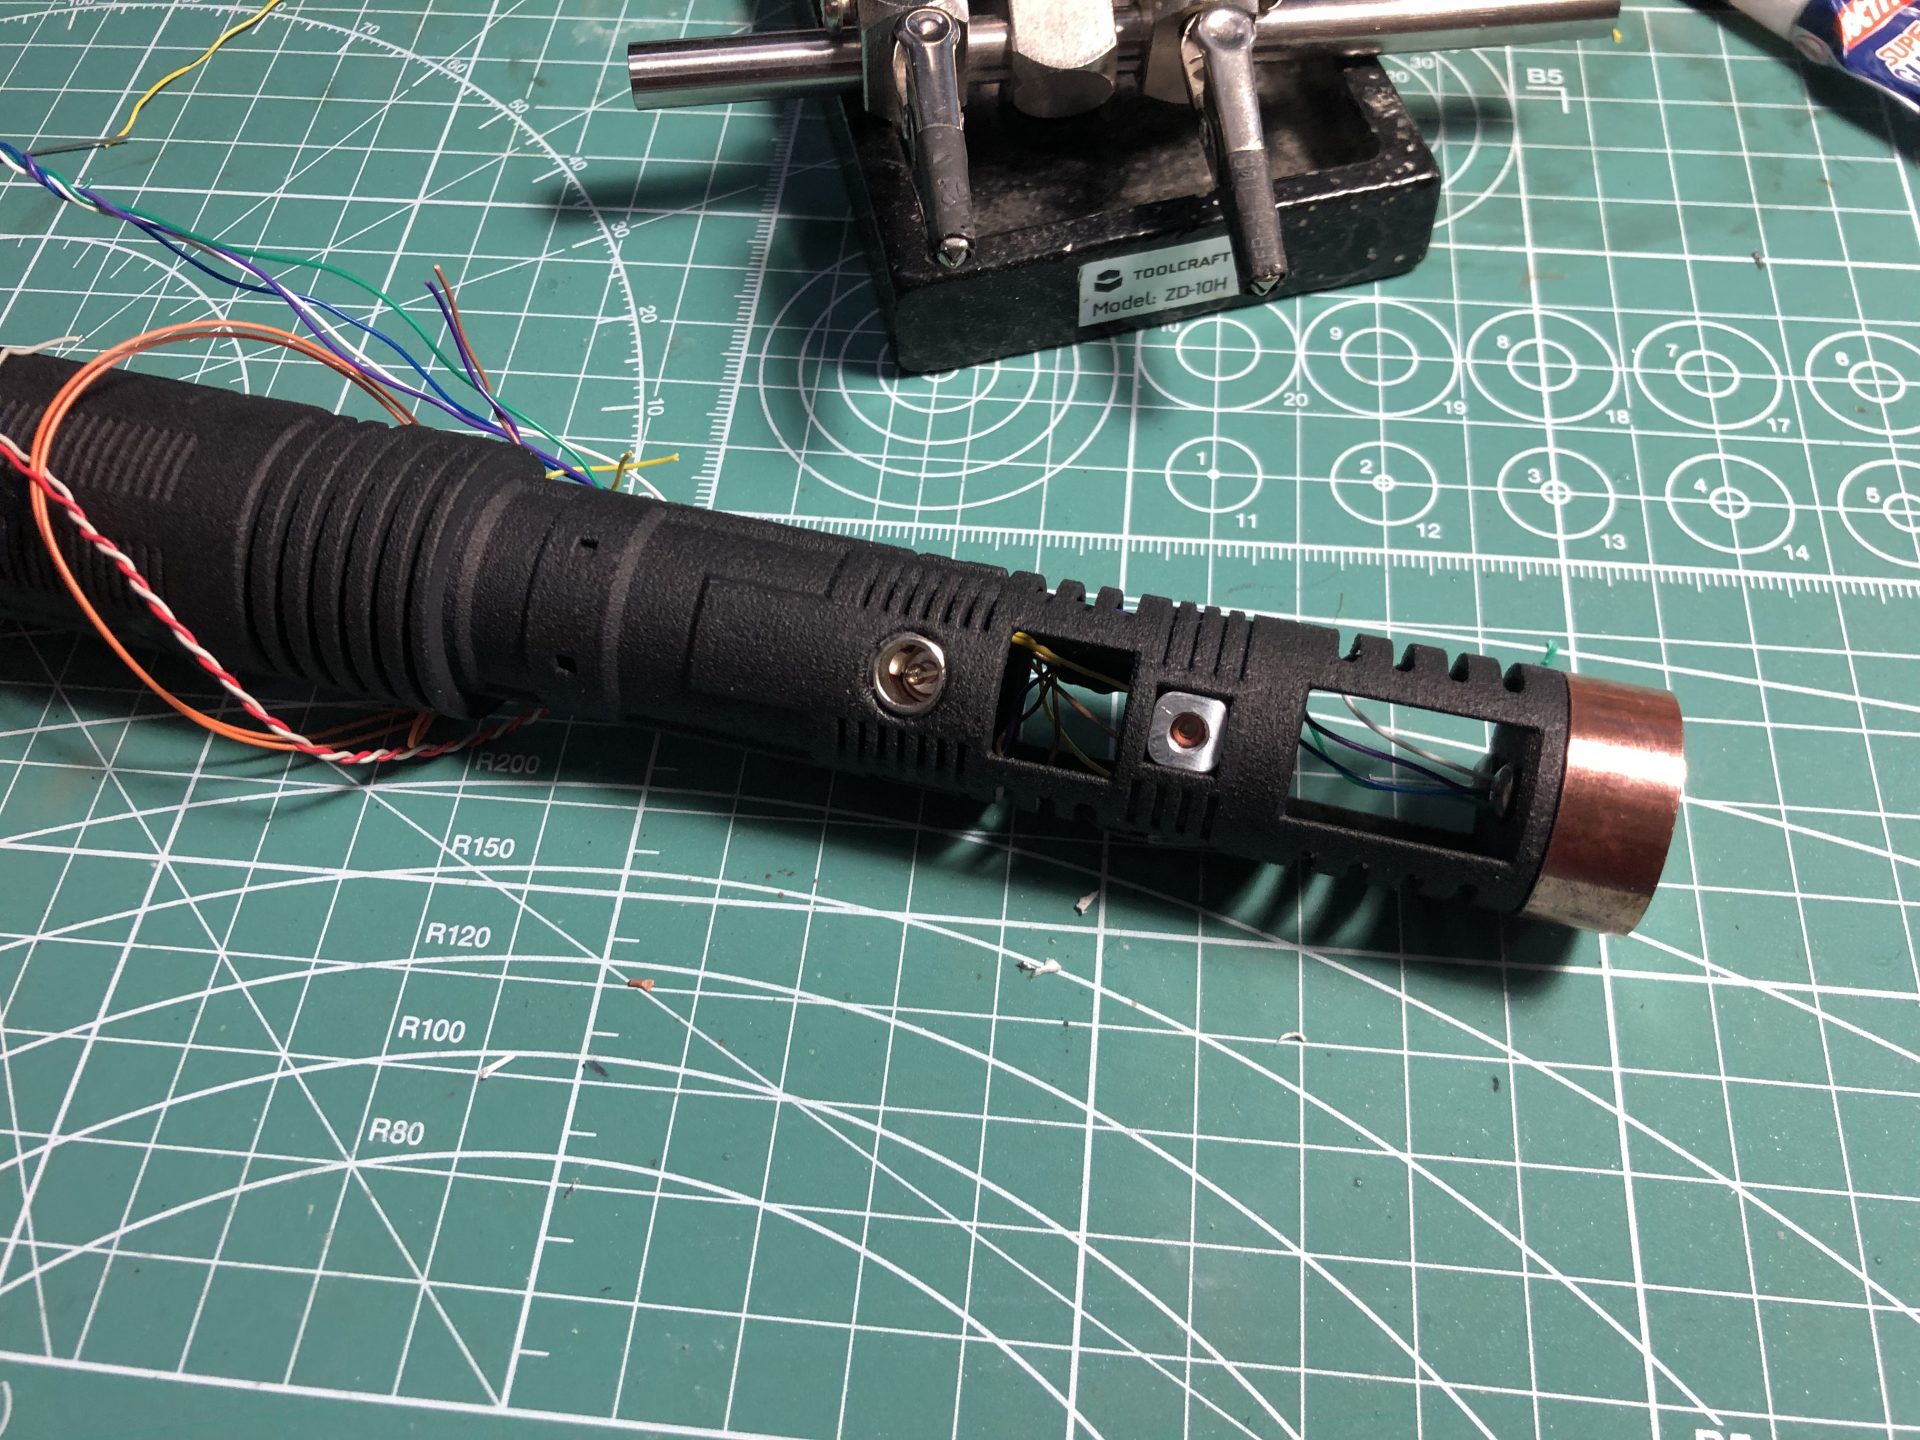
Pass the battery wires and speaker wires through the dedicated channel. There is very little space for the speaker wires (30awg mandatory), so they must stay centered into the small channel, and should still be able to slide in or out when inserting the battery. You also have to pull the battery wires while inserting the battery in the chassis.
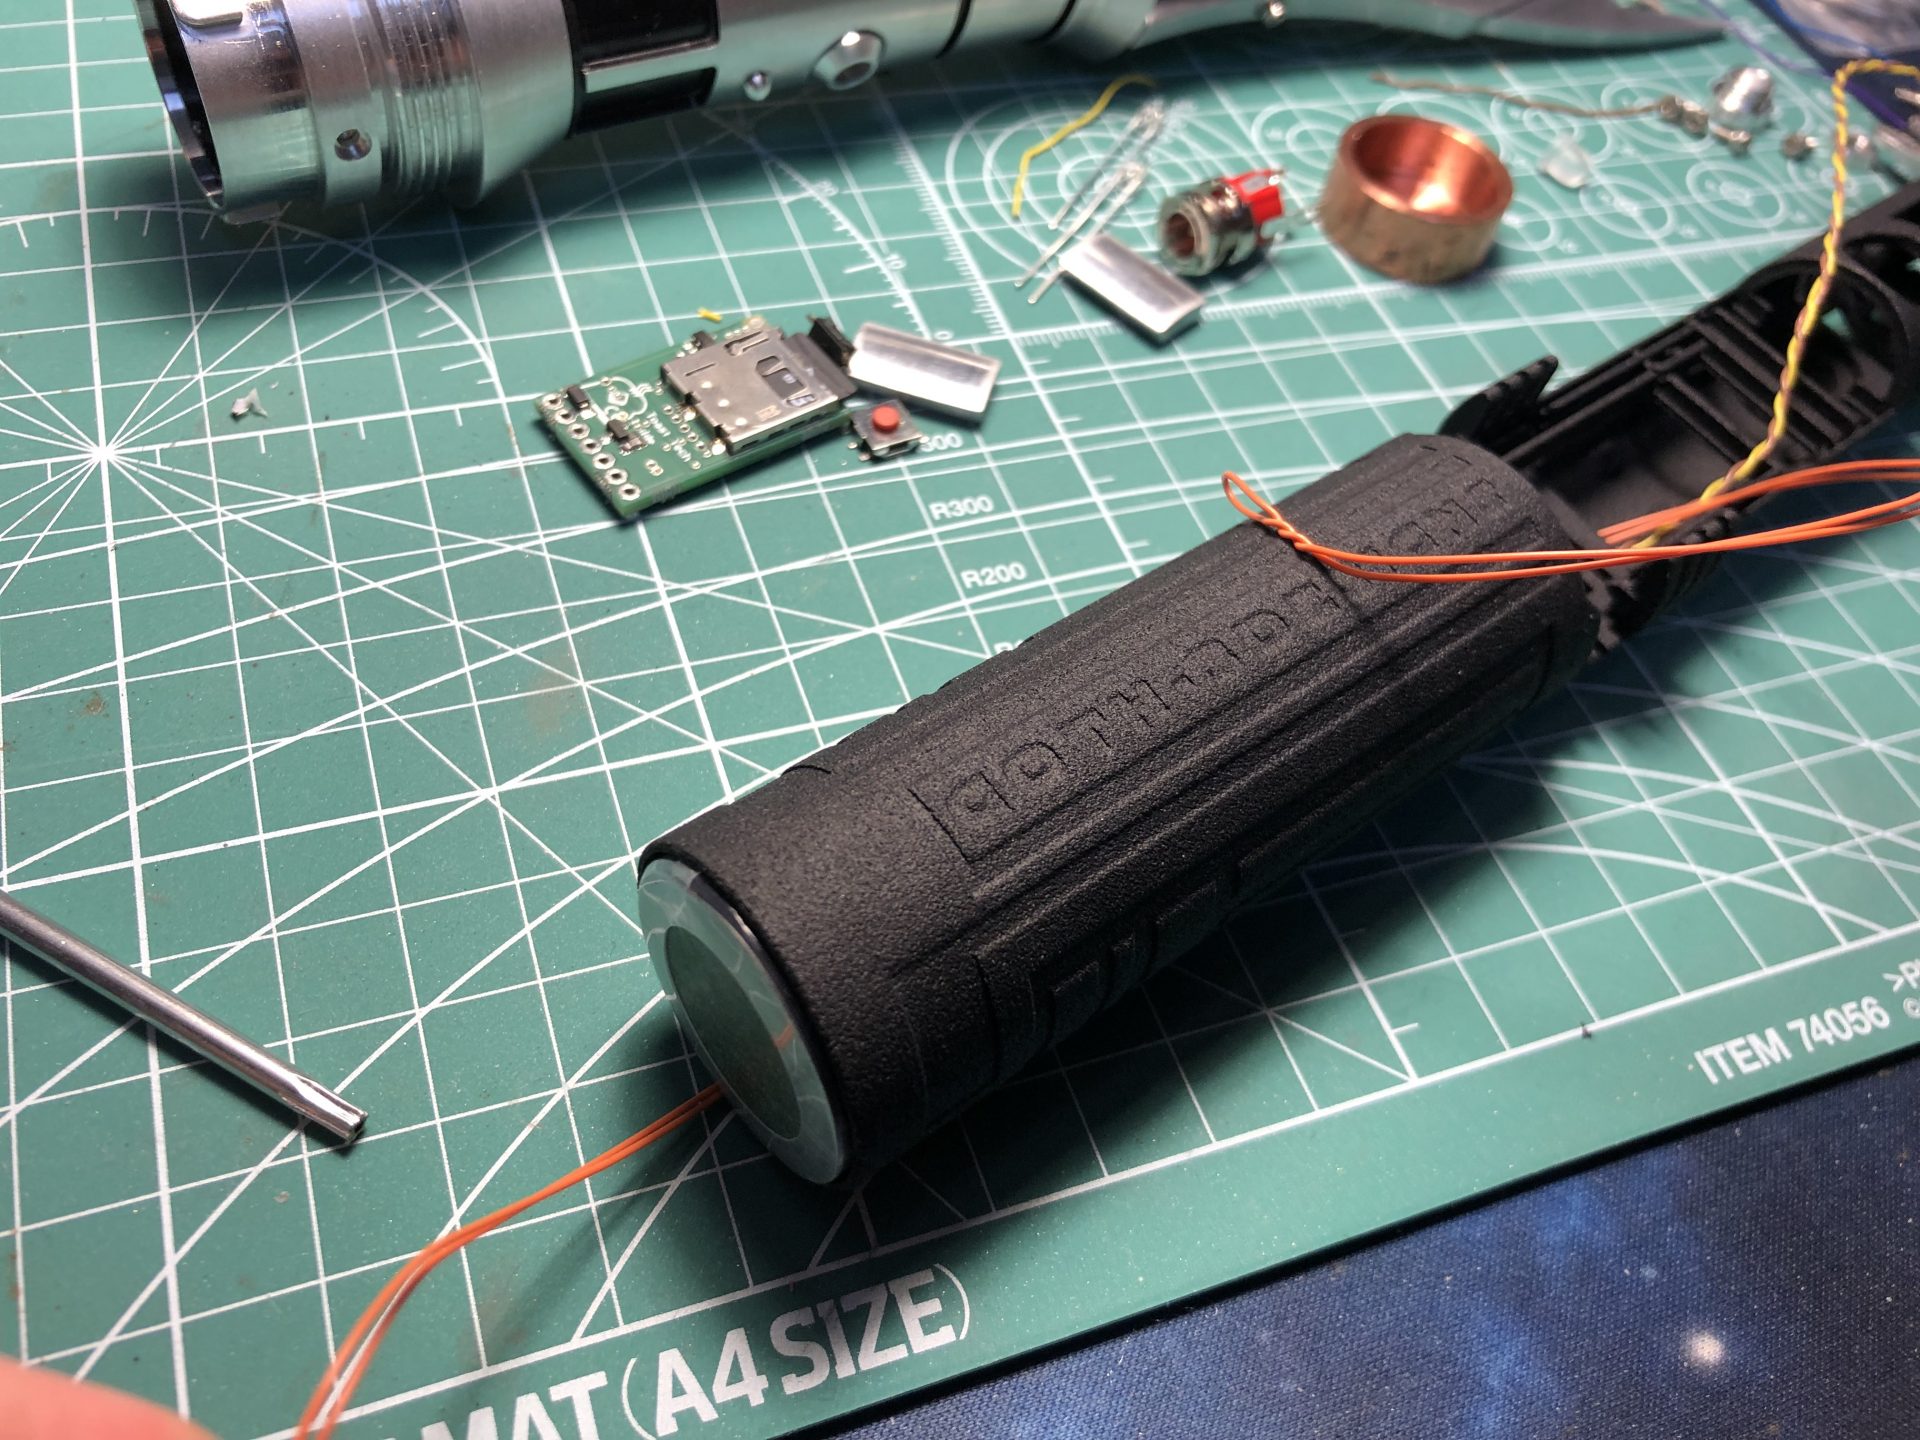

Once the battery inserted, check that enough space is left for the 28mm bass speaker. If not, or if the speaker wires are stuck, the battery can be pushed out through the hole shown in the picture below.
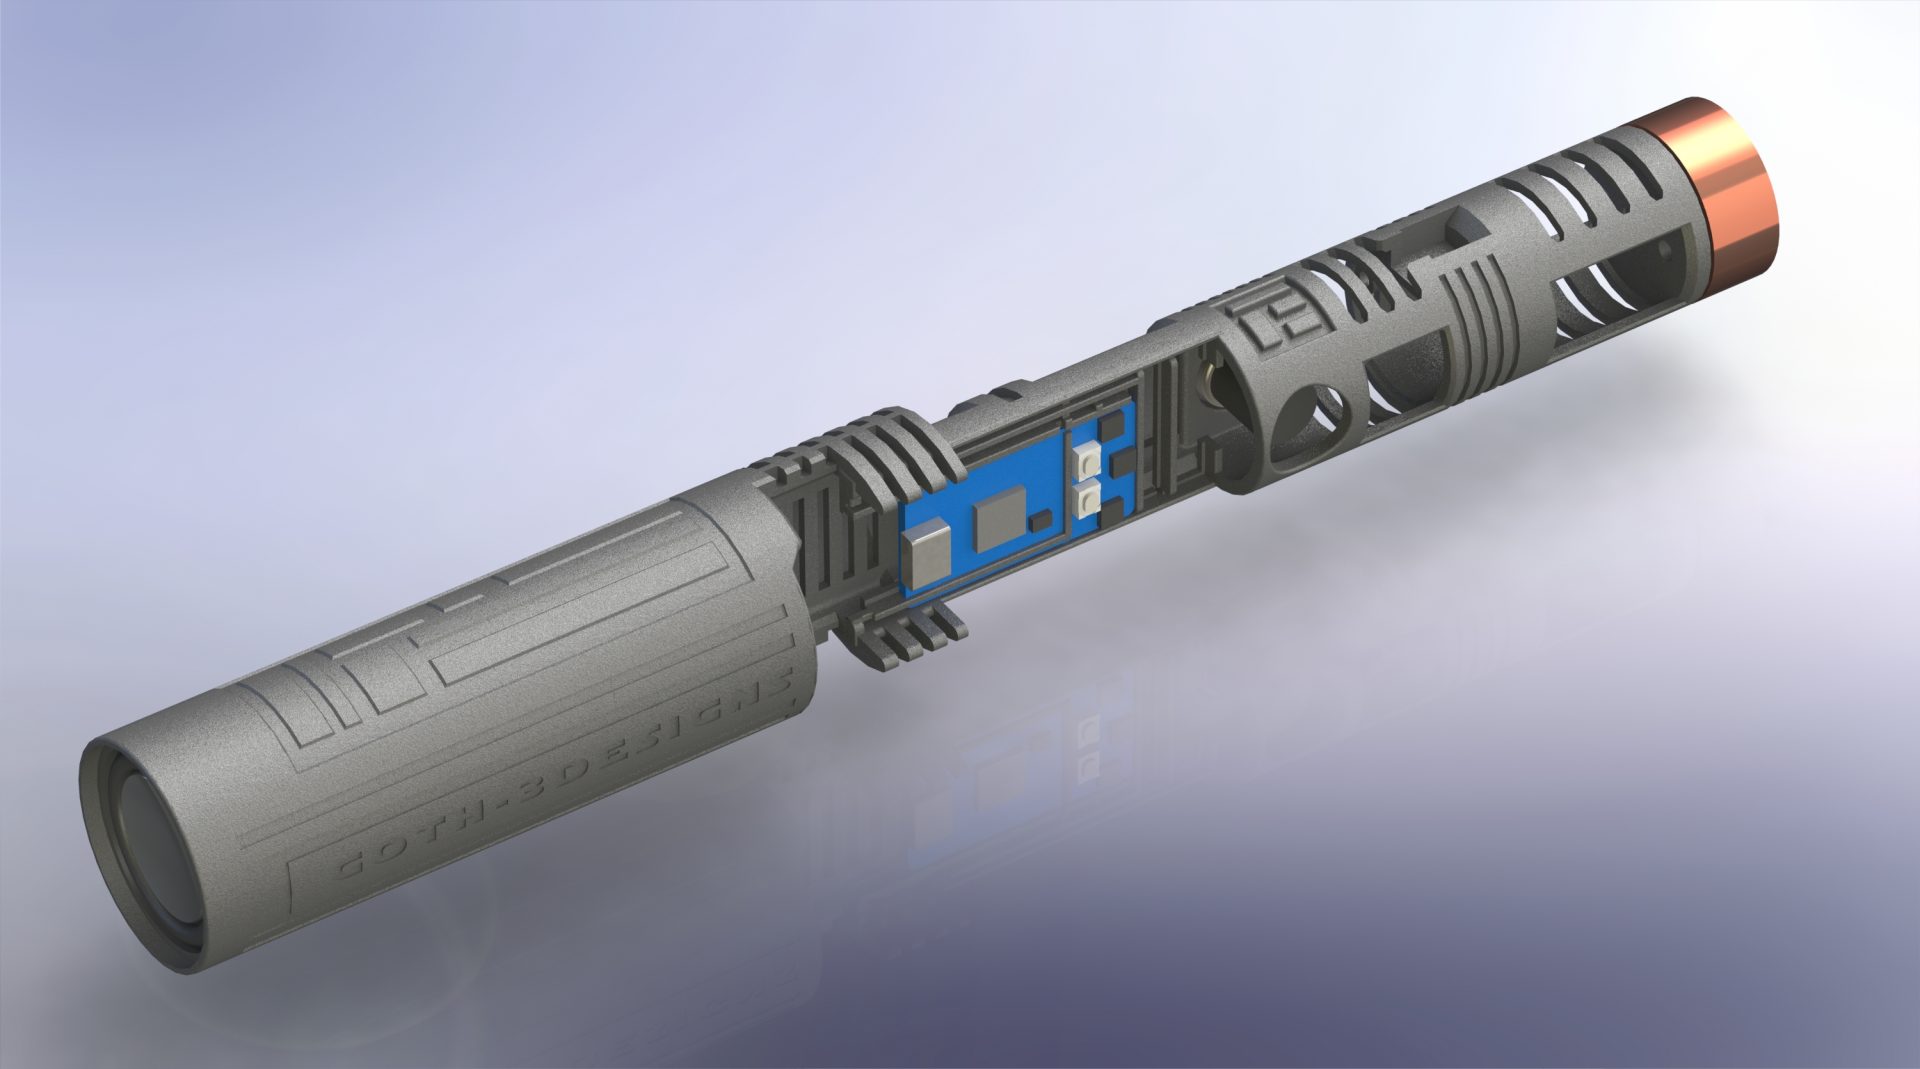
Wire and install the speaker (a few drops of super glue are used to secure it).


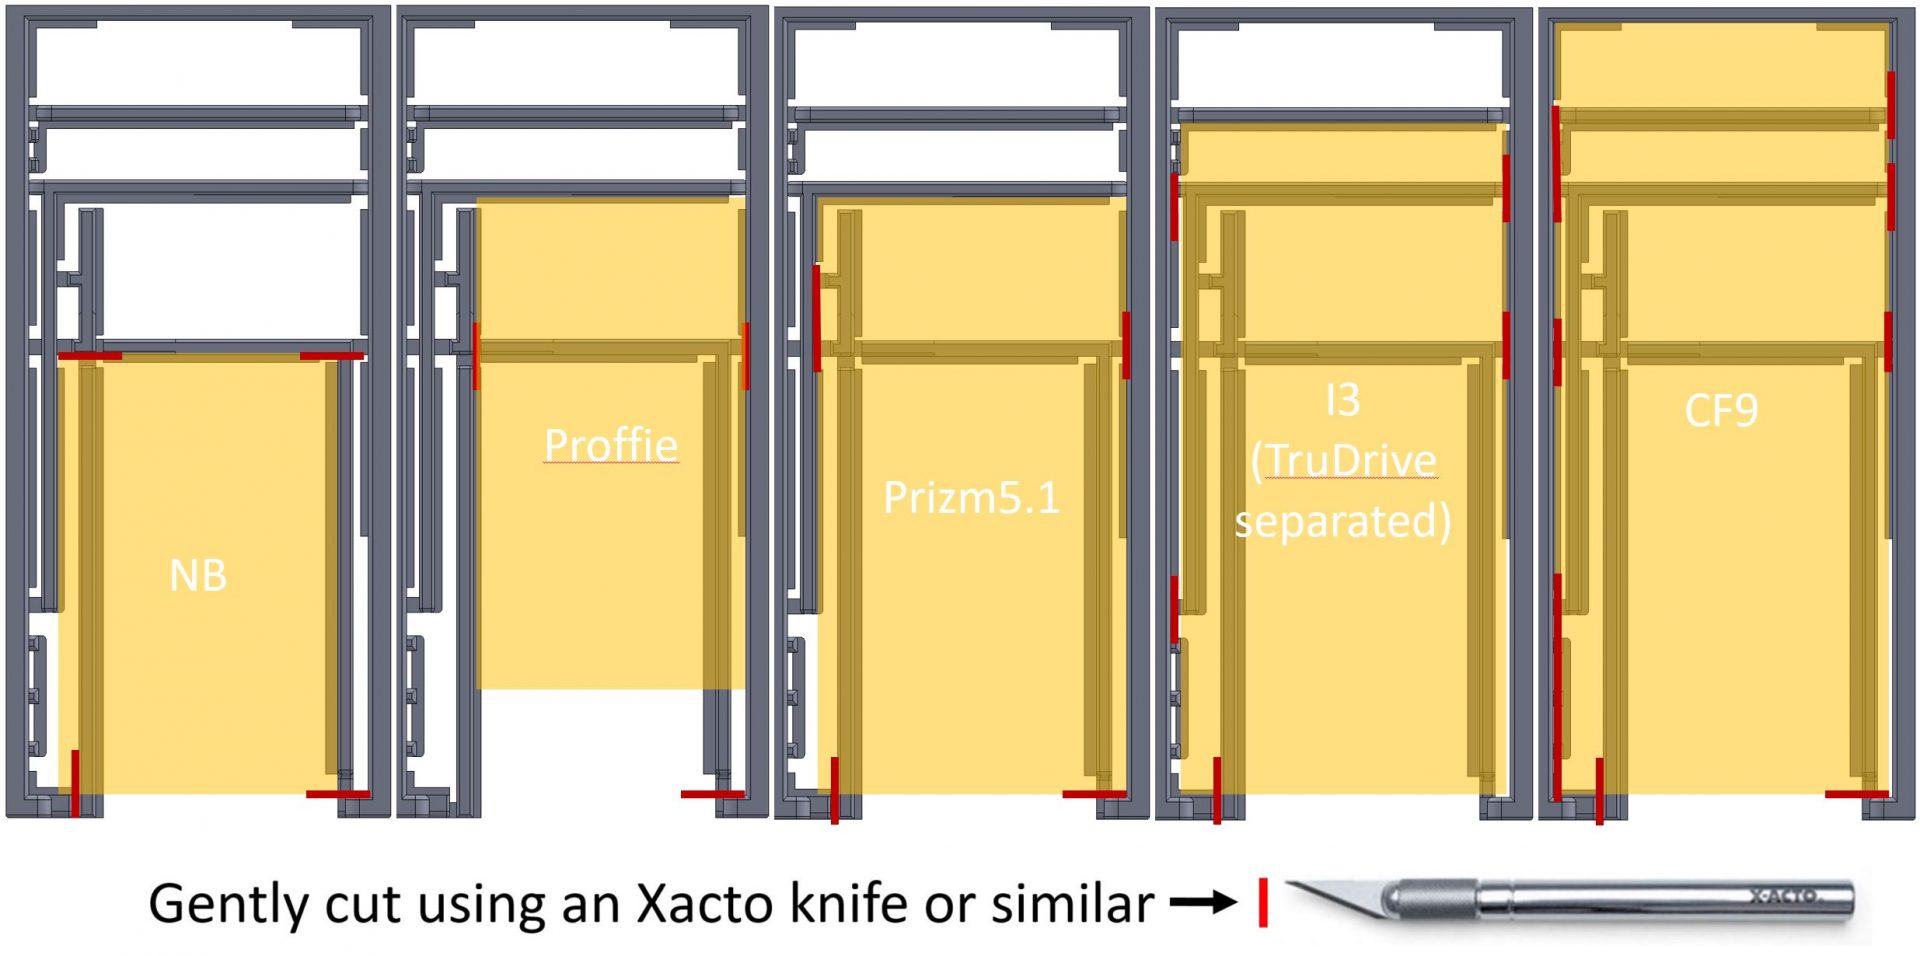
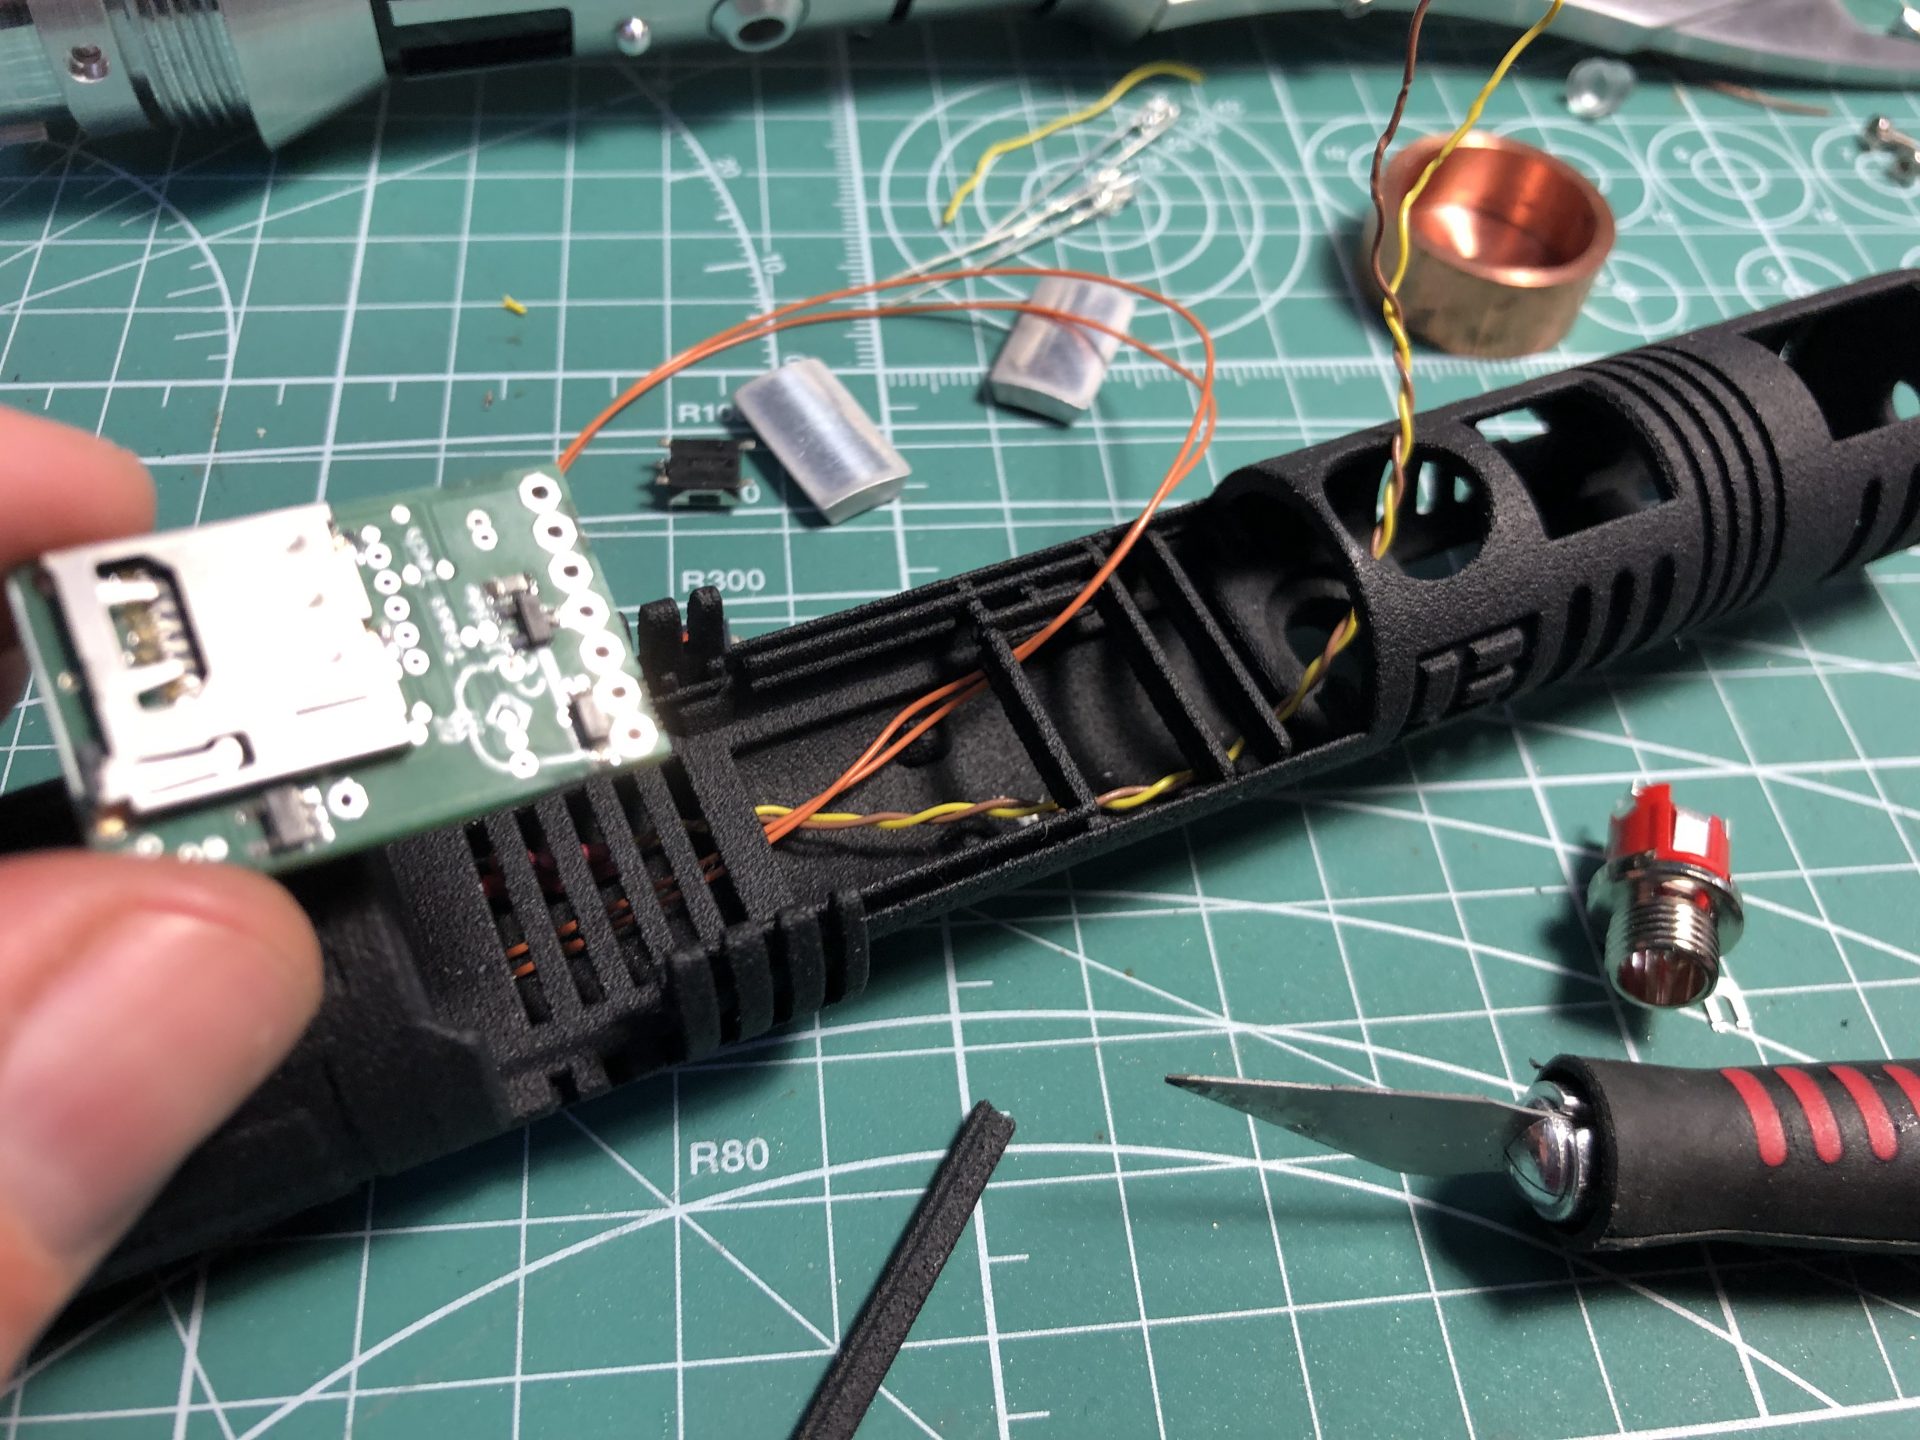
Cut the MultiBoards Adaptive Chassis according to the soundboard to be installed.
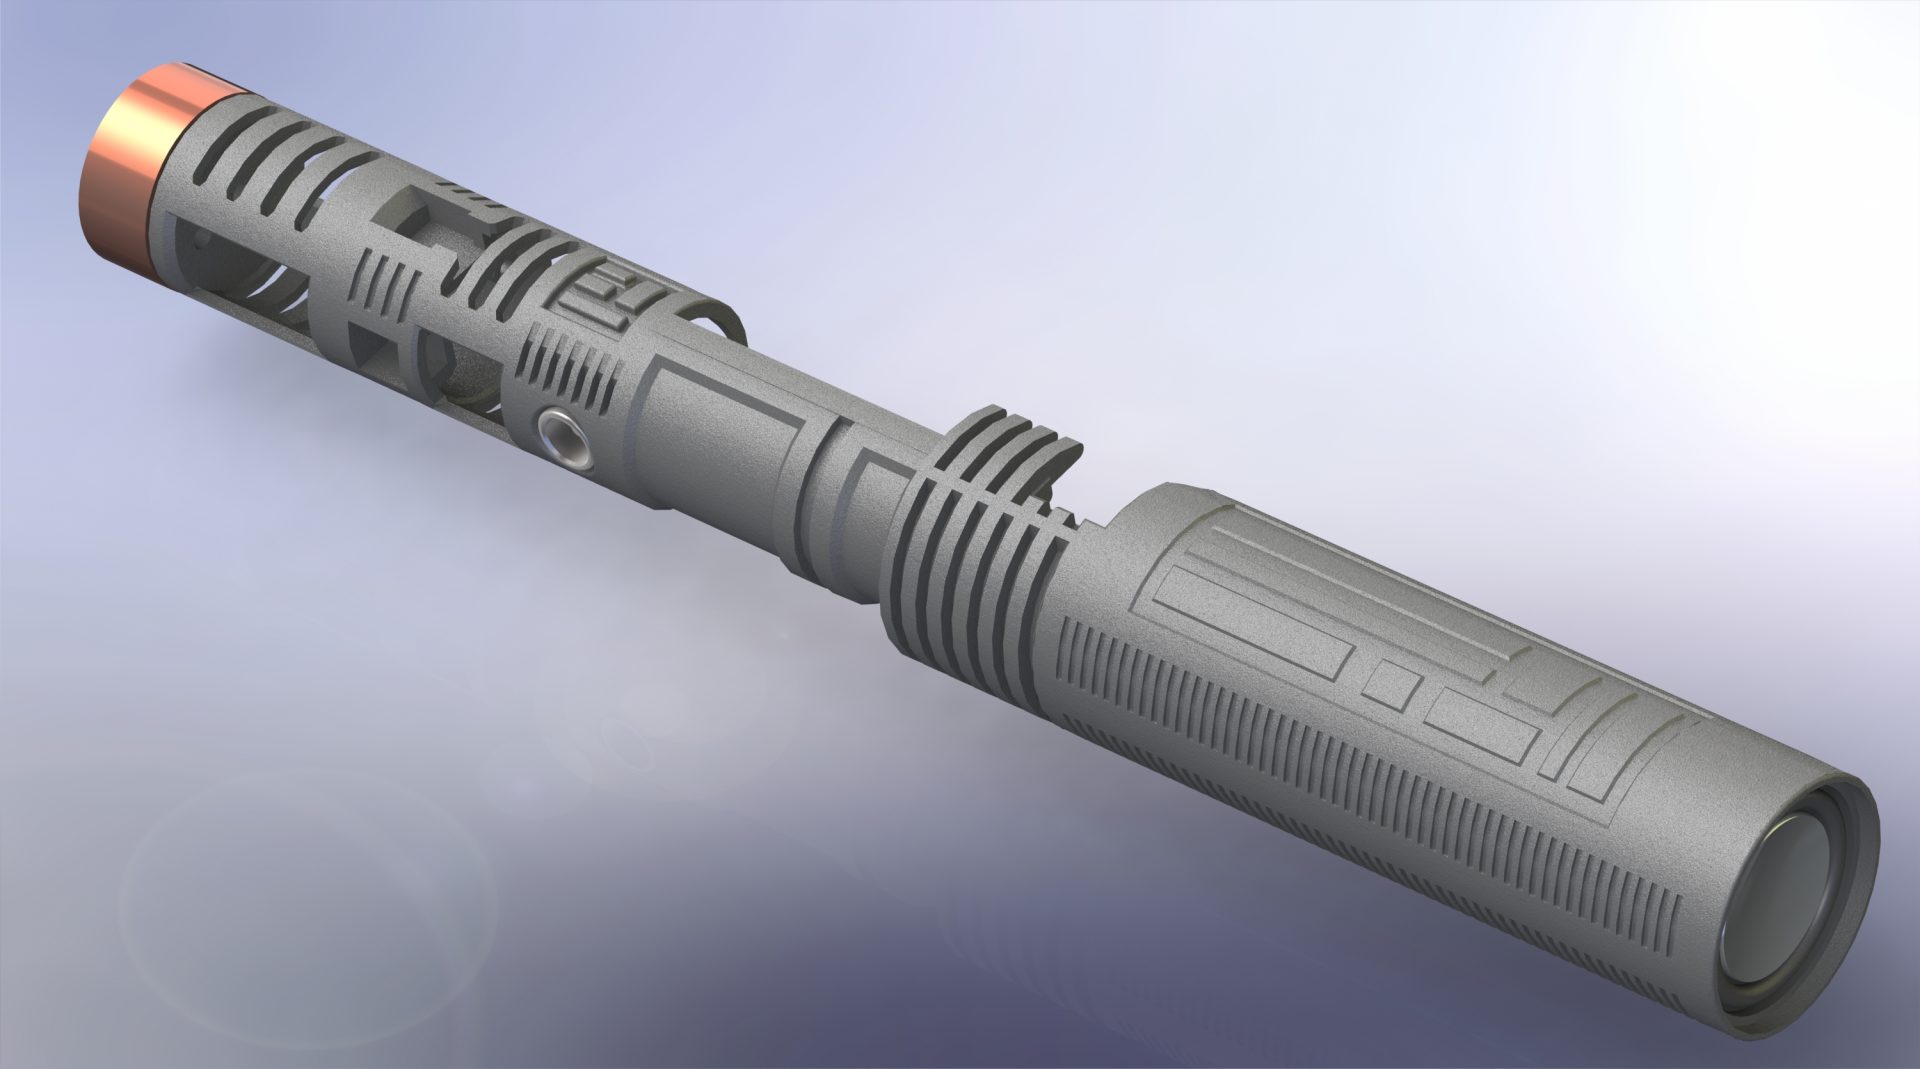
Cut the prongs of the recharge port to their minimum.
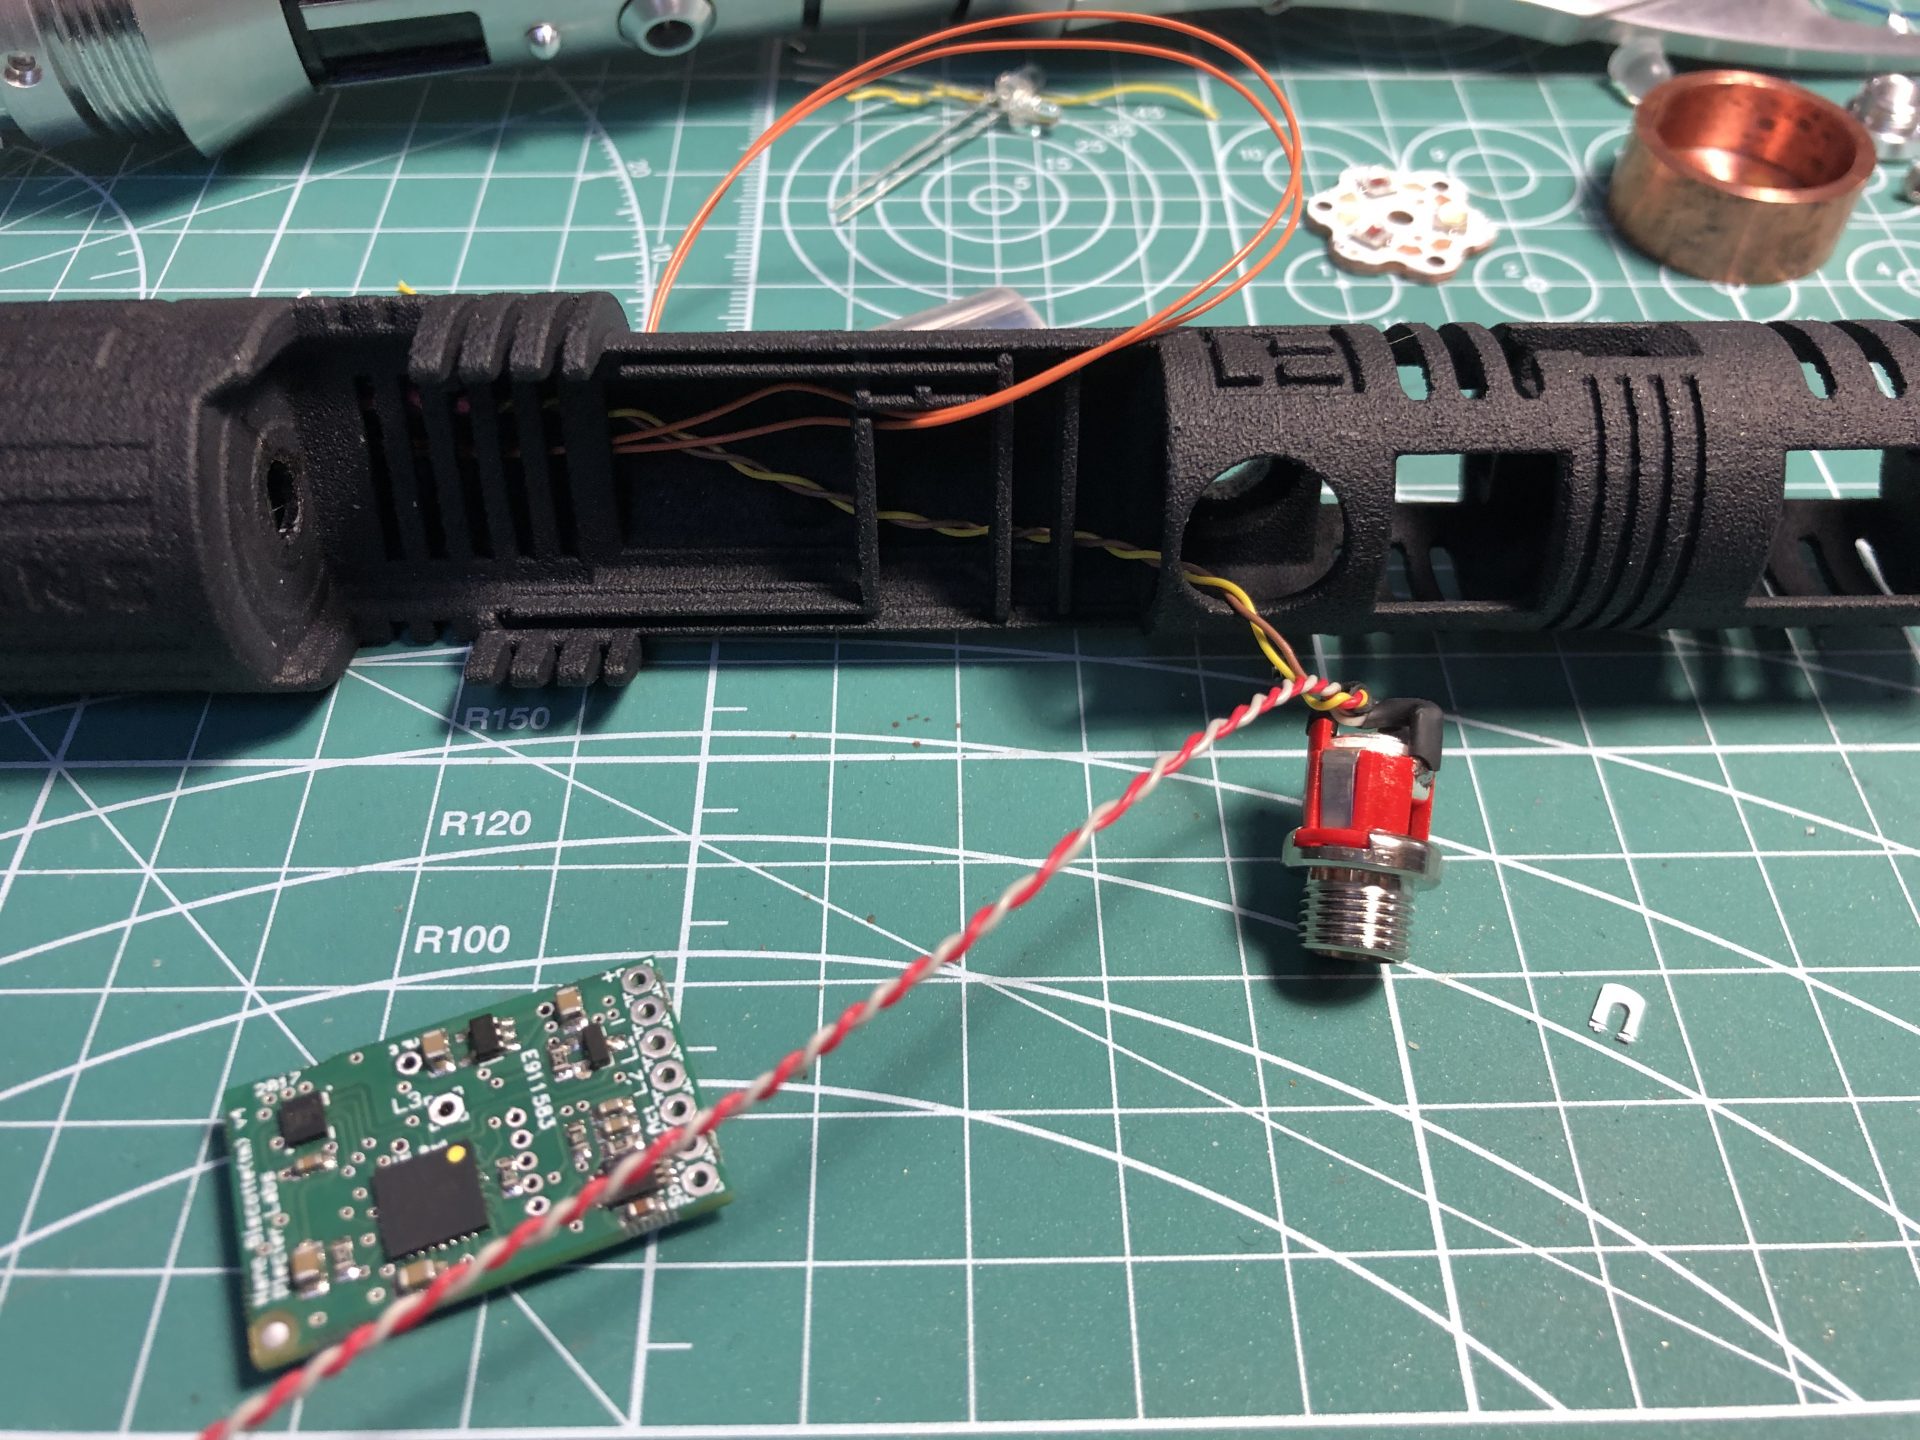
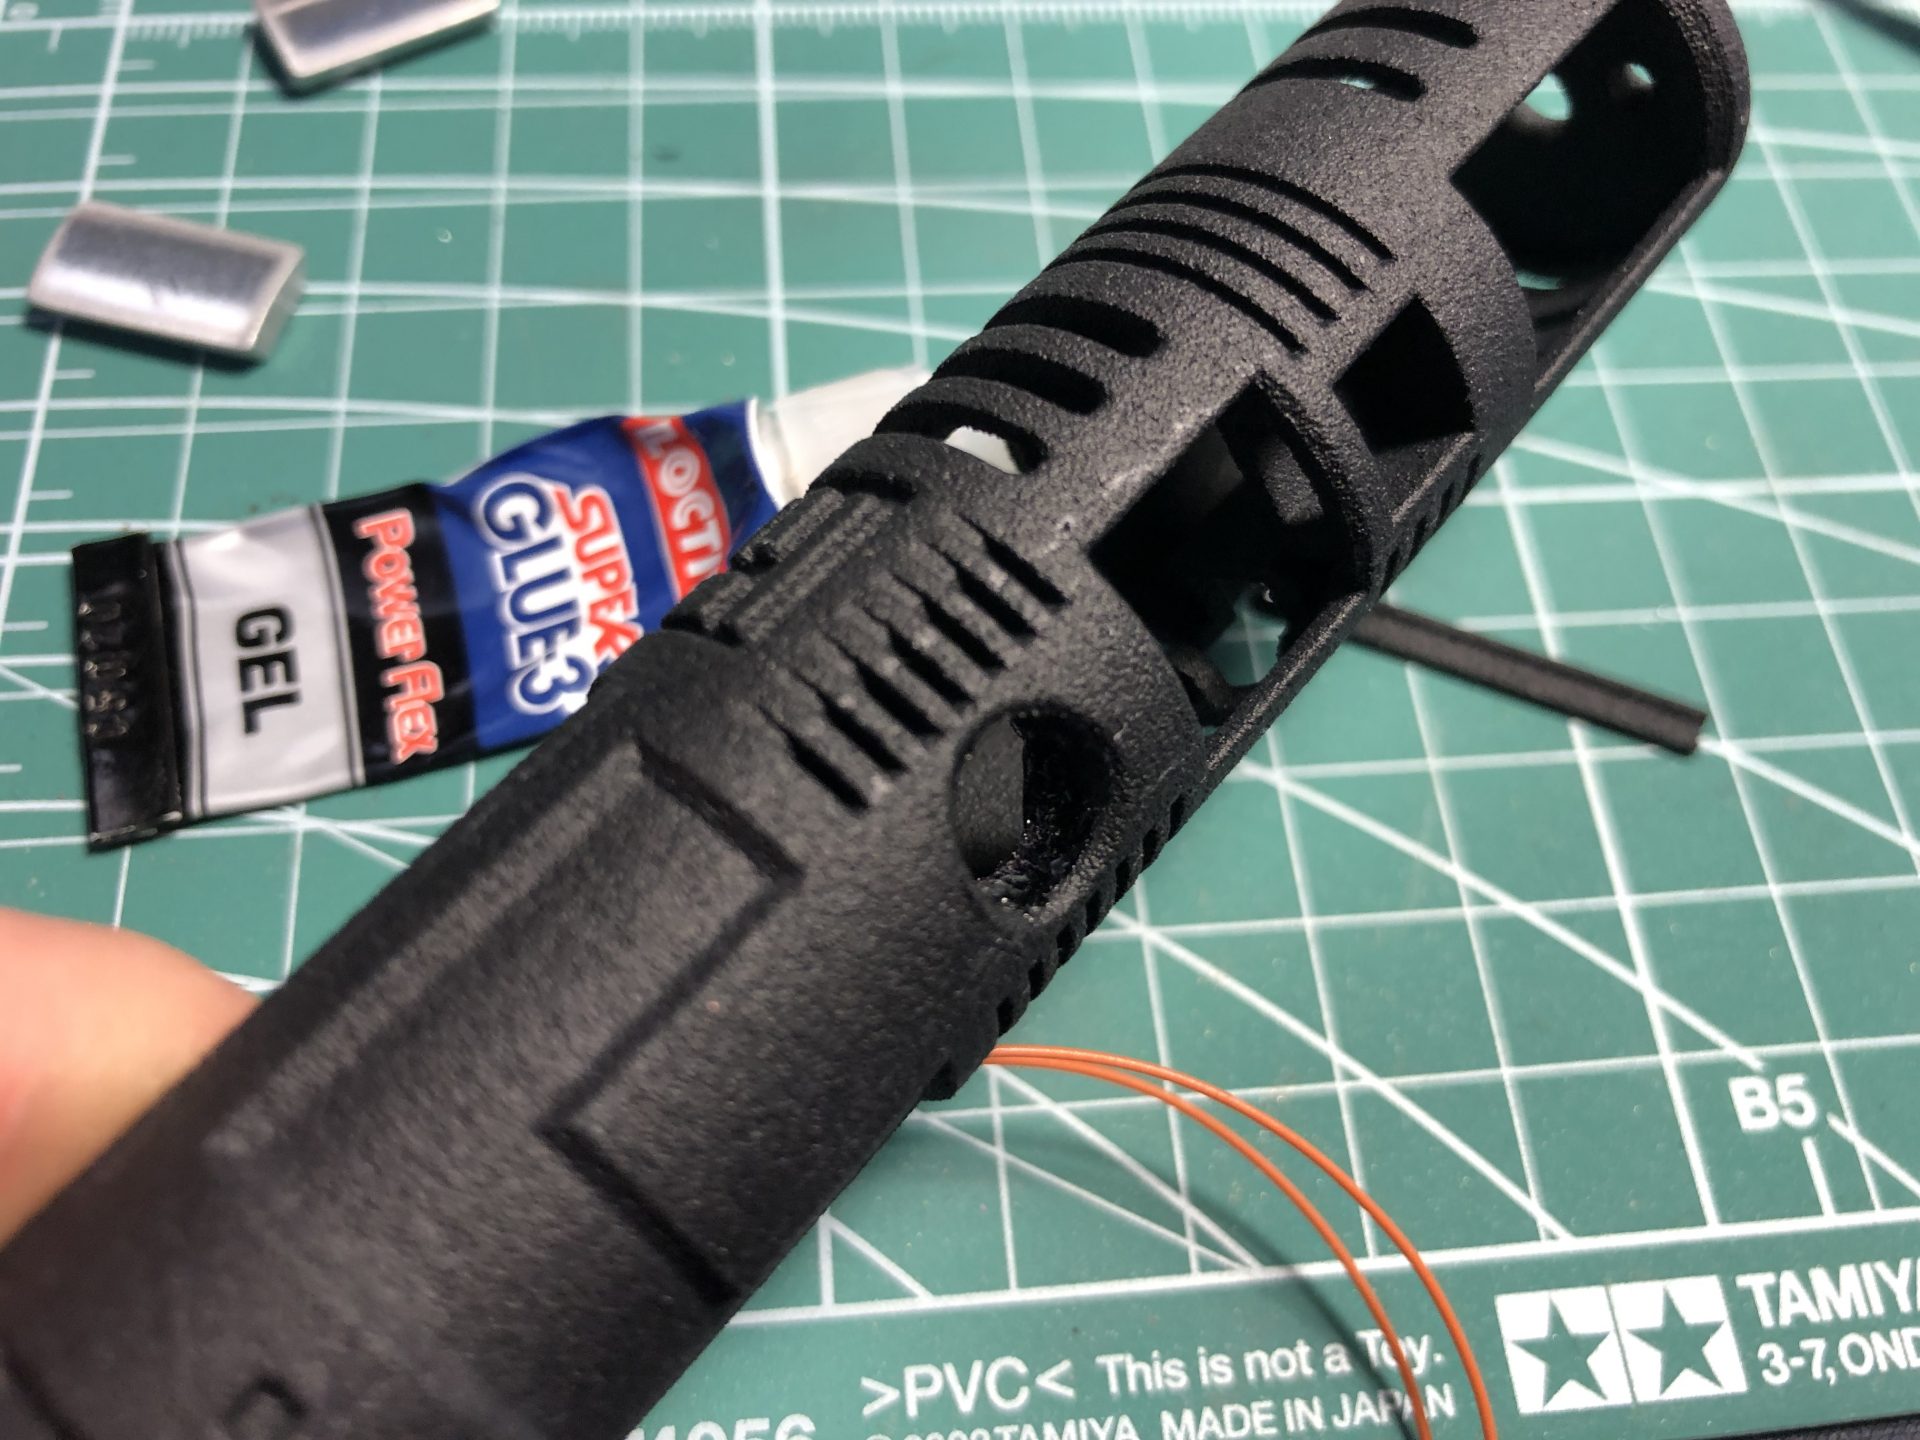
The recharge port hole is for press fit install, some sanding could be required if the recharge port doesn’t press fit properly. Adding a bit of super glue will help securing the port.

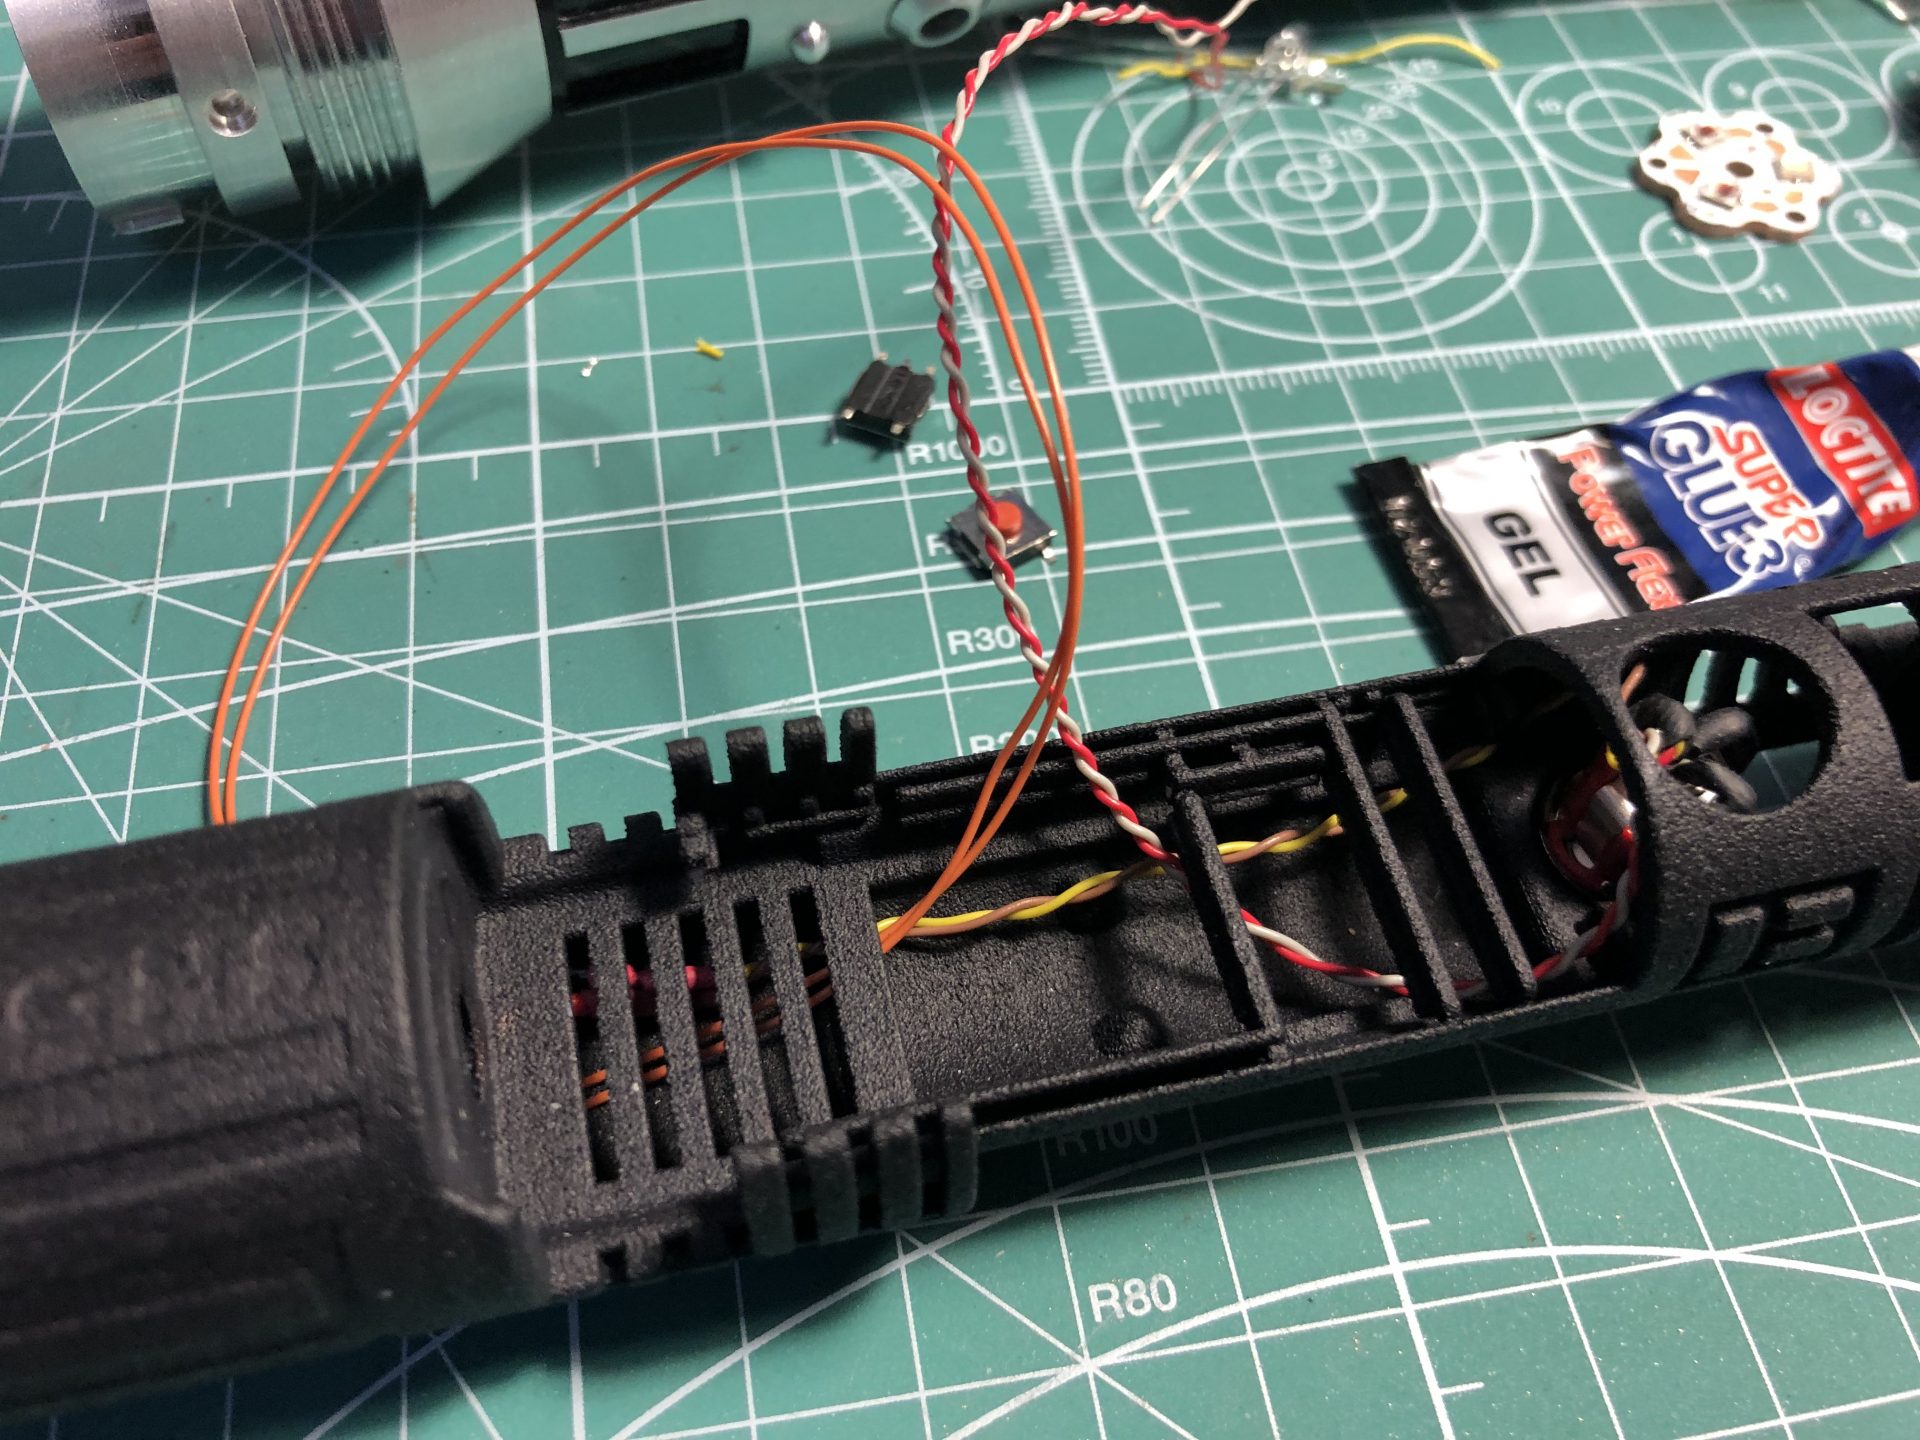
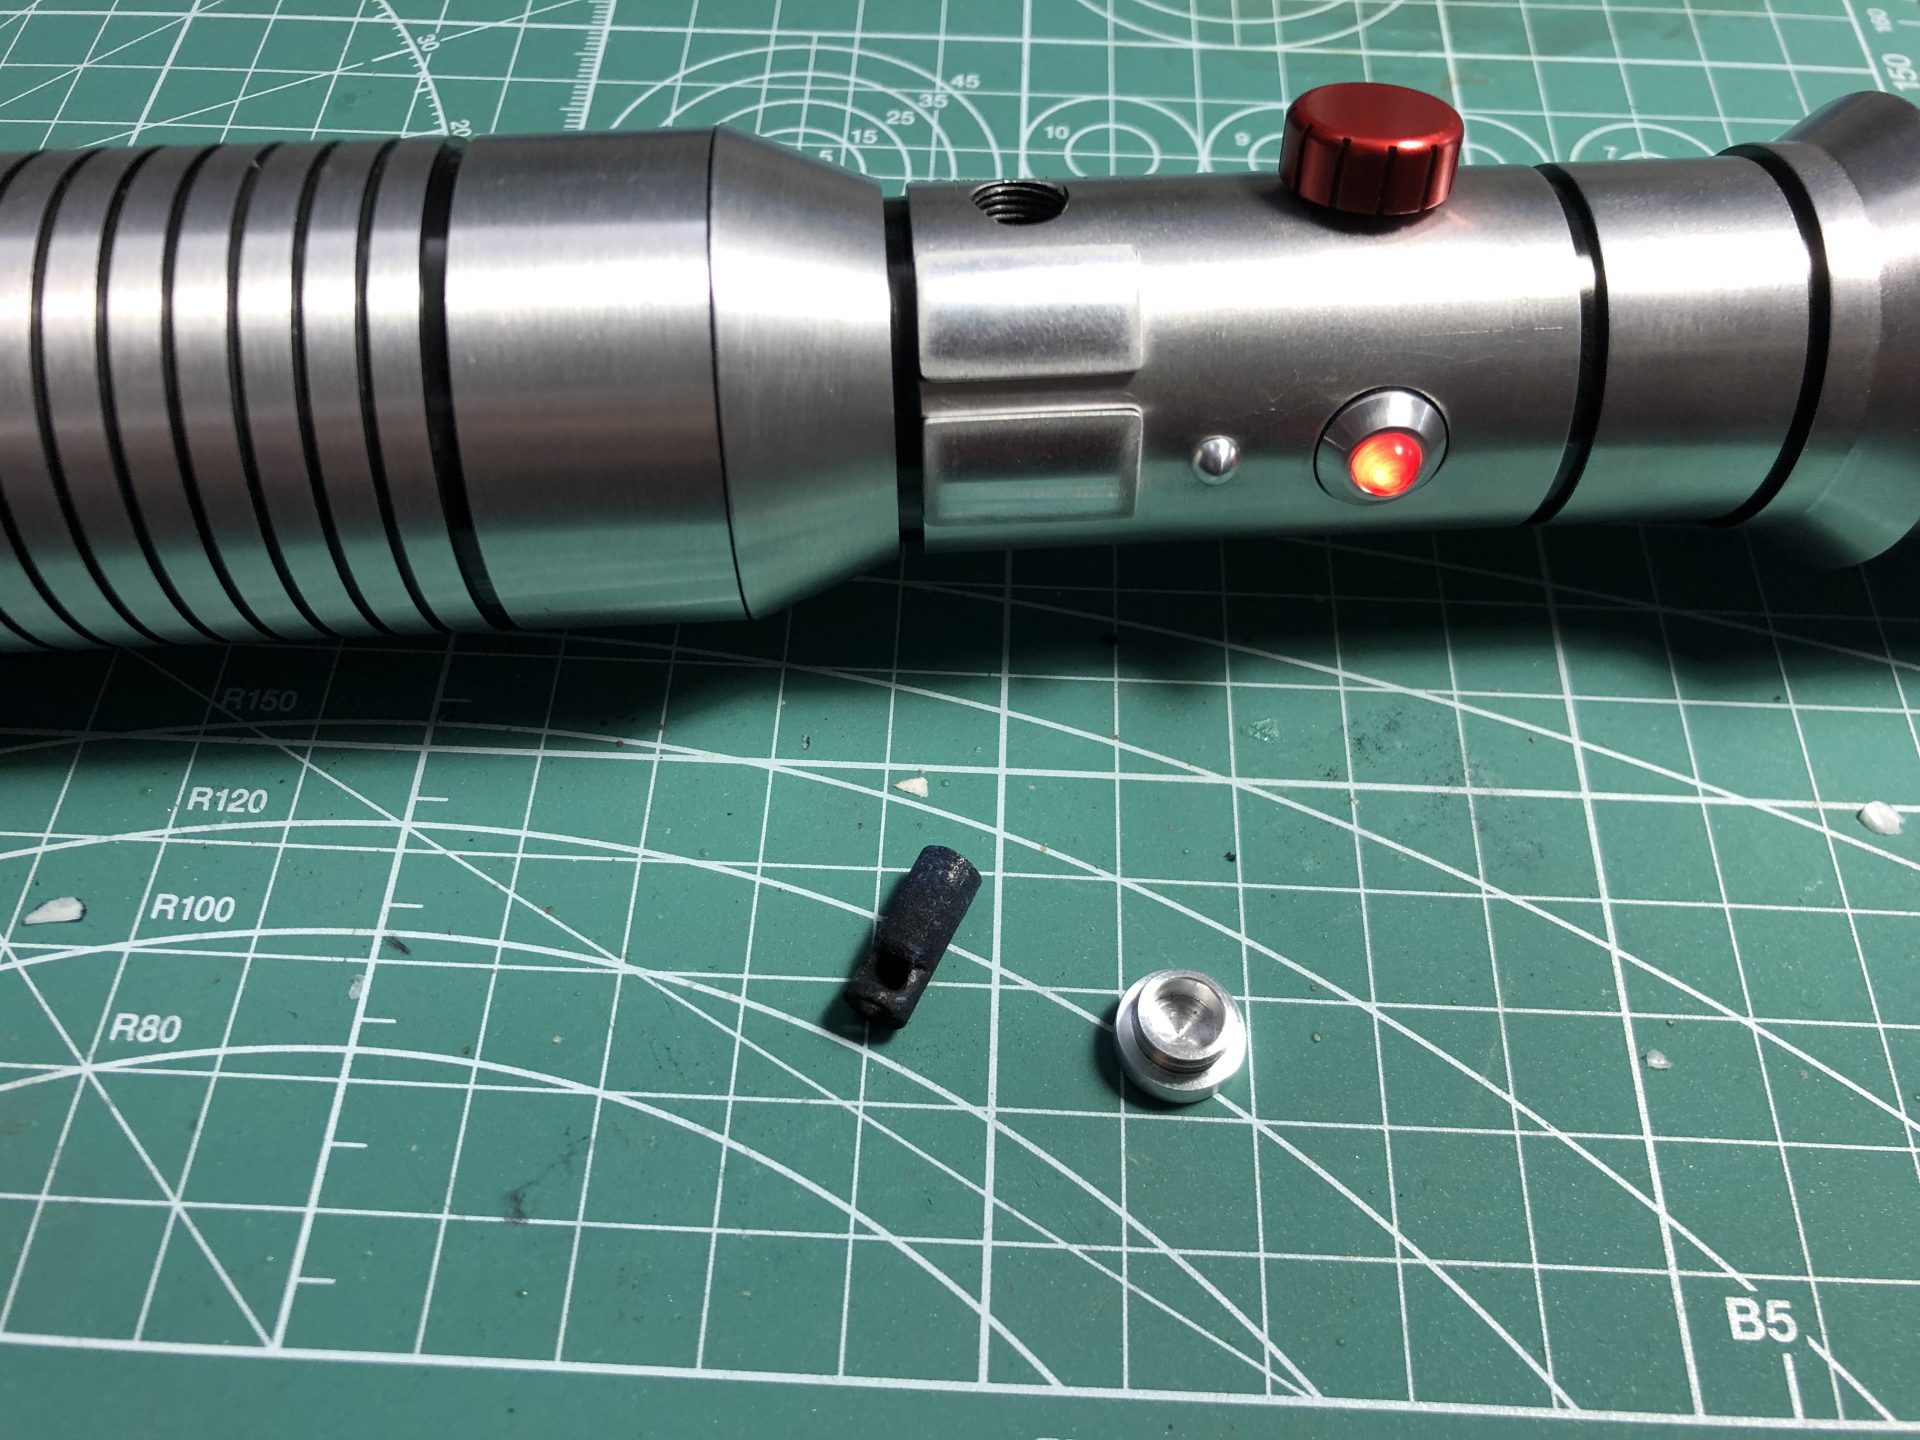
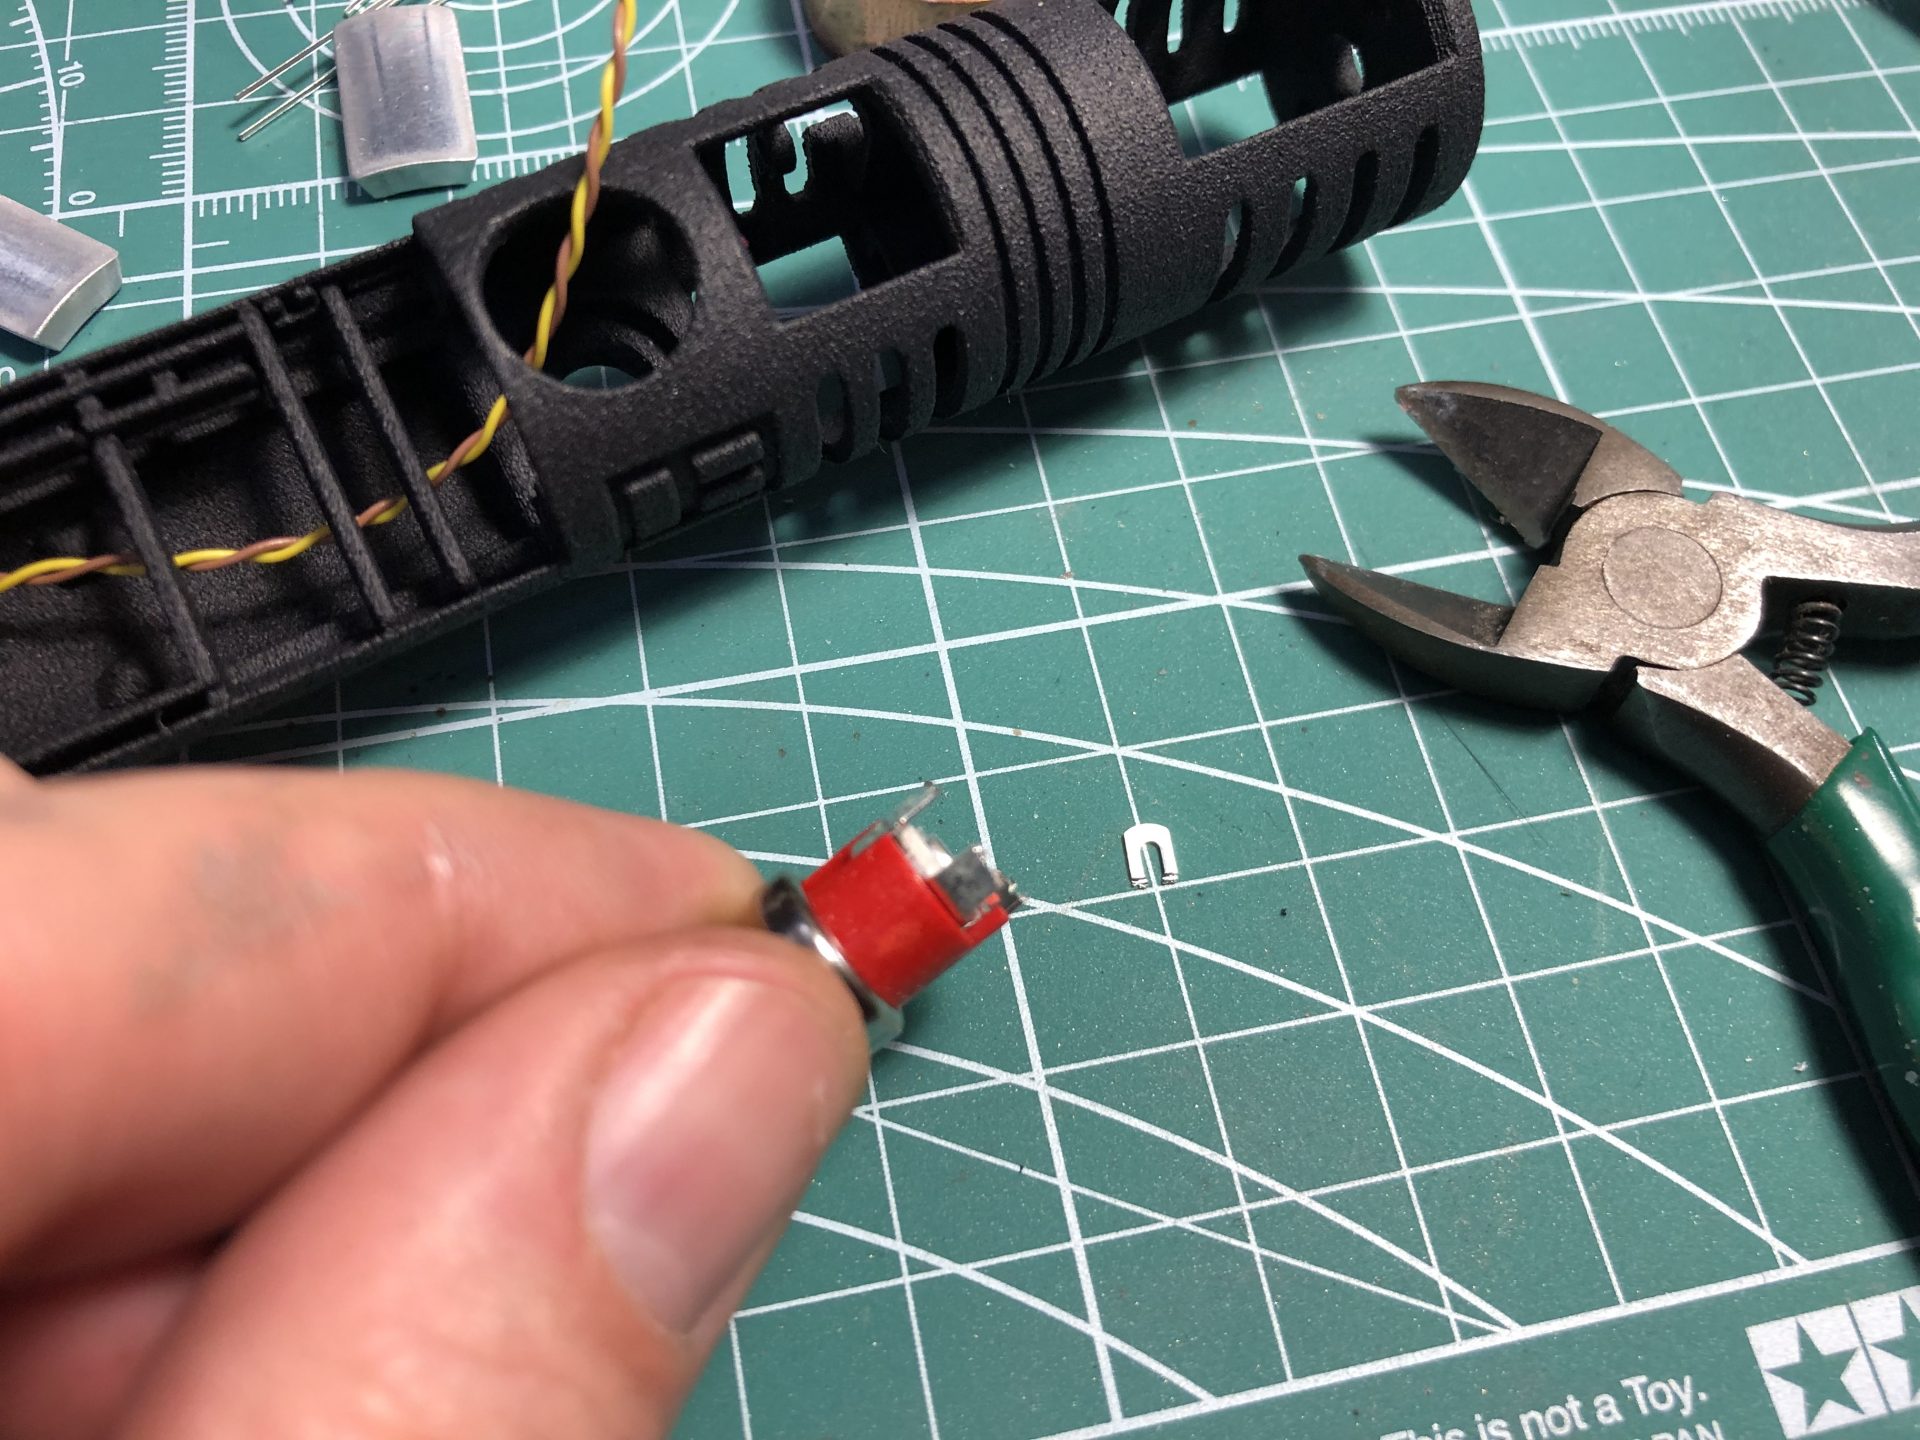
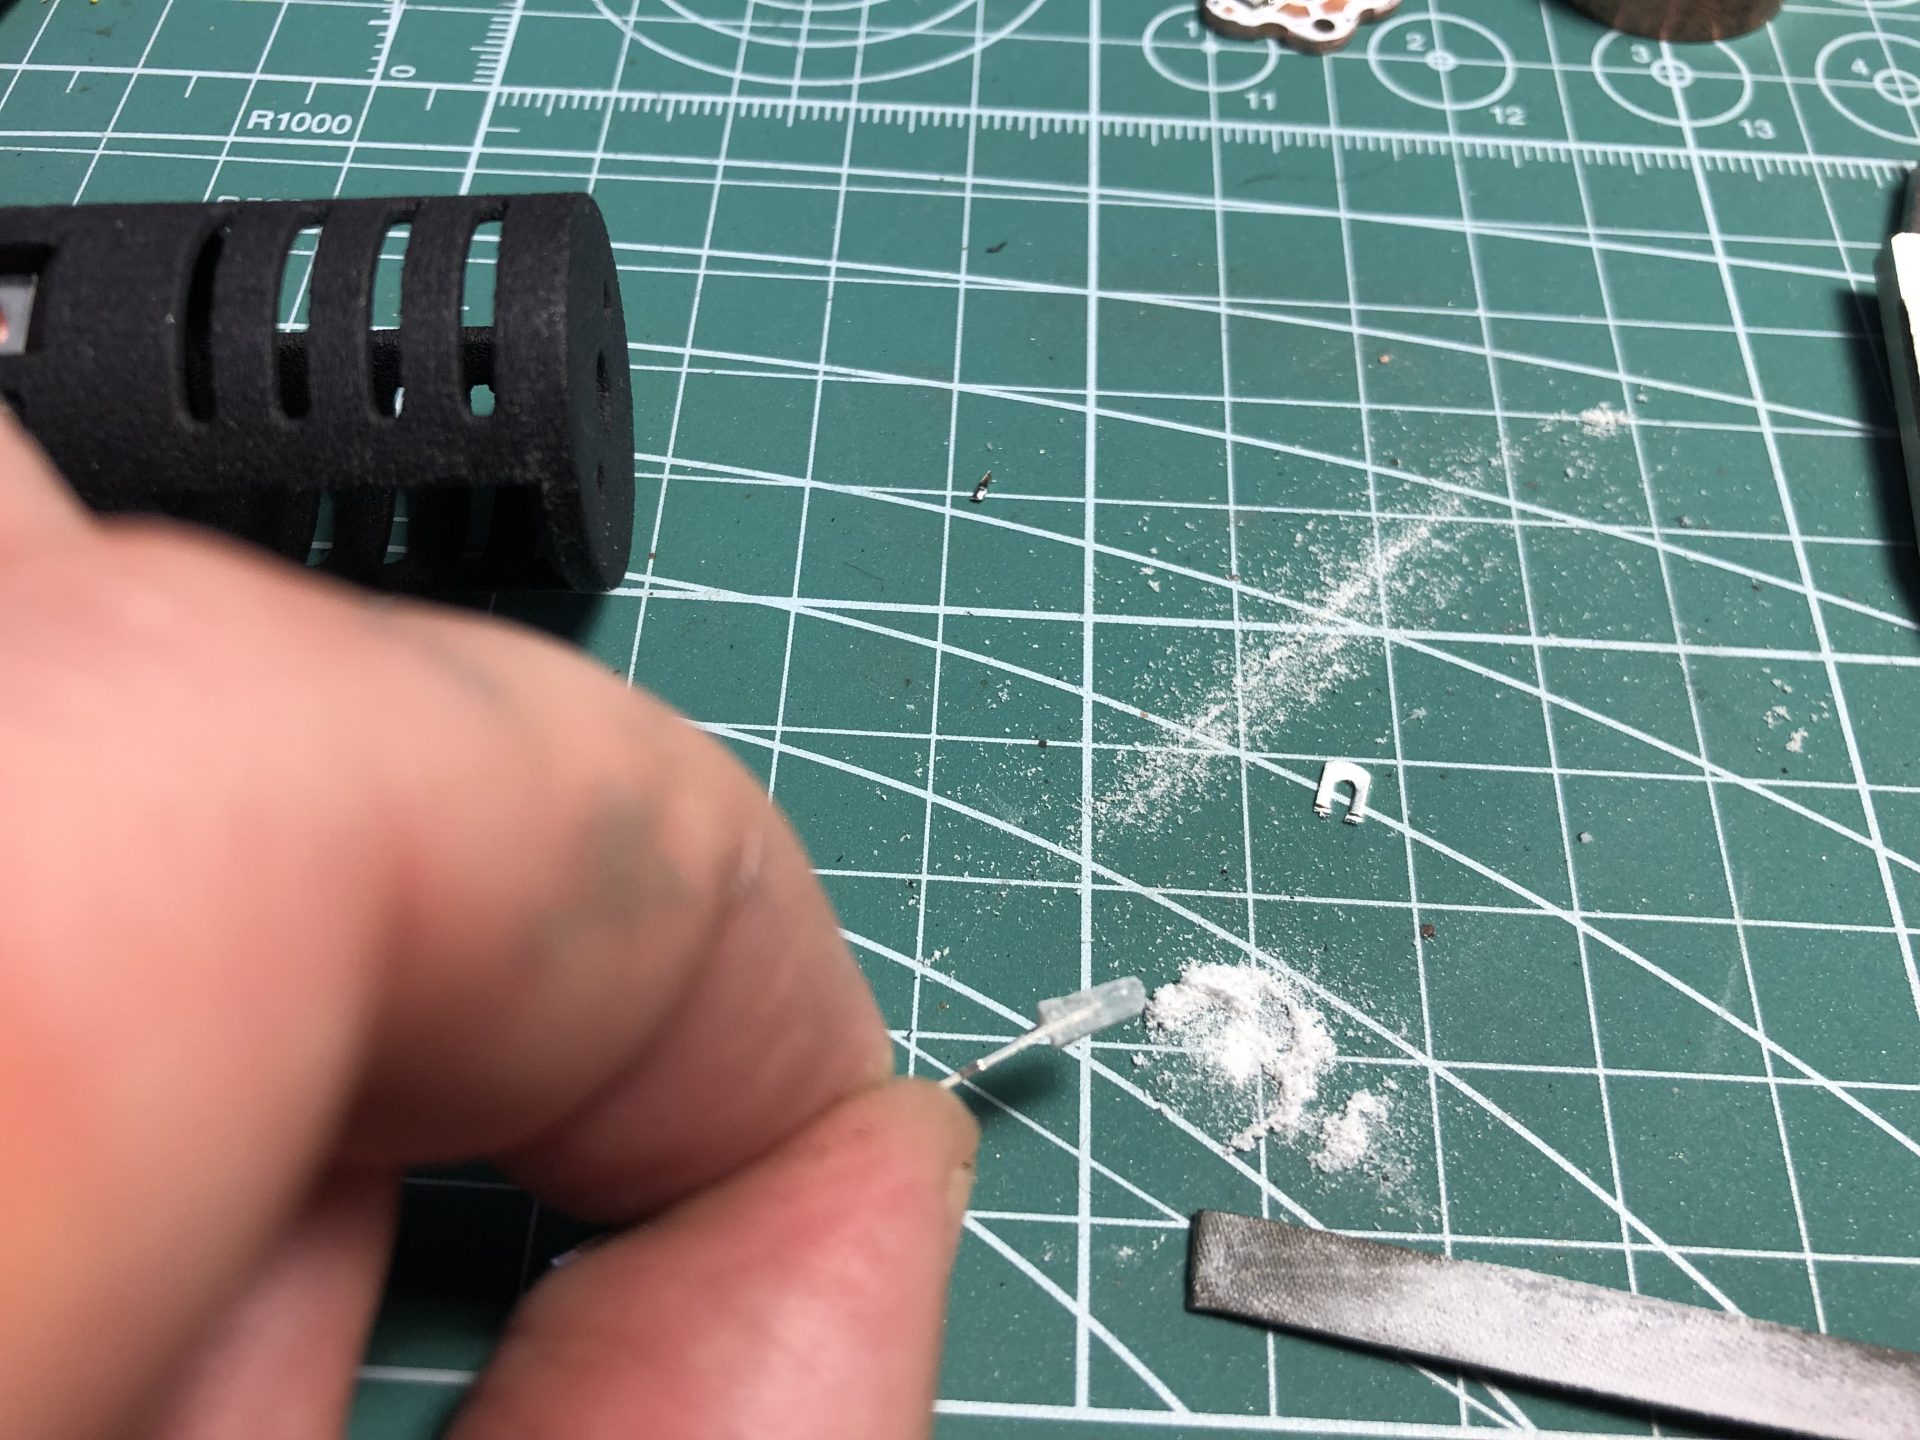
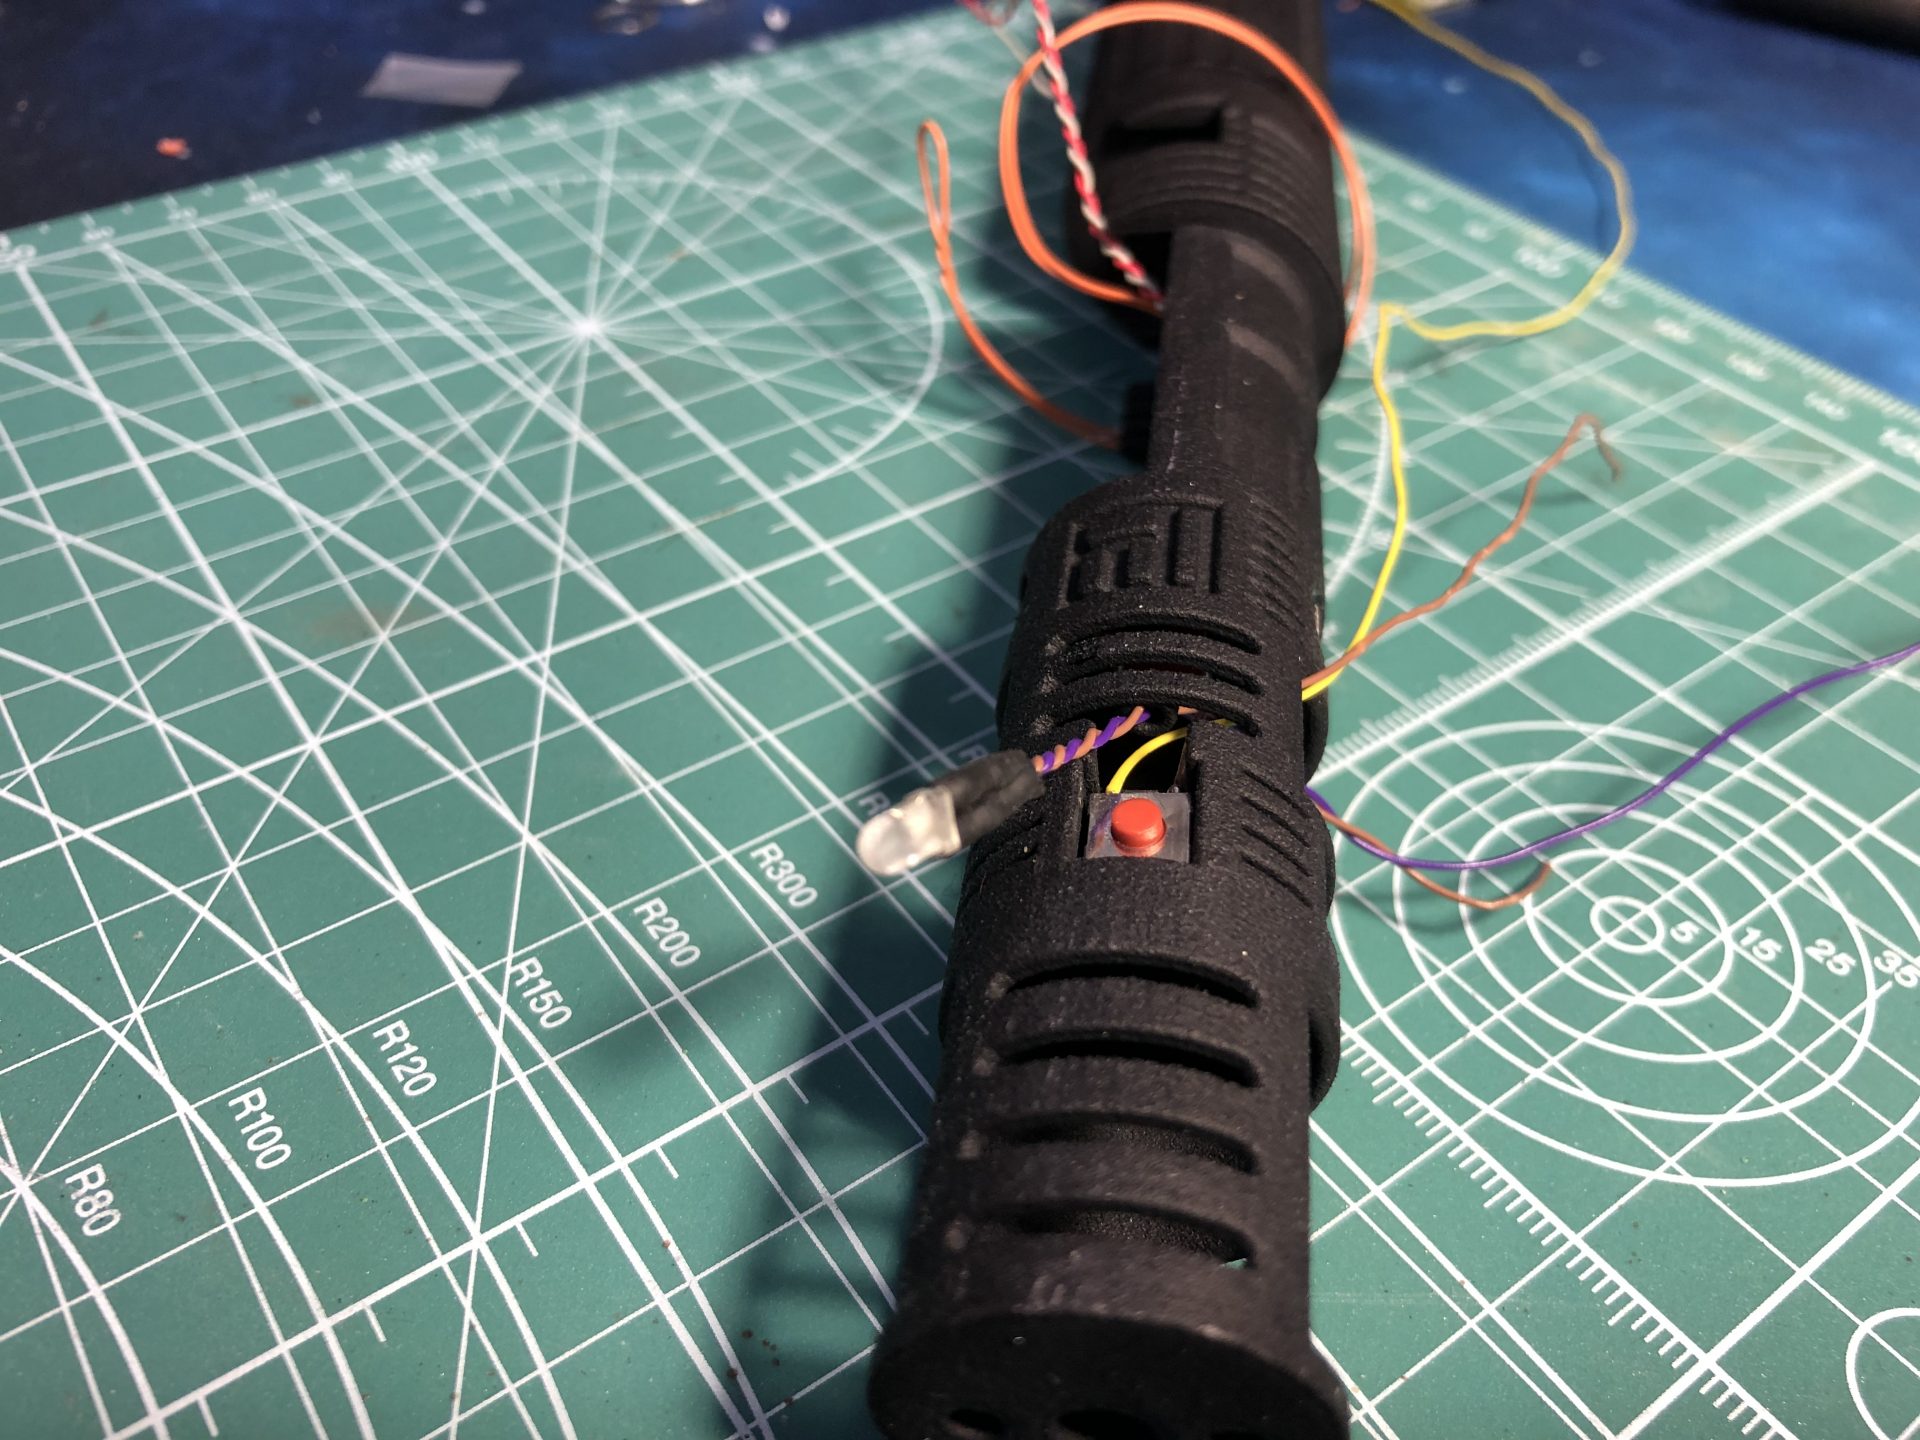
Test the switches before wiring and gluing them. Sand the switch prongs on one side.
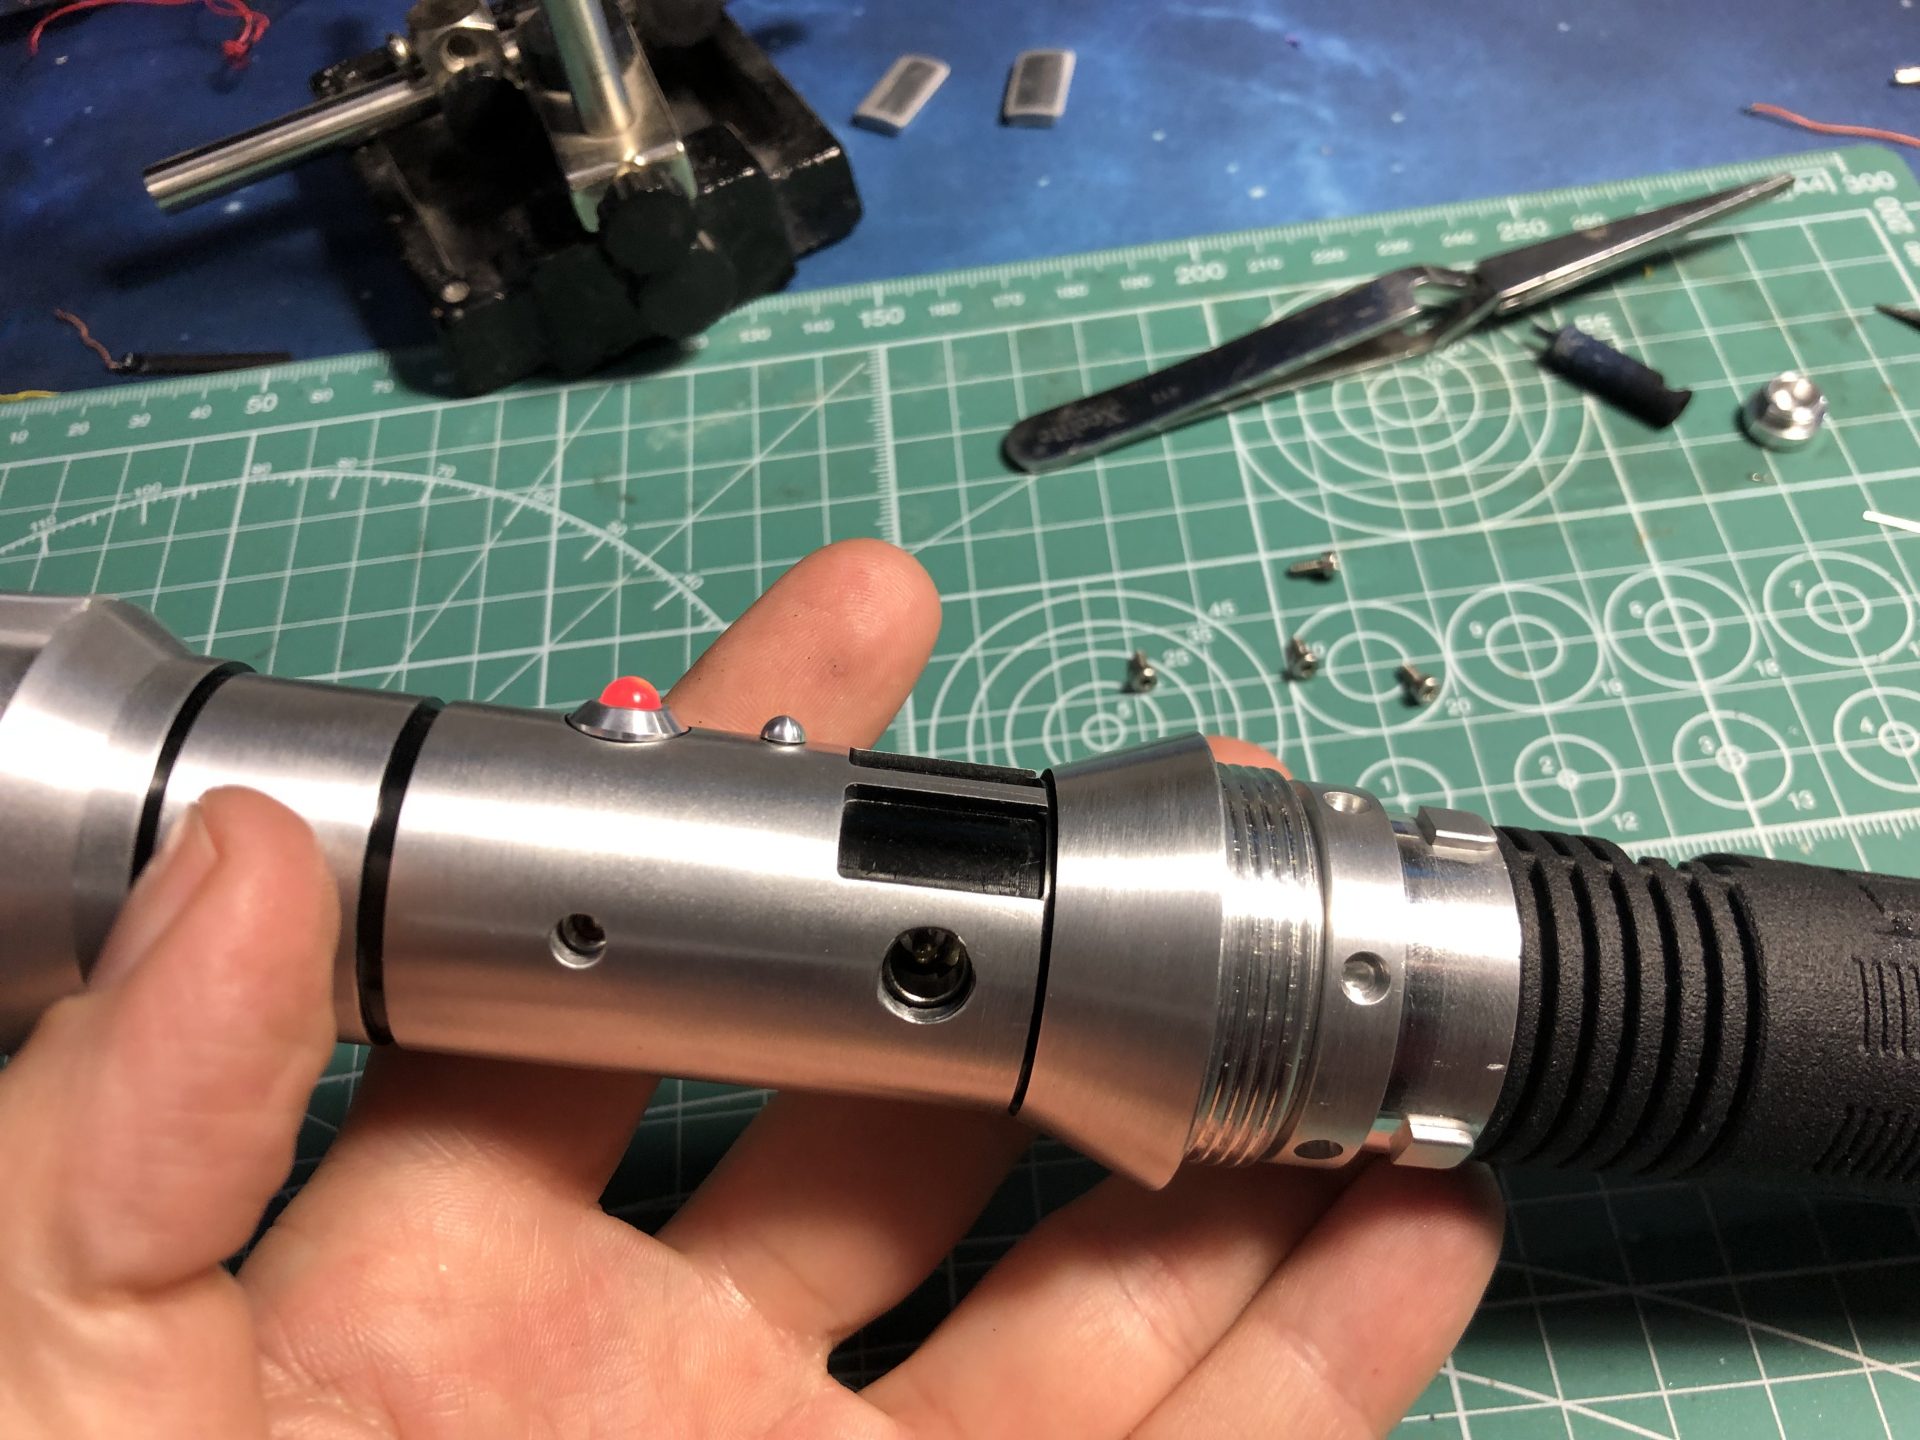
The main switch is a 2.5mm tactile switch, the red thumb screw nut goes on top of it.
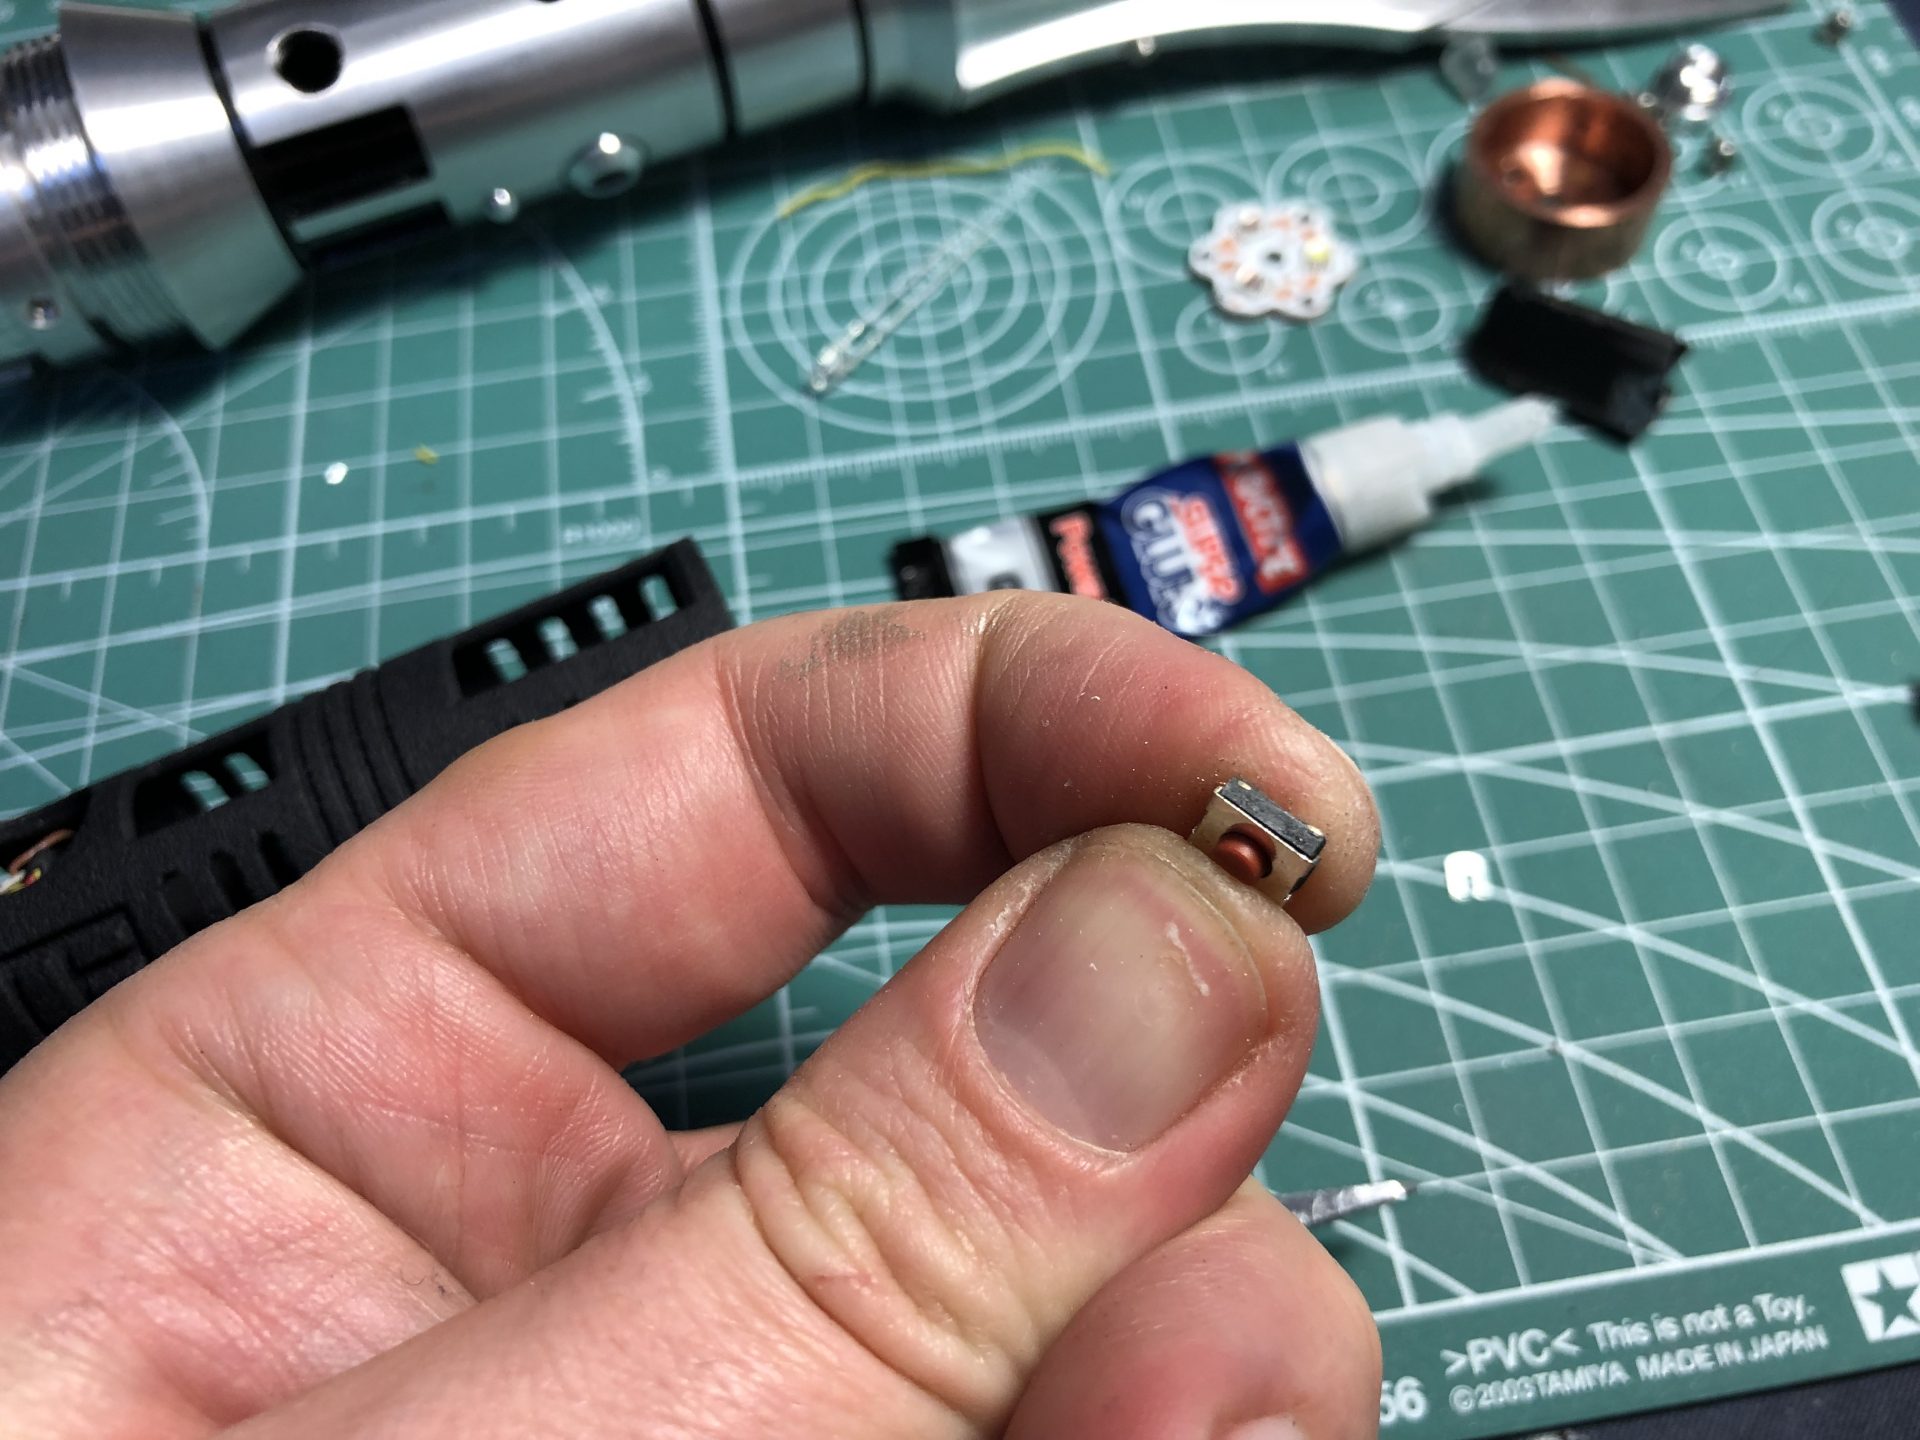
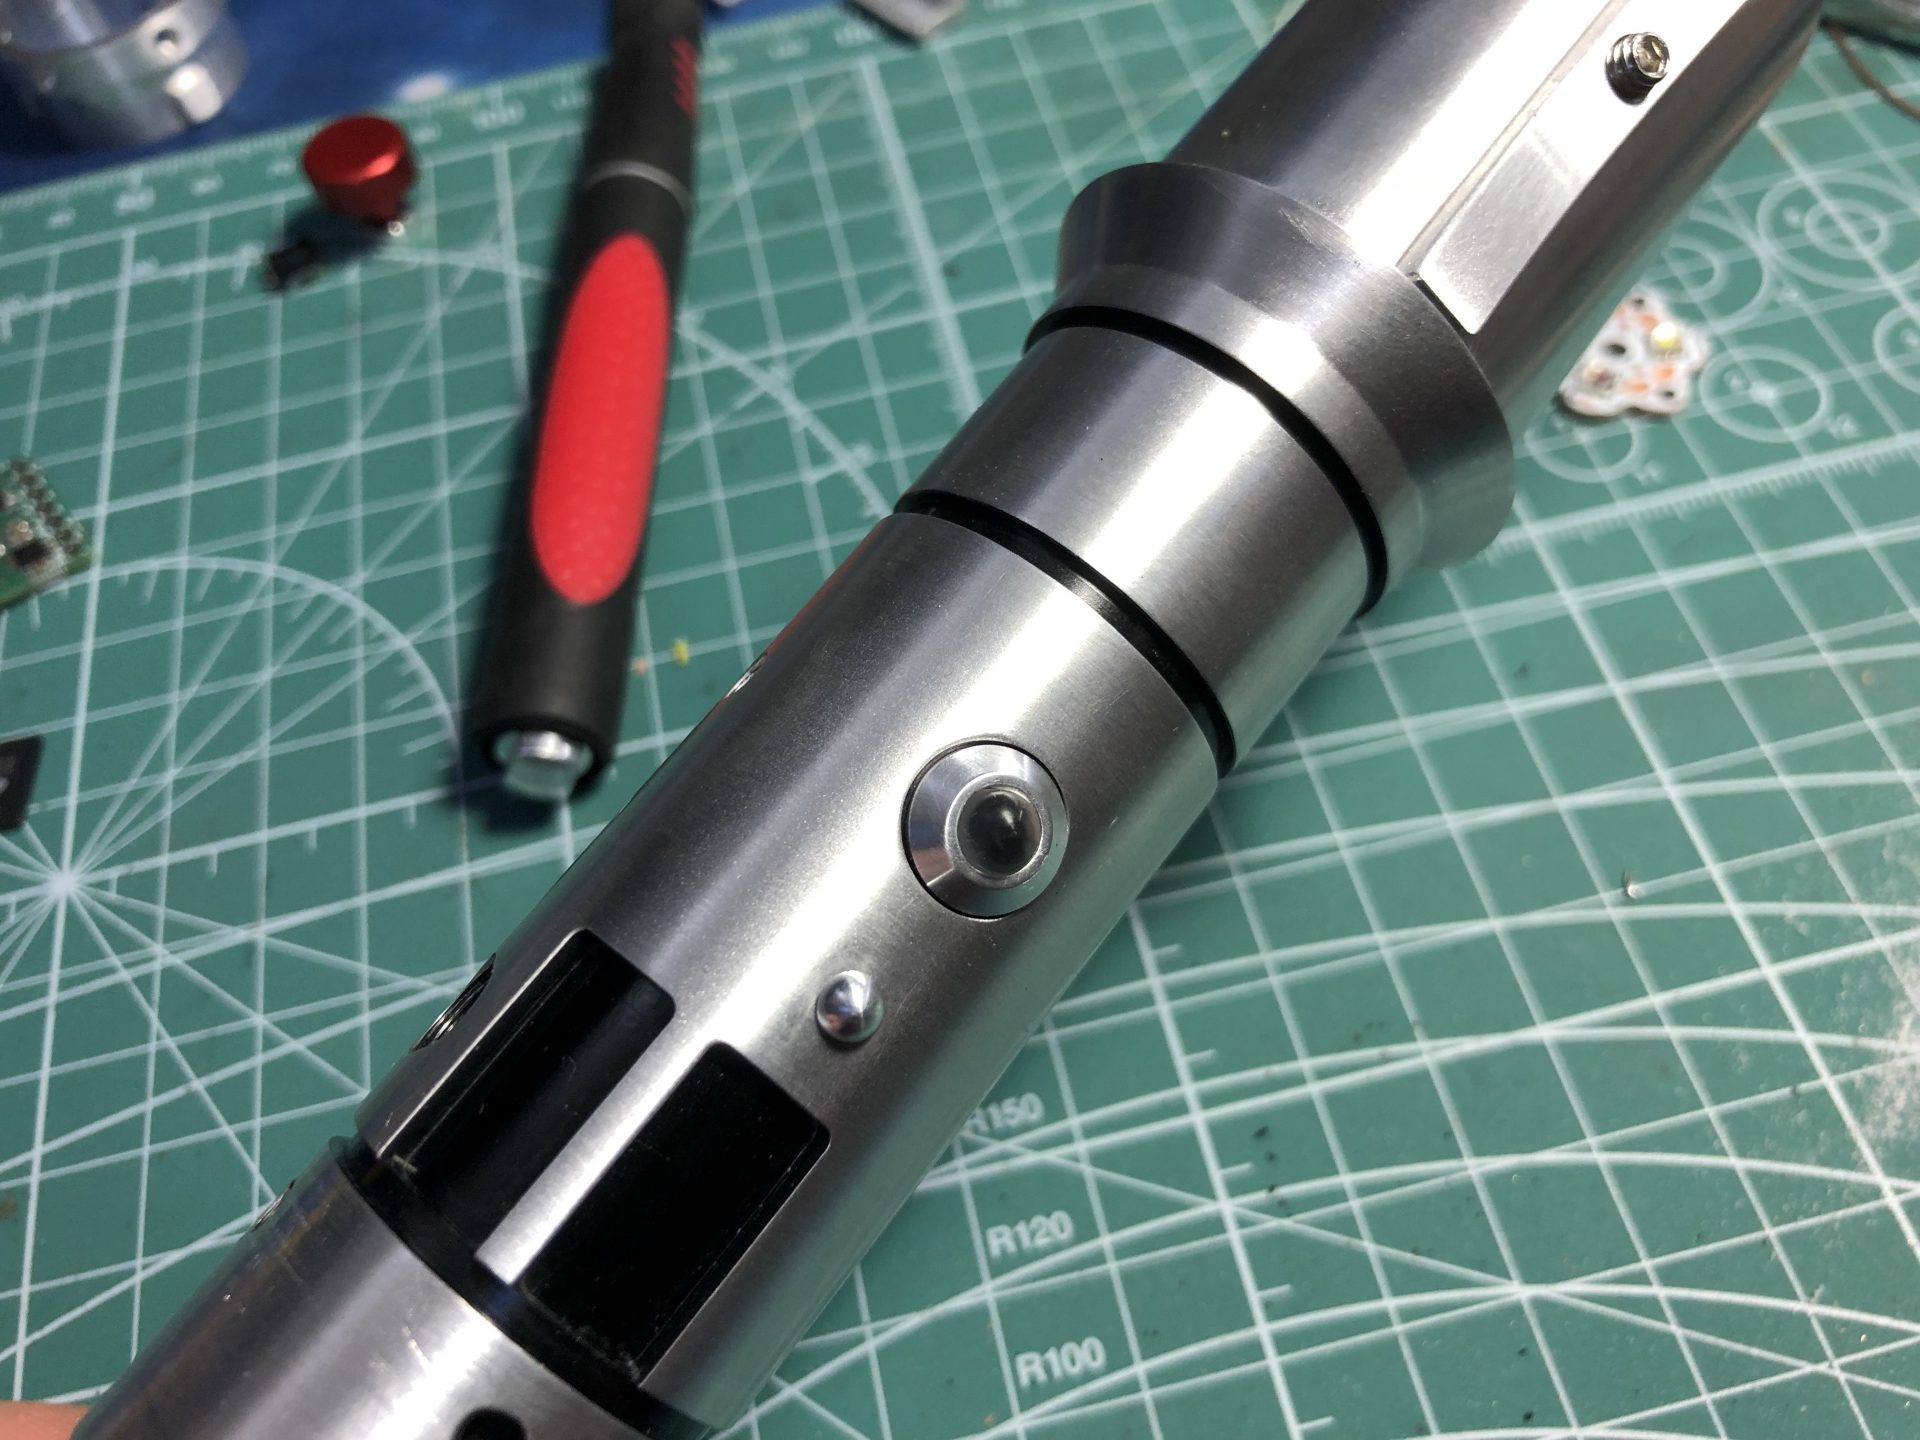
Insert the chassis, the red thumb screw should screw in the nut until locked. The switch should work properly.
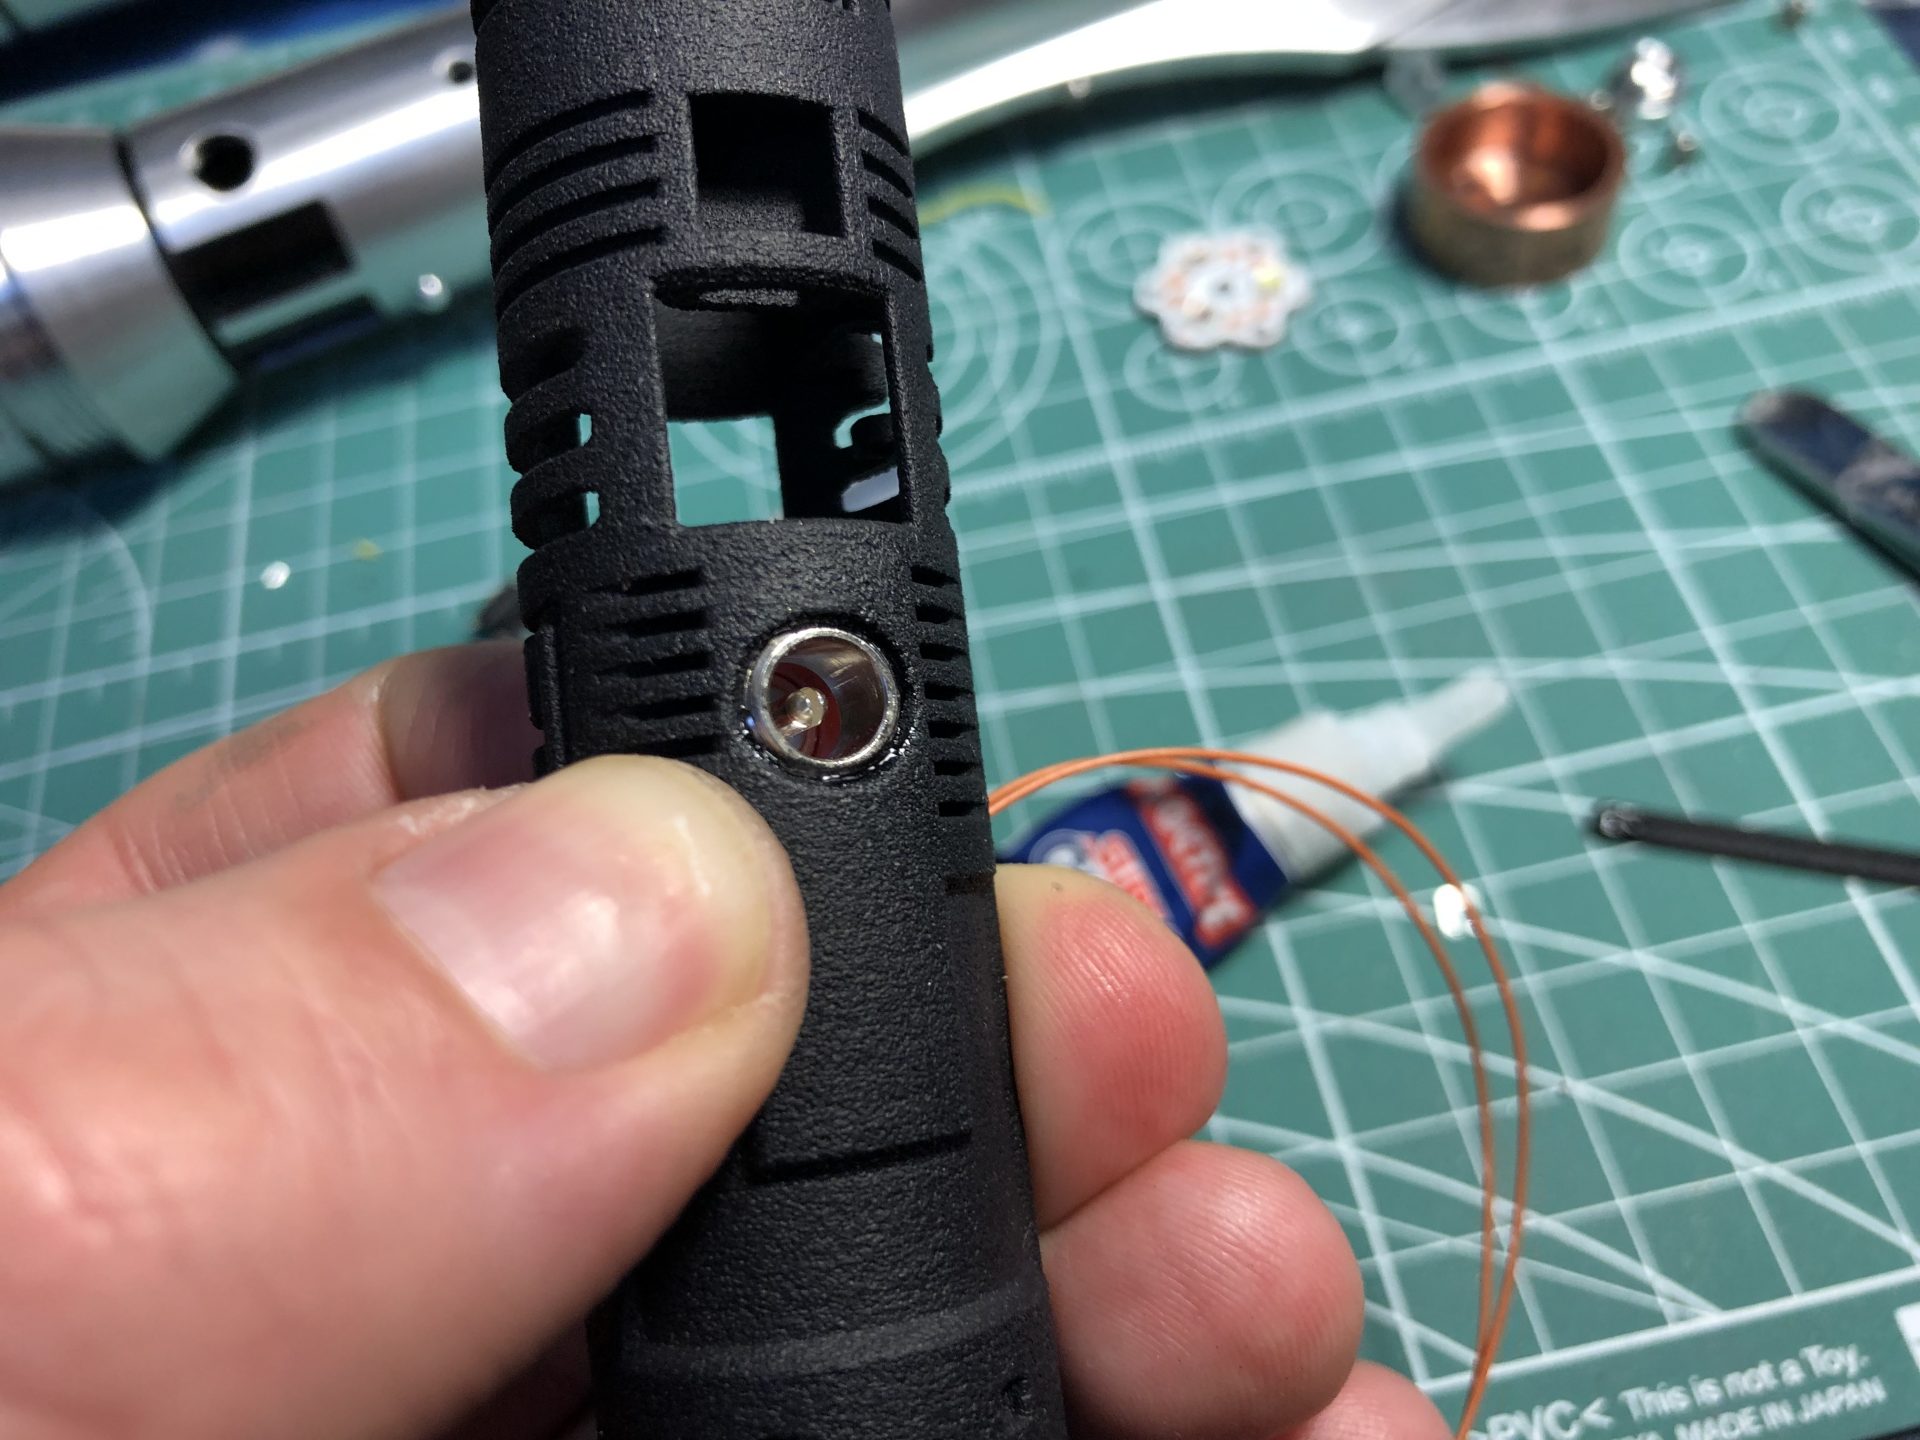
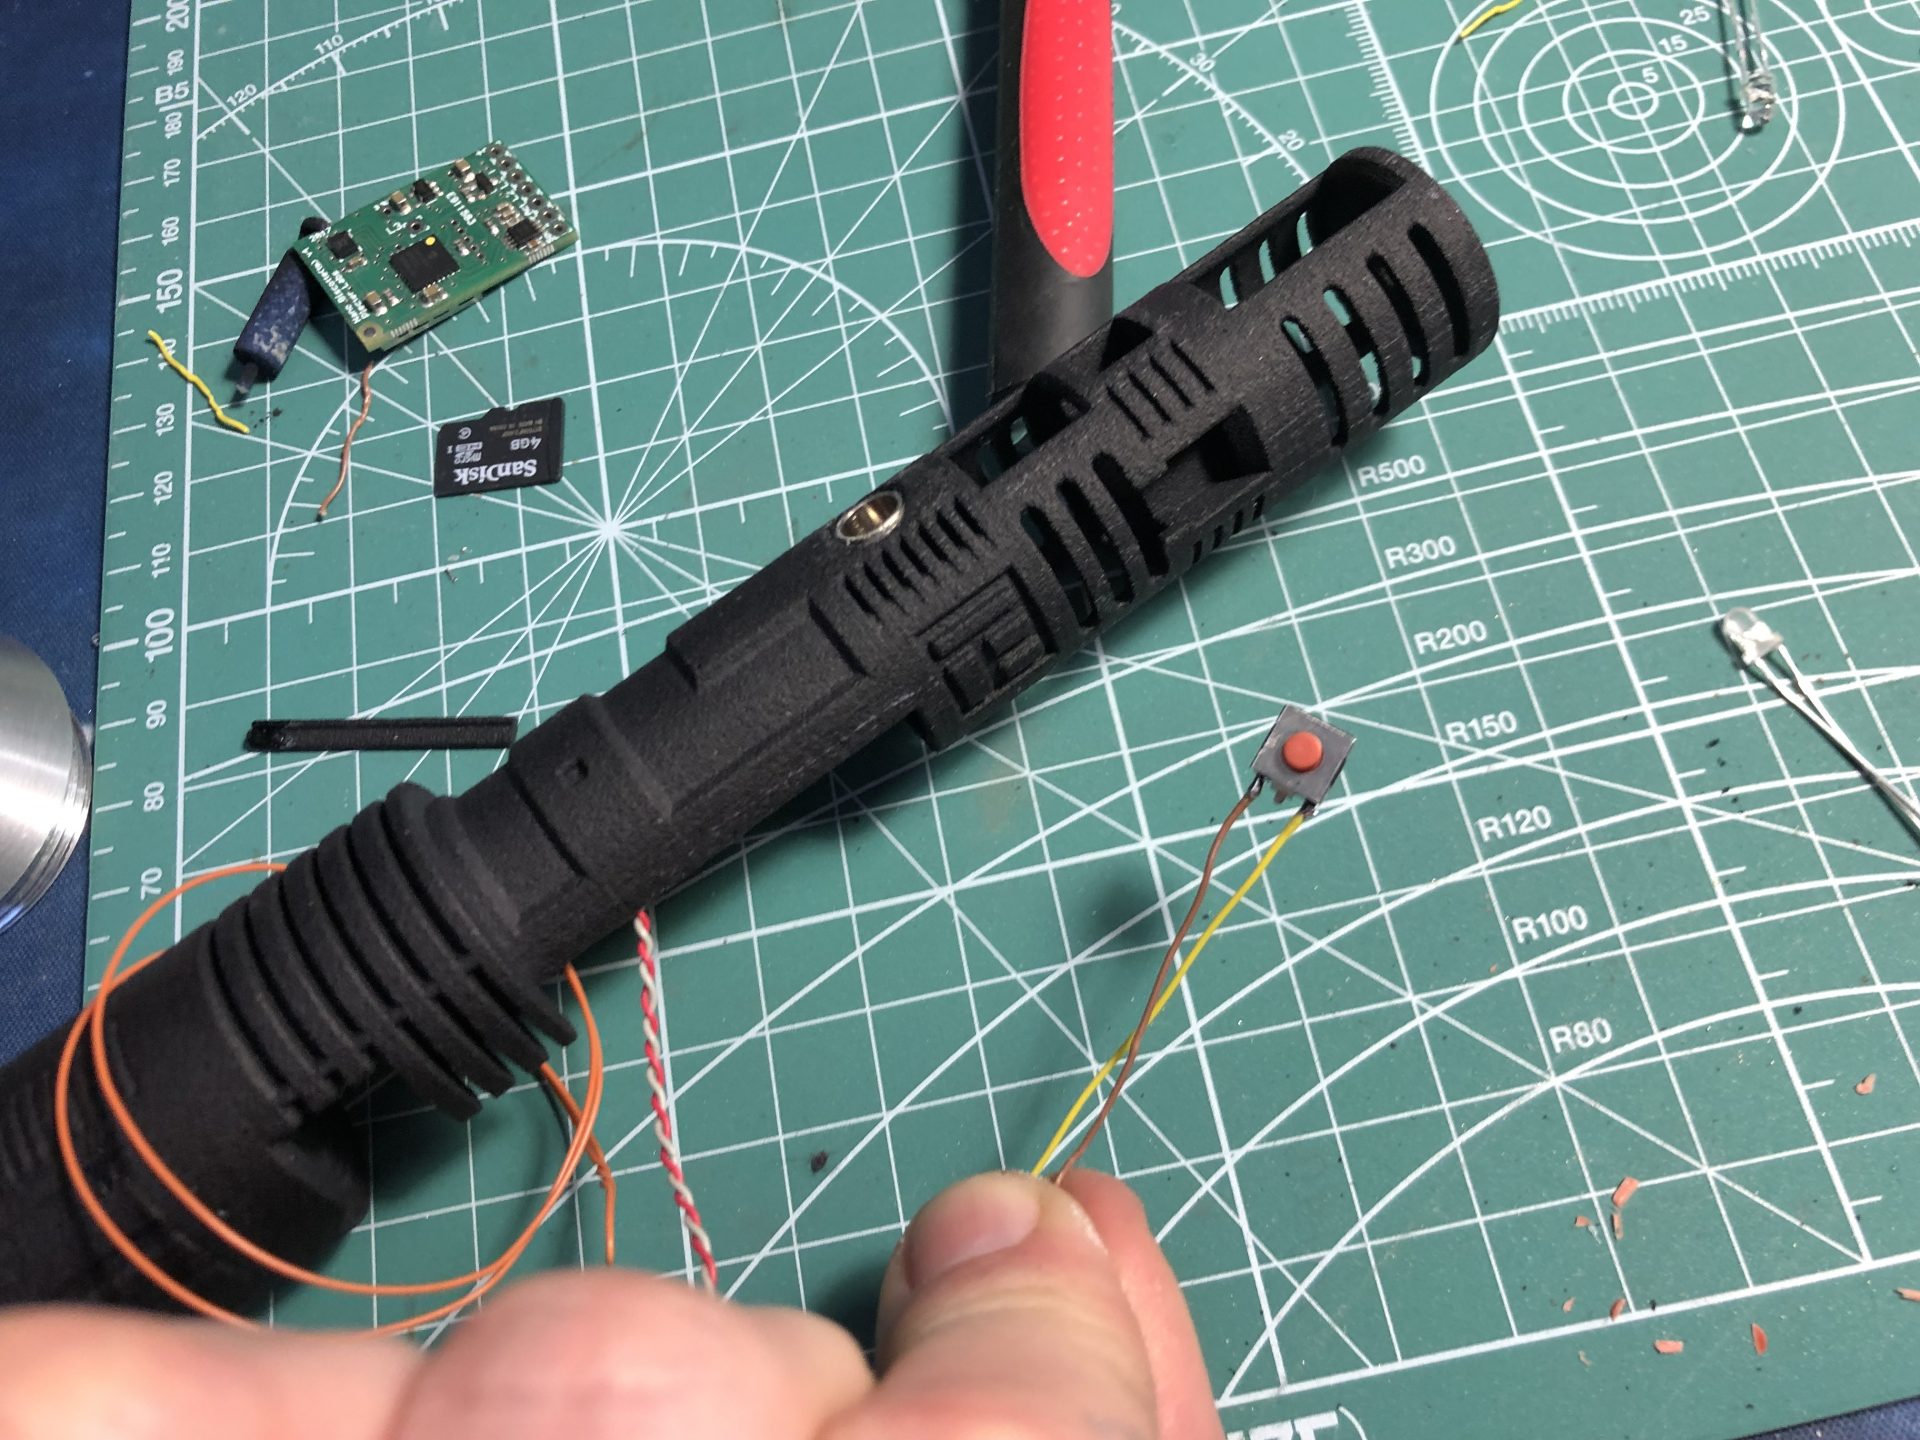
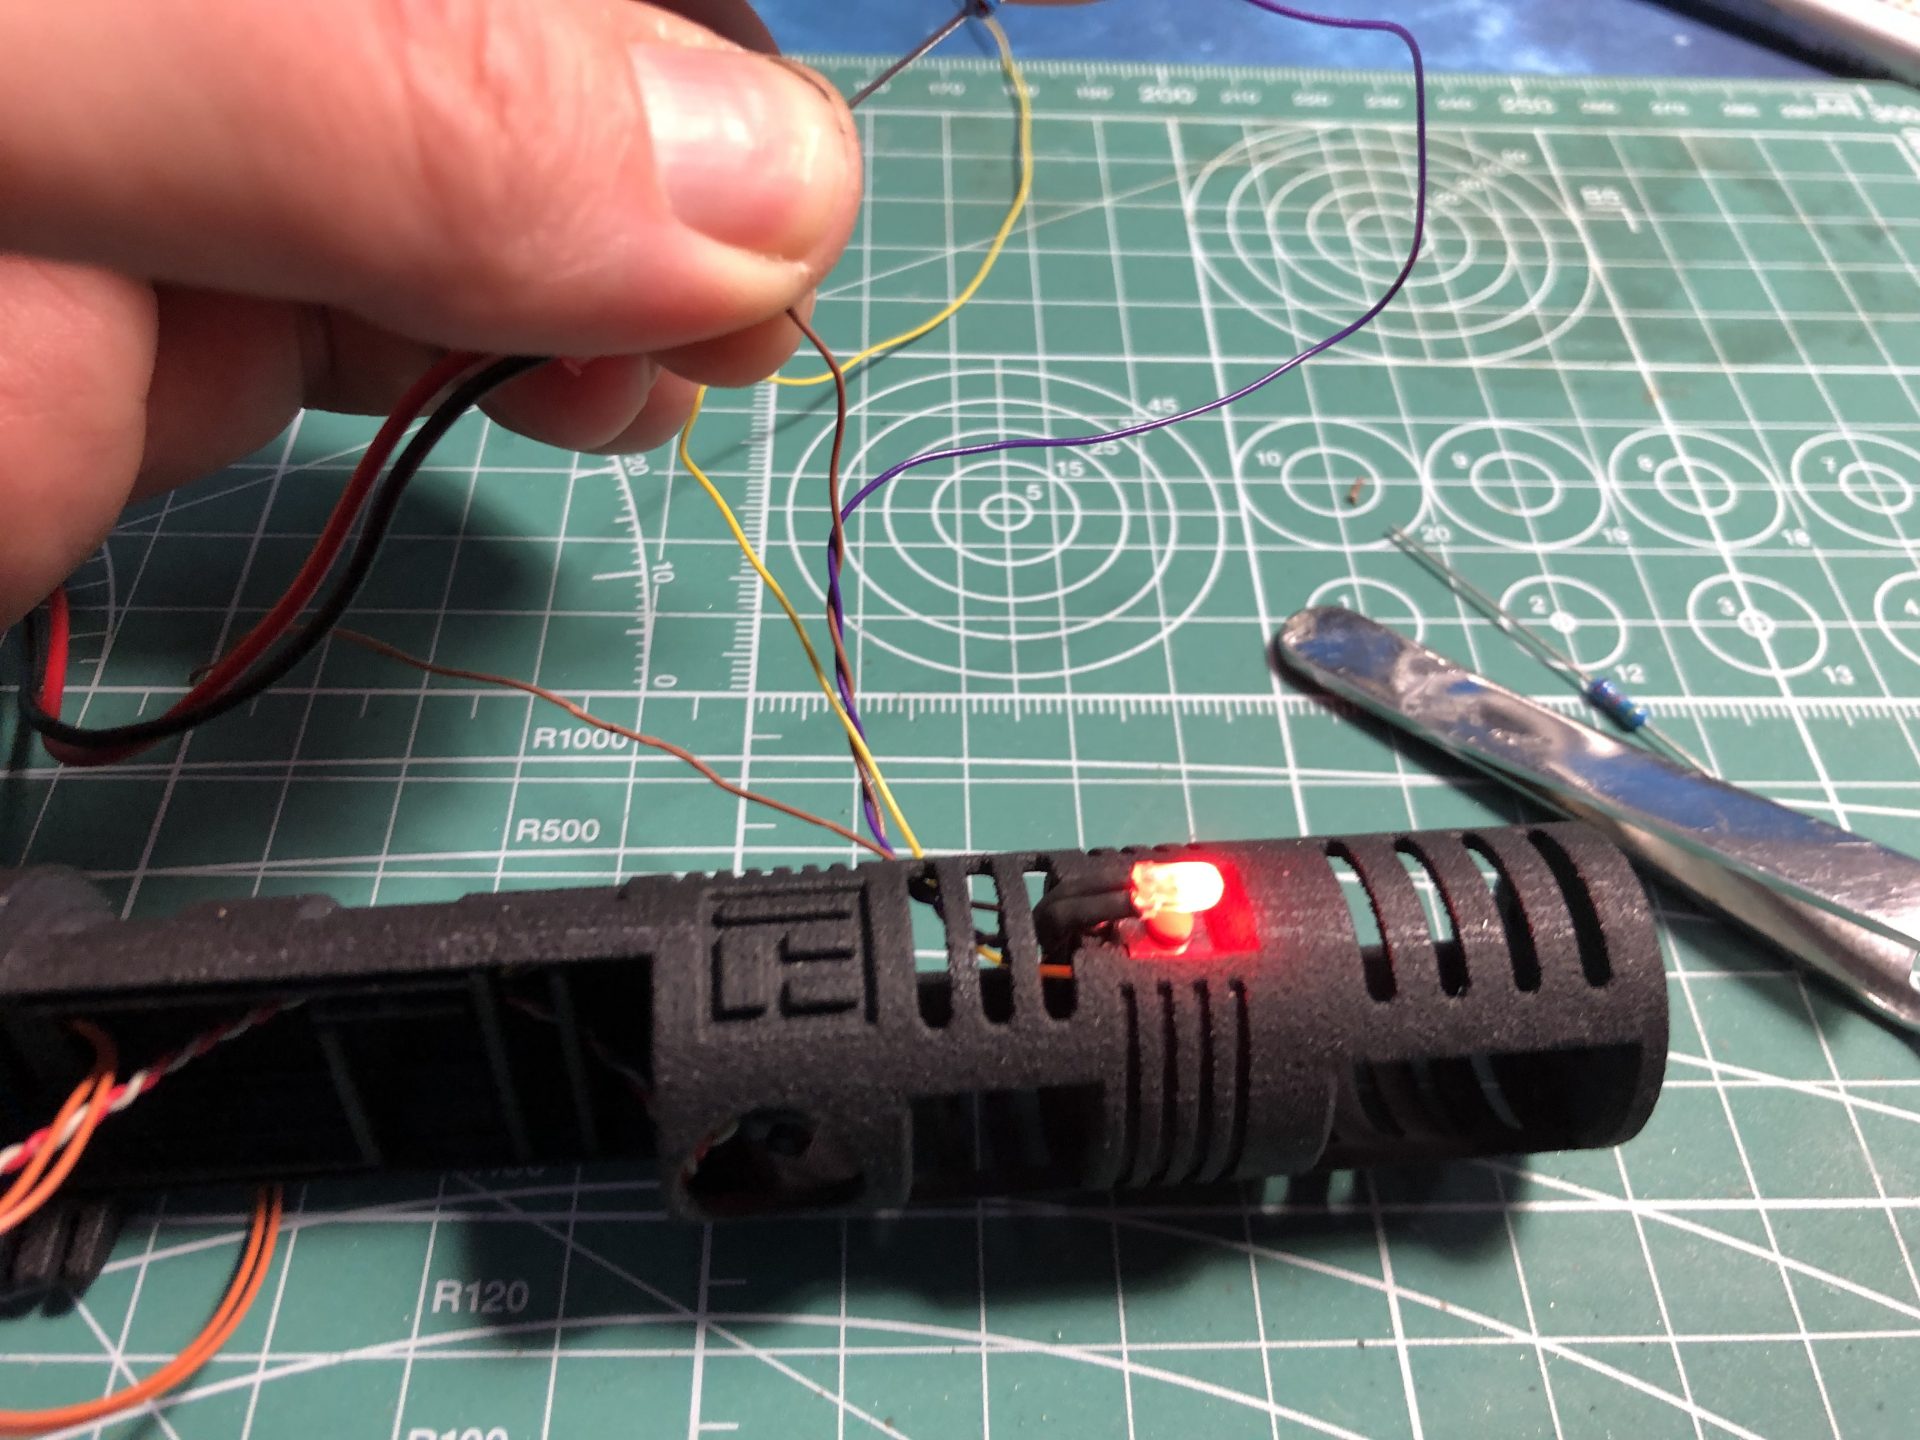
The aux switch will have a 3mm led installed on top of it (2.5mm or 3mm height tactile switch can be used – sand the accent led according. Here we’ve used a 3mm tactile switch). Without gluing anything yet, check that this witch works as well when the chassis is inserted.

Once the tests are completed, wire and glue the switches on the chassis.
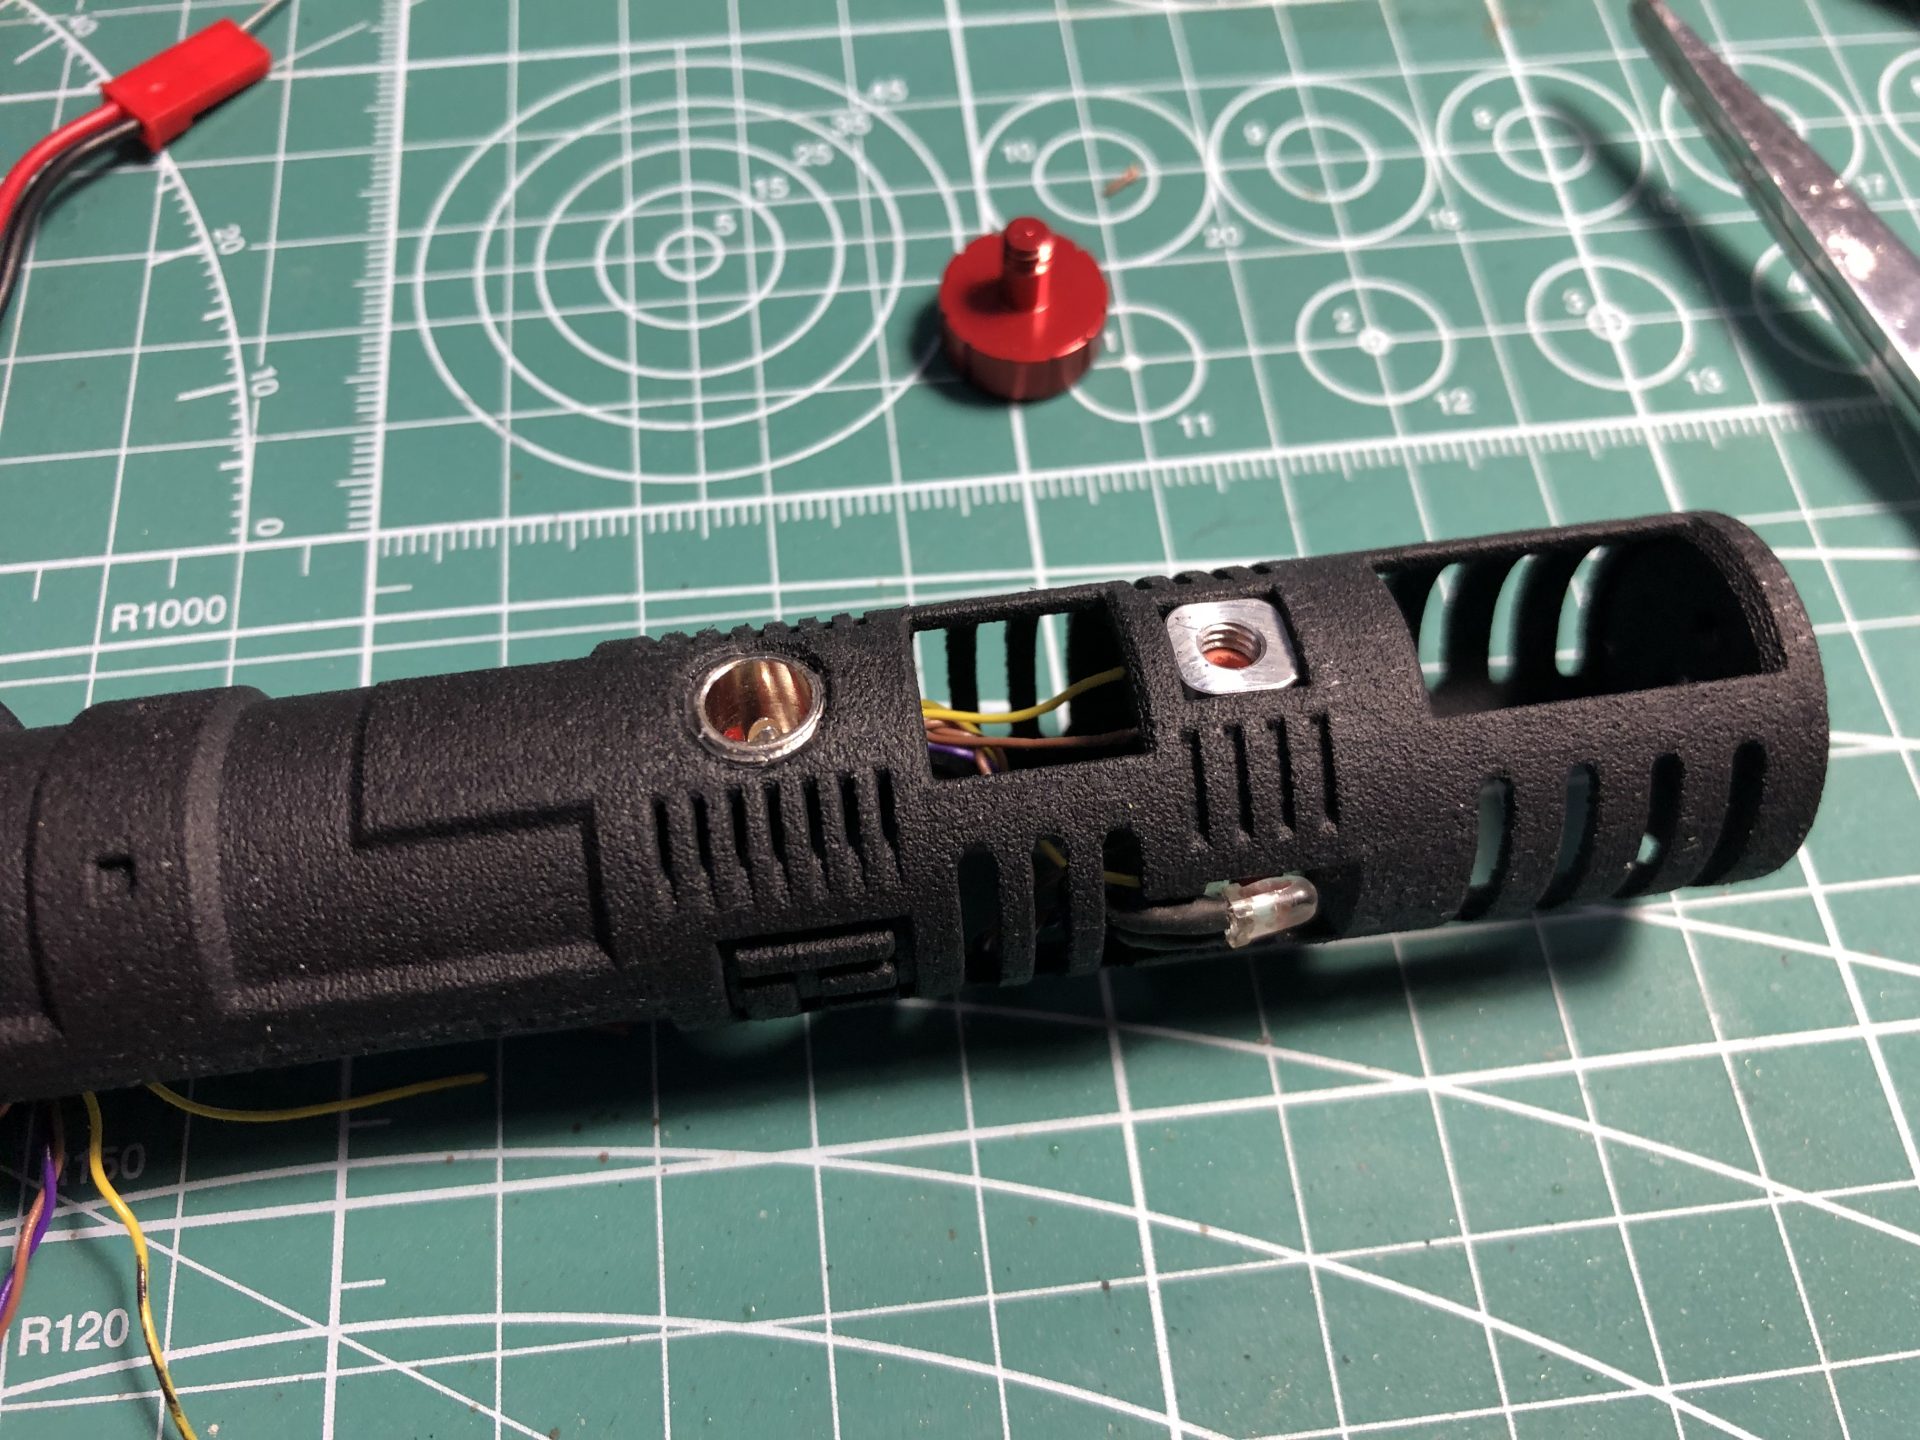
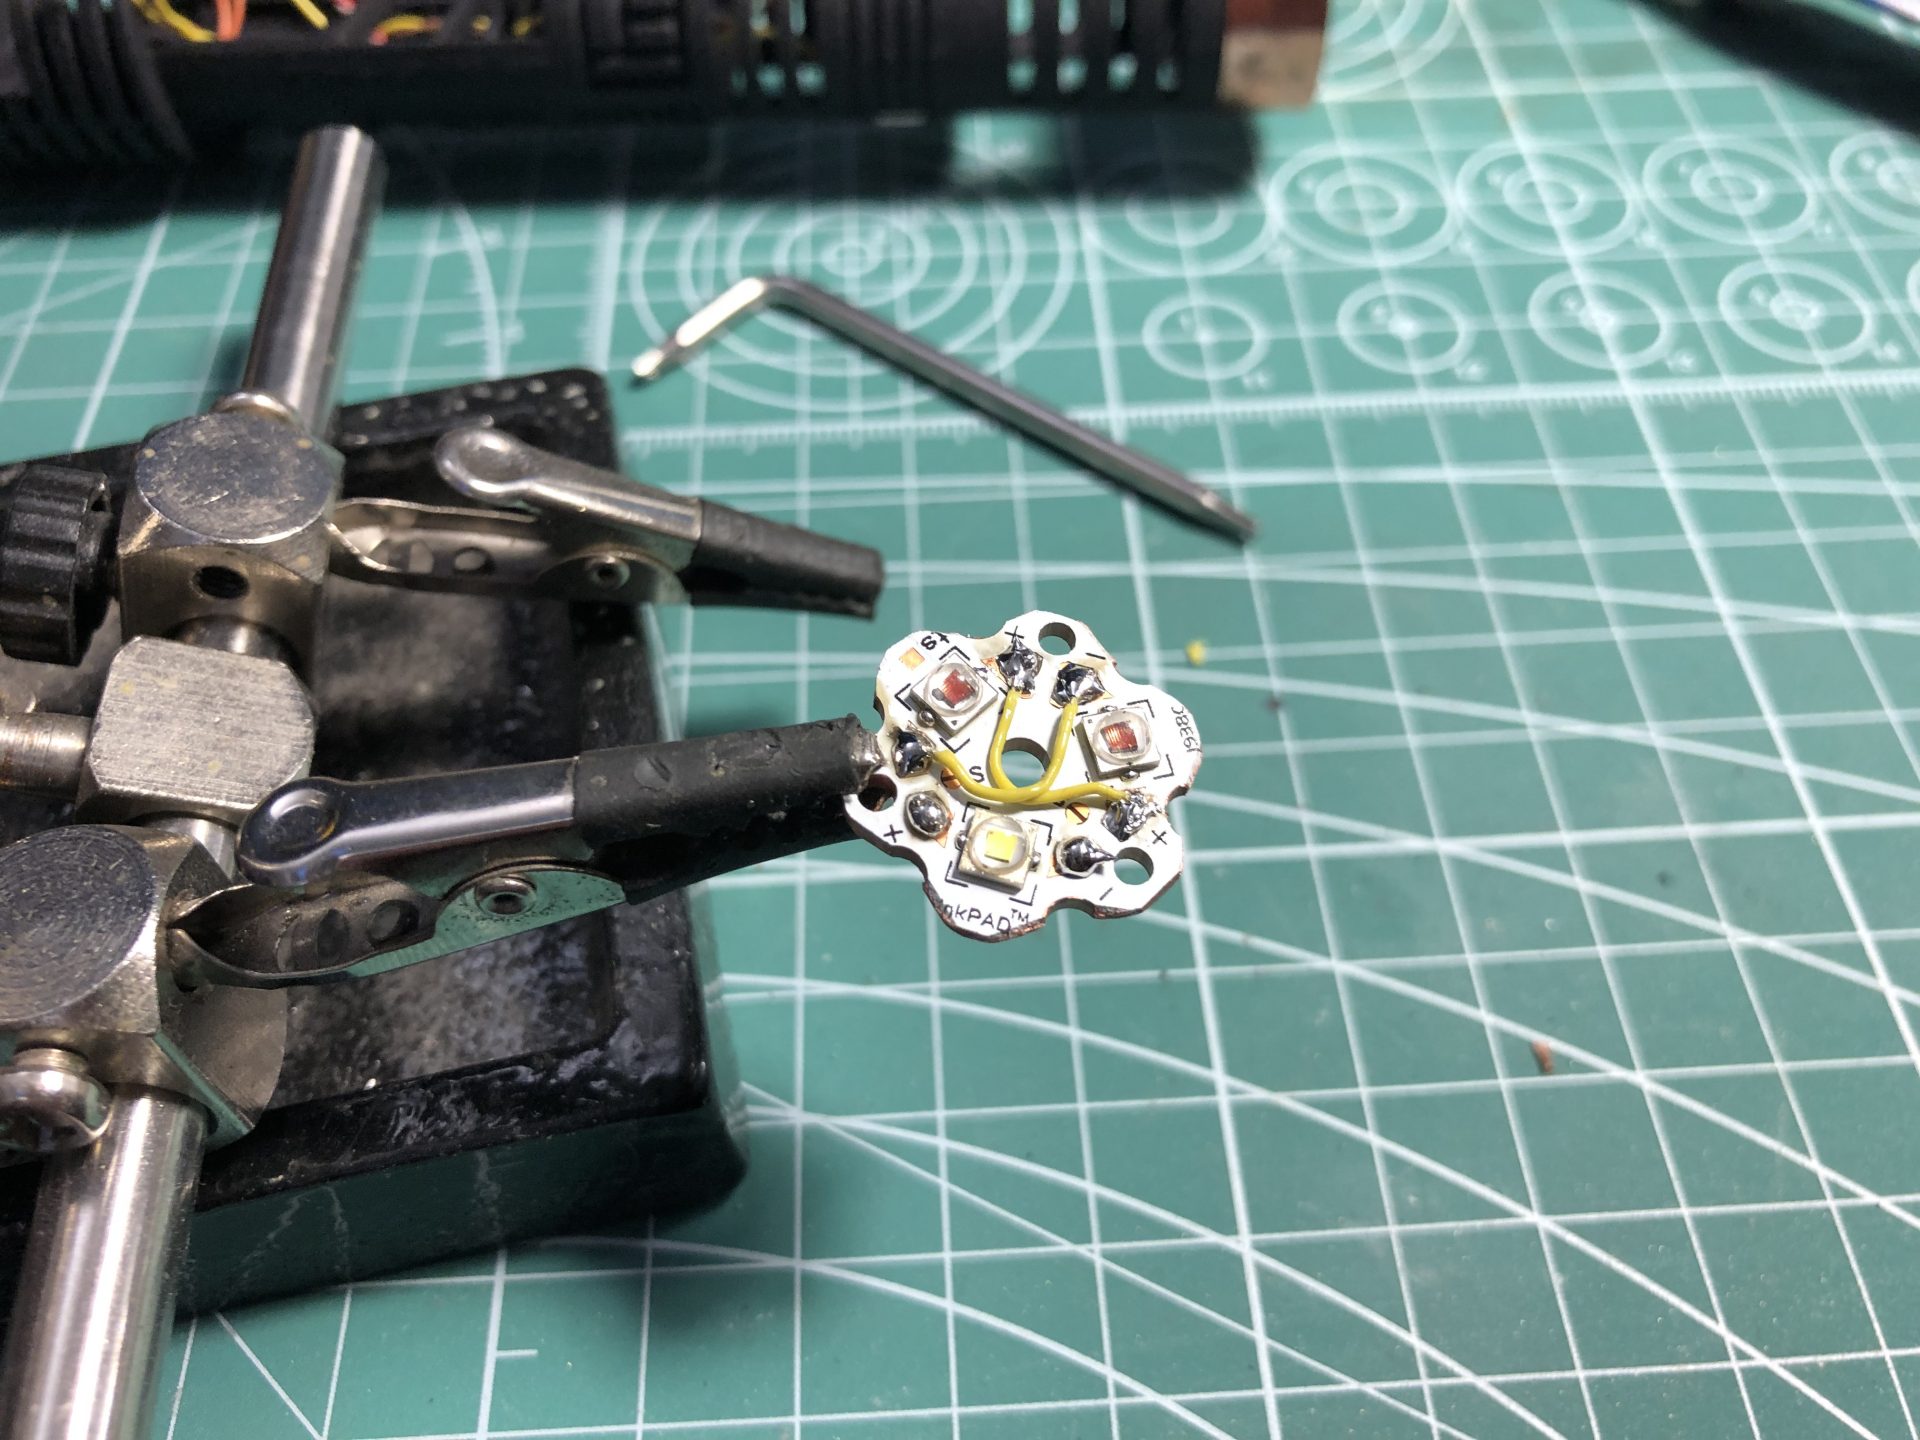
The heatsink or neopixel pogo-pin connector is attached to the chassis using 2 screws (we used two 4-40 screws). Make sure the screws don’t protube in the heatsink.
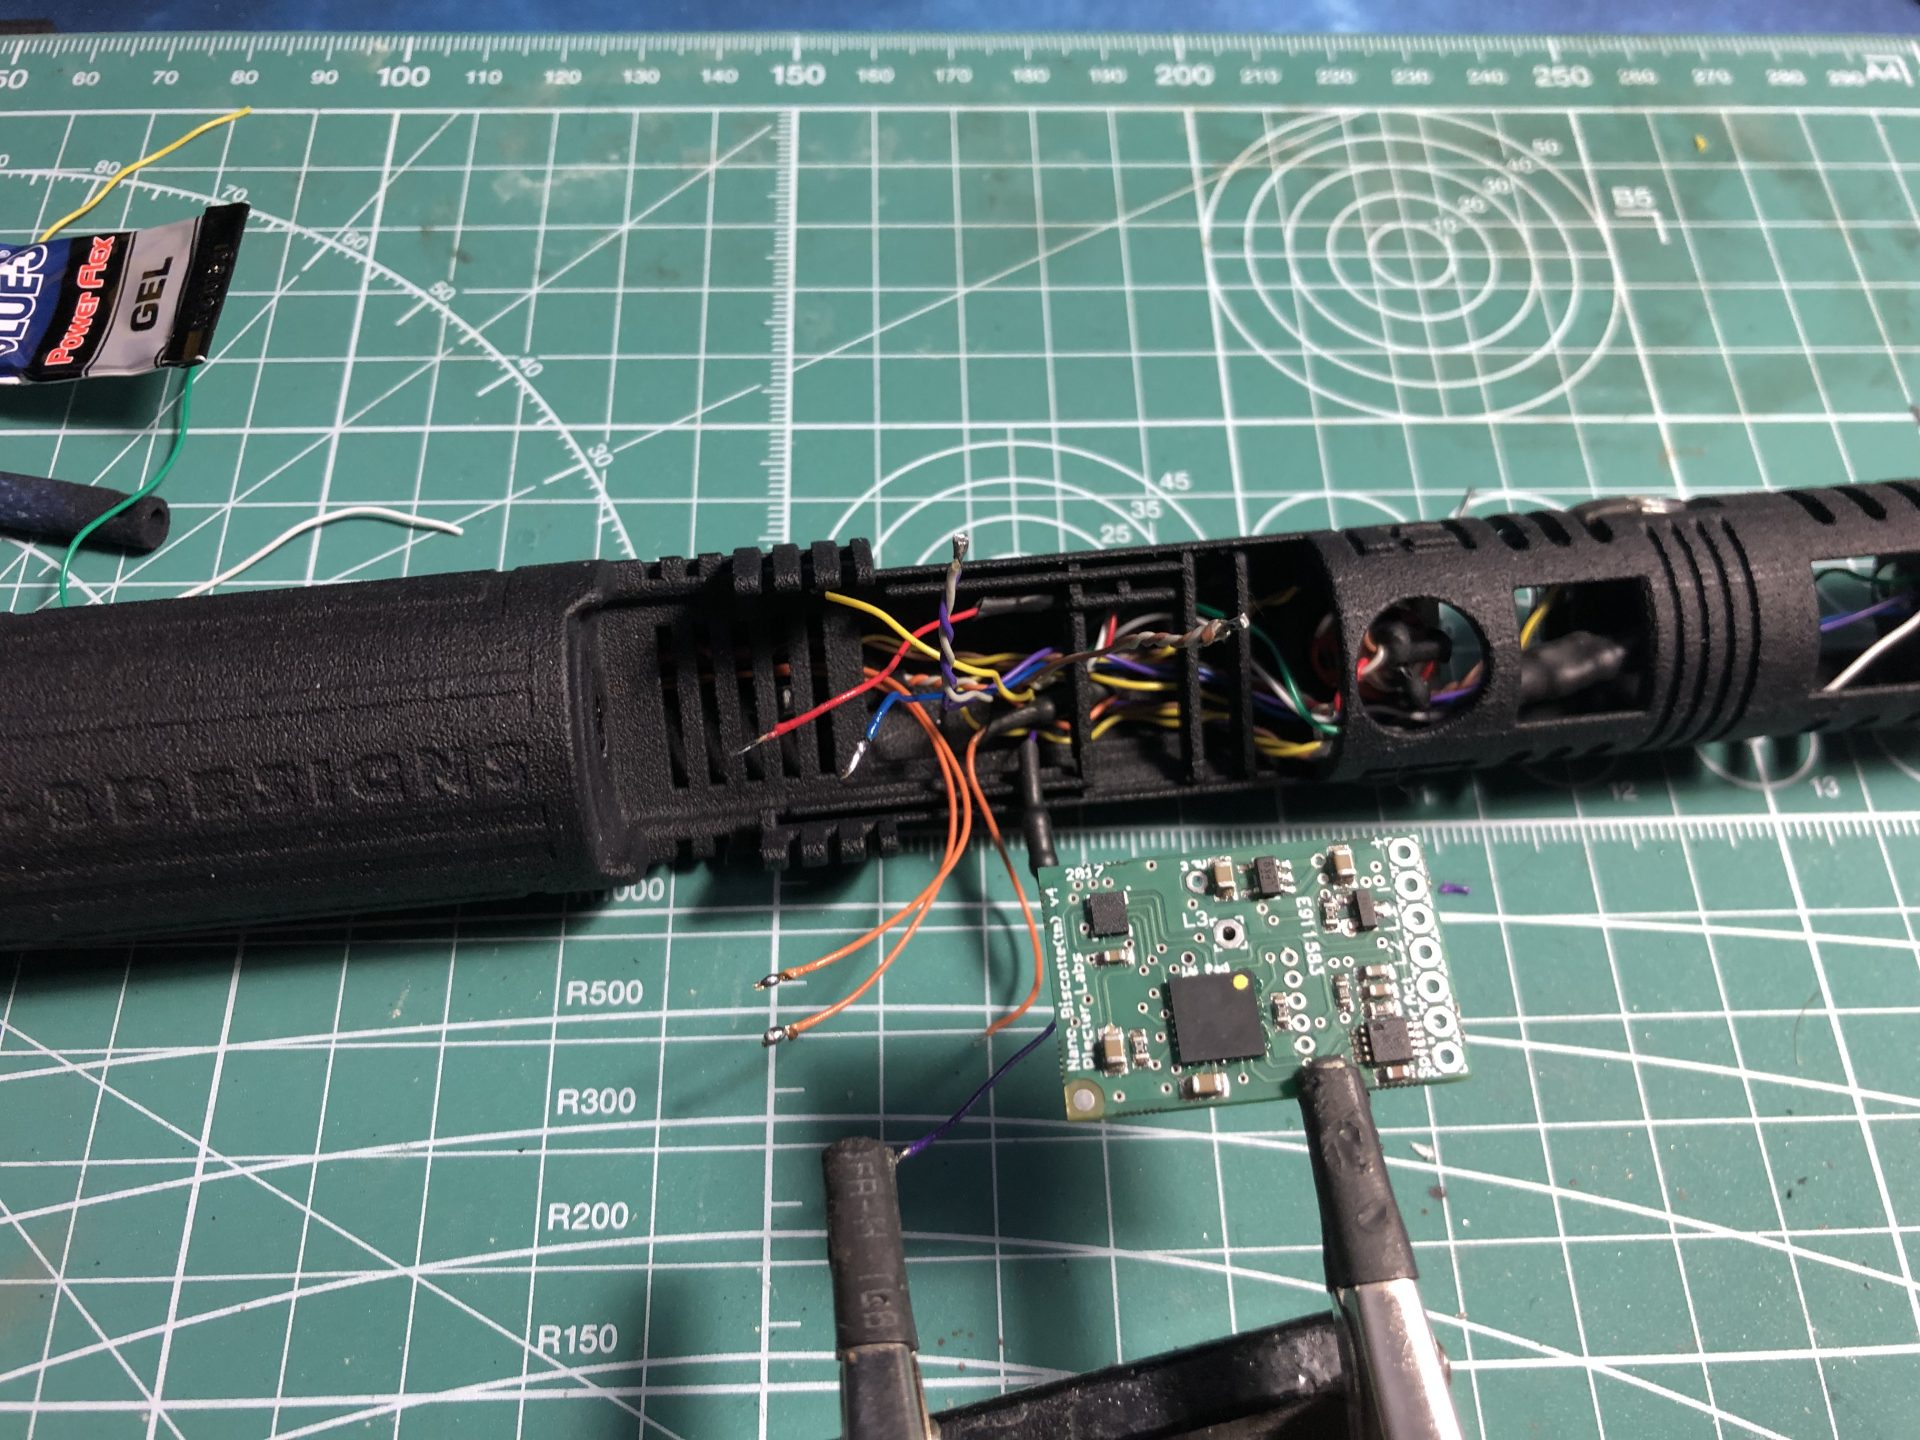
Wire and install the main led or neopixel connector
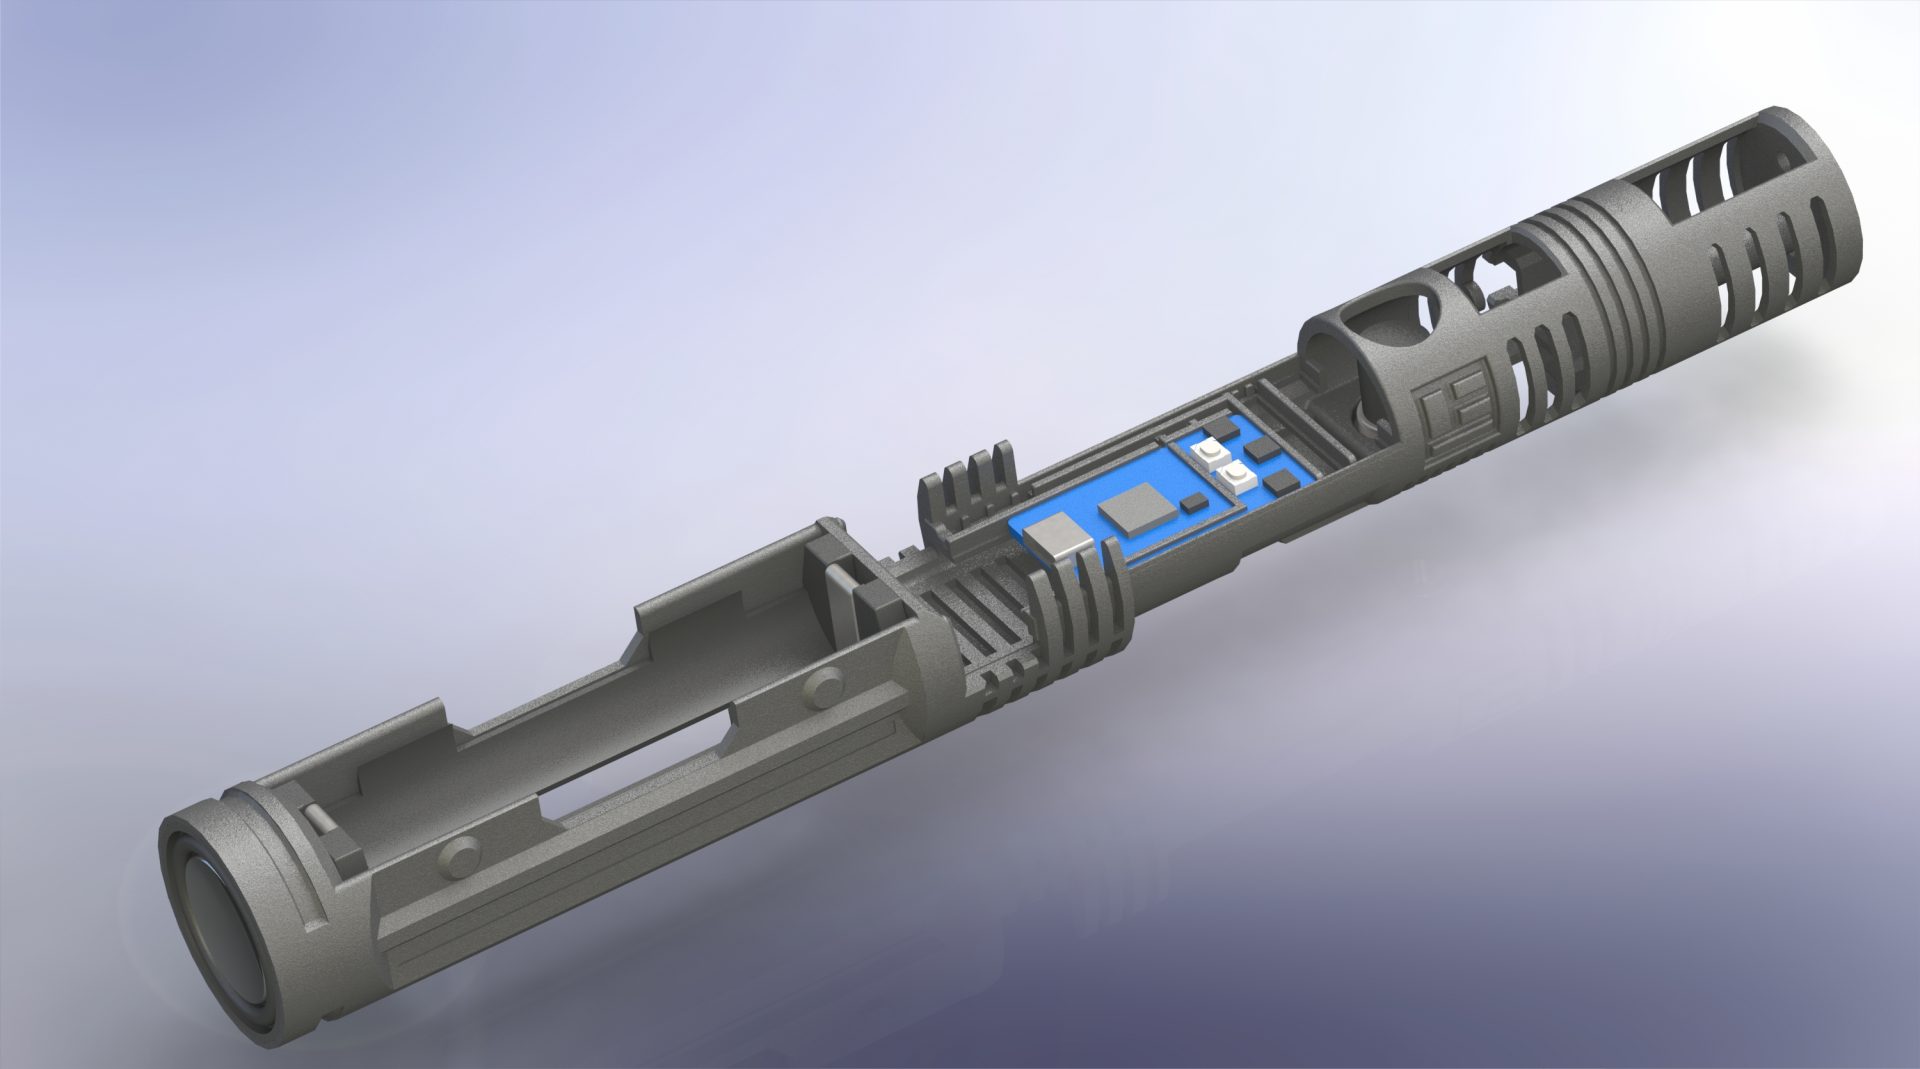
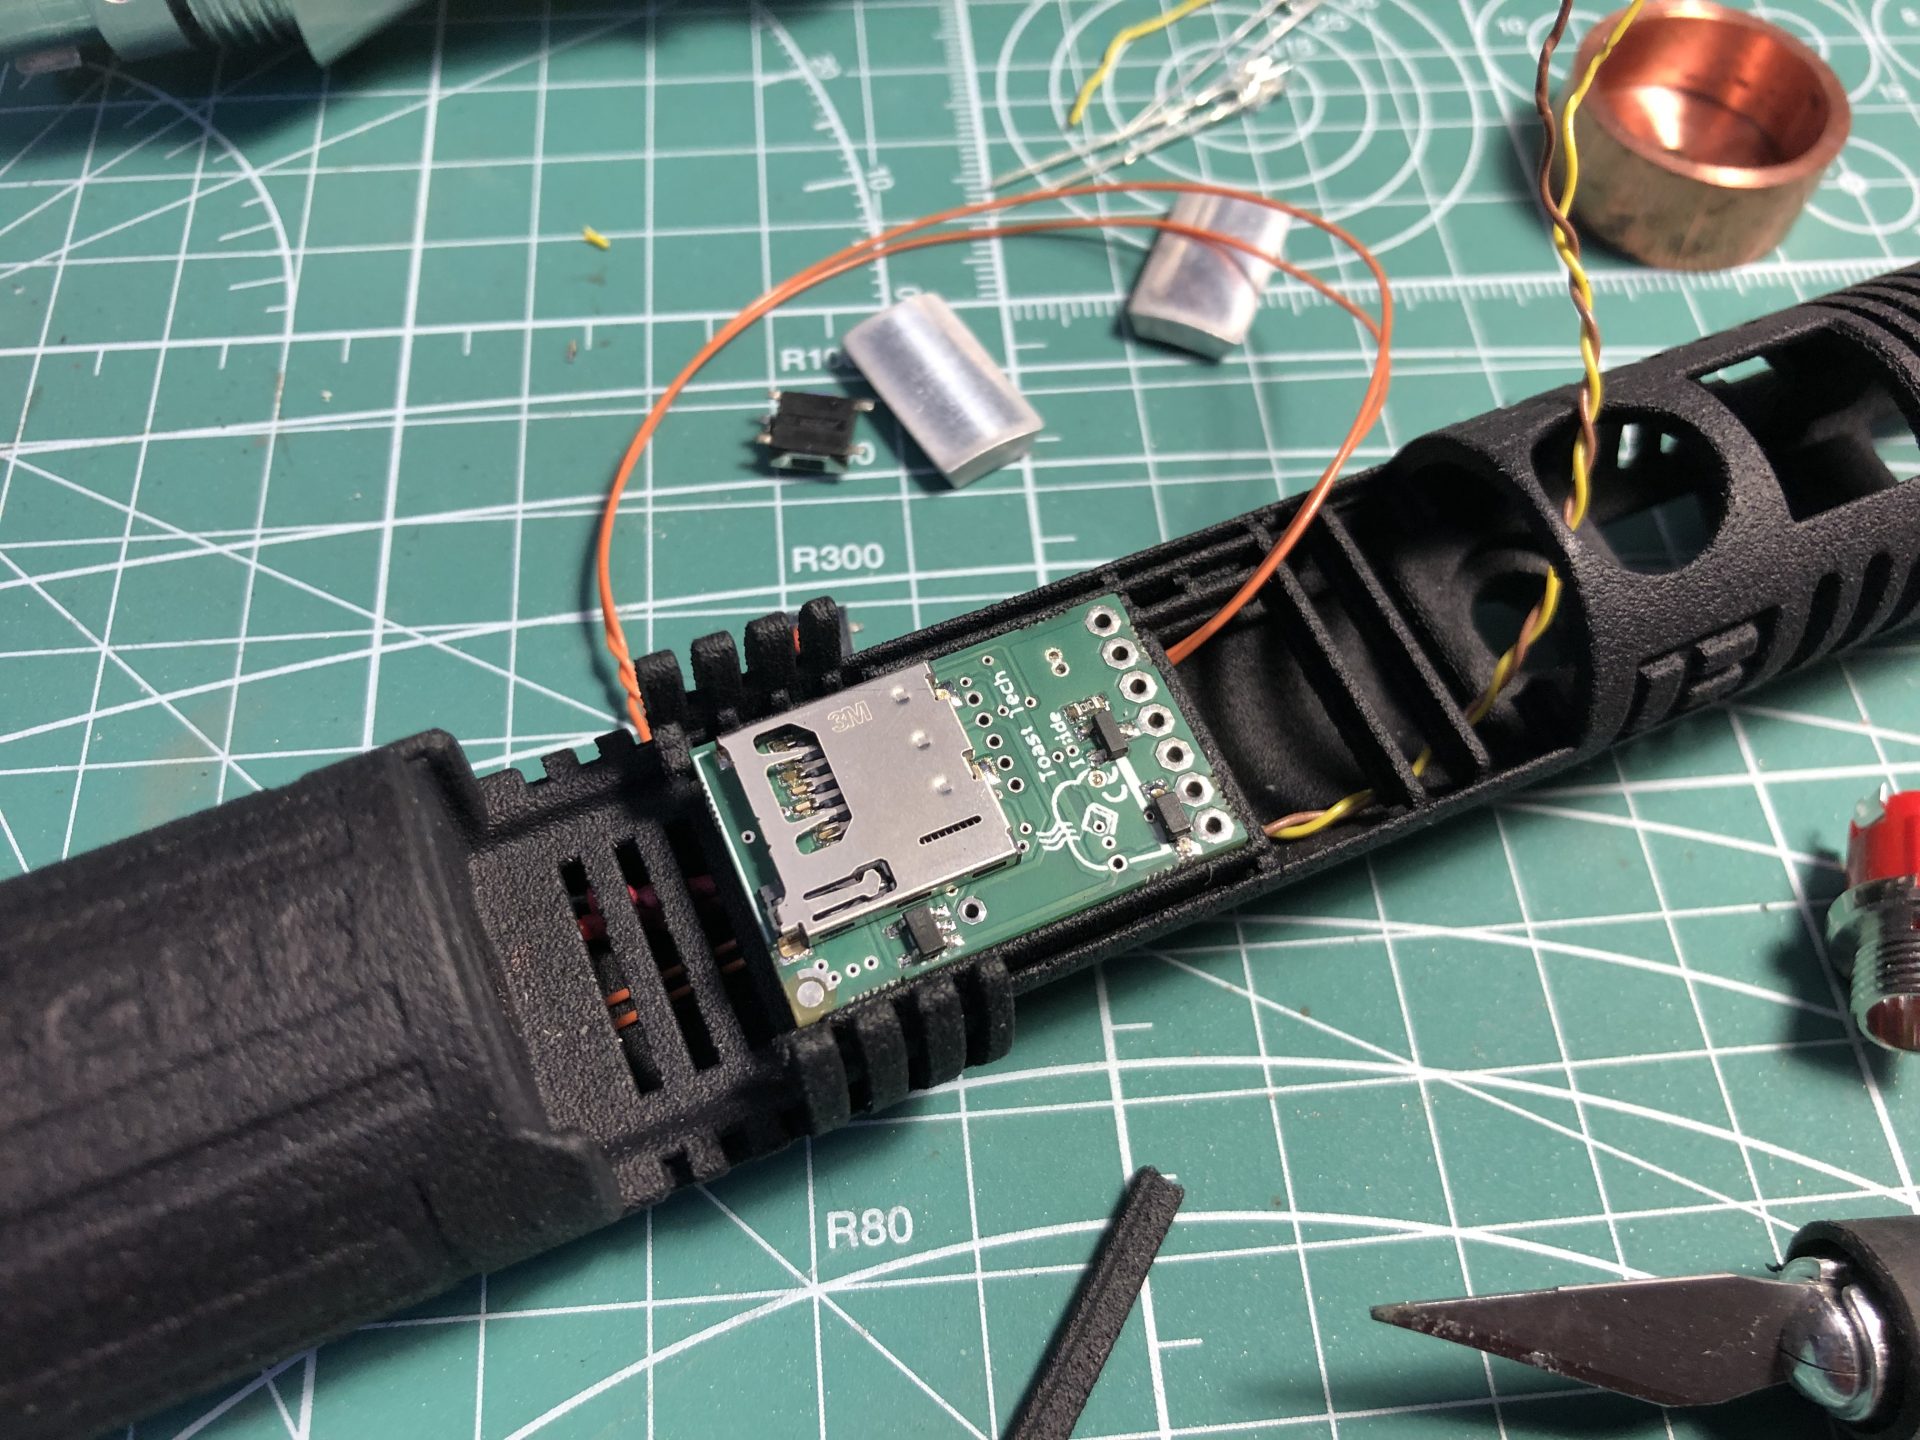
Install the soundboard
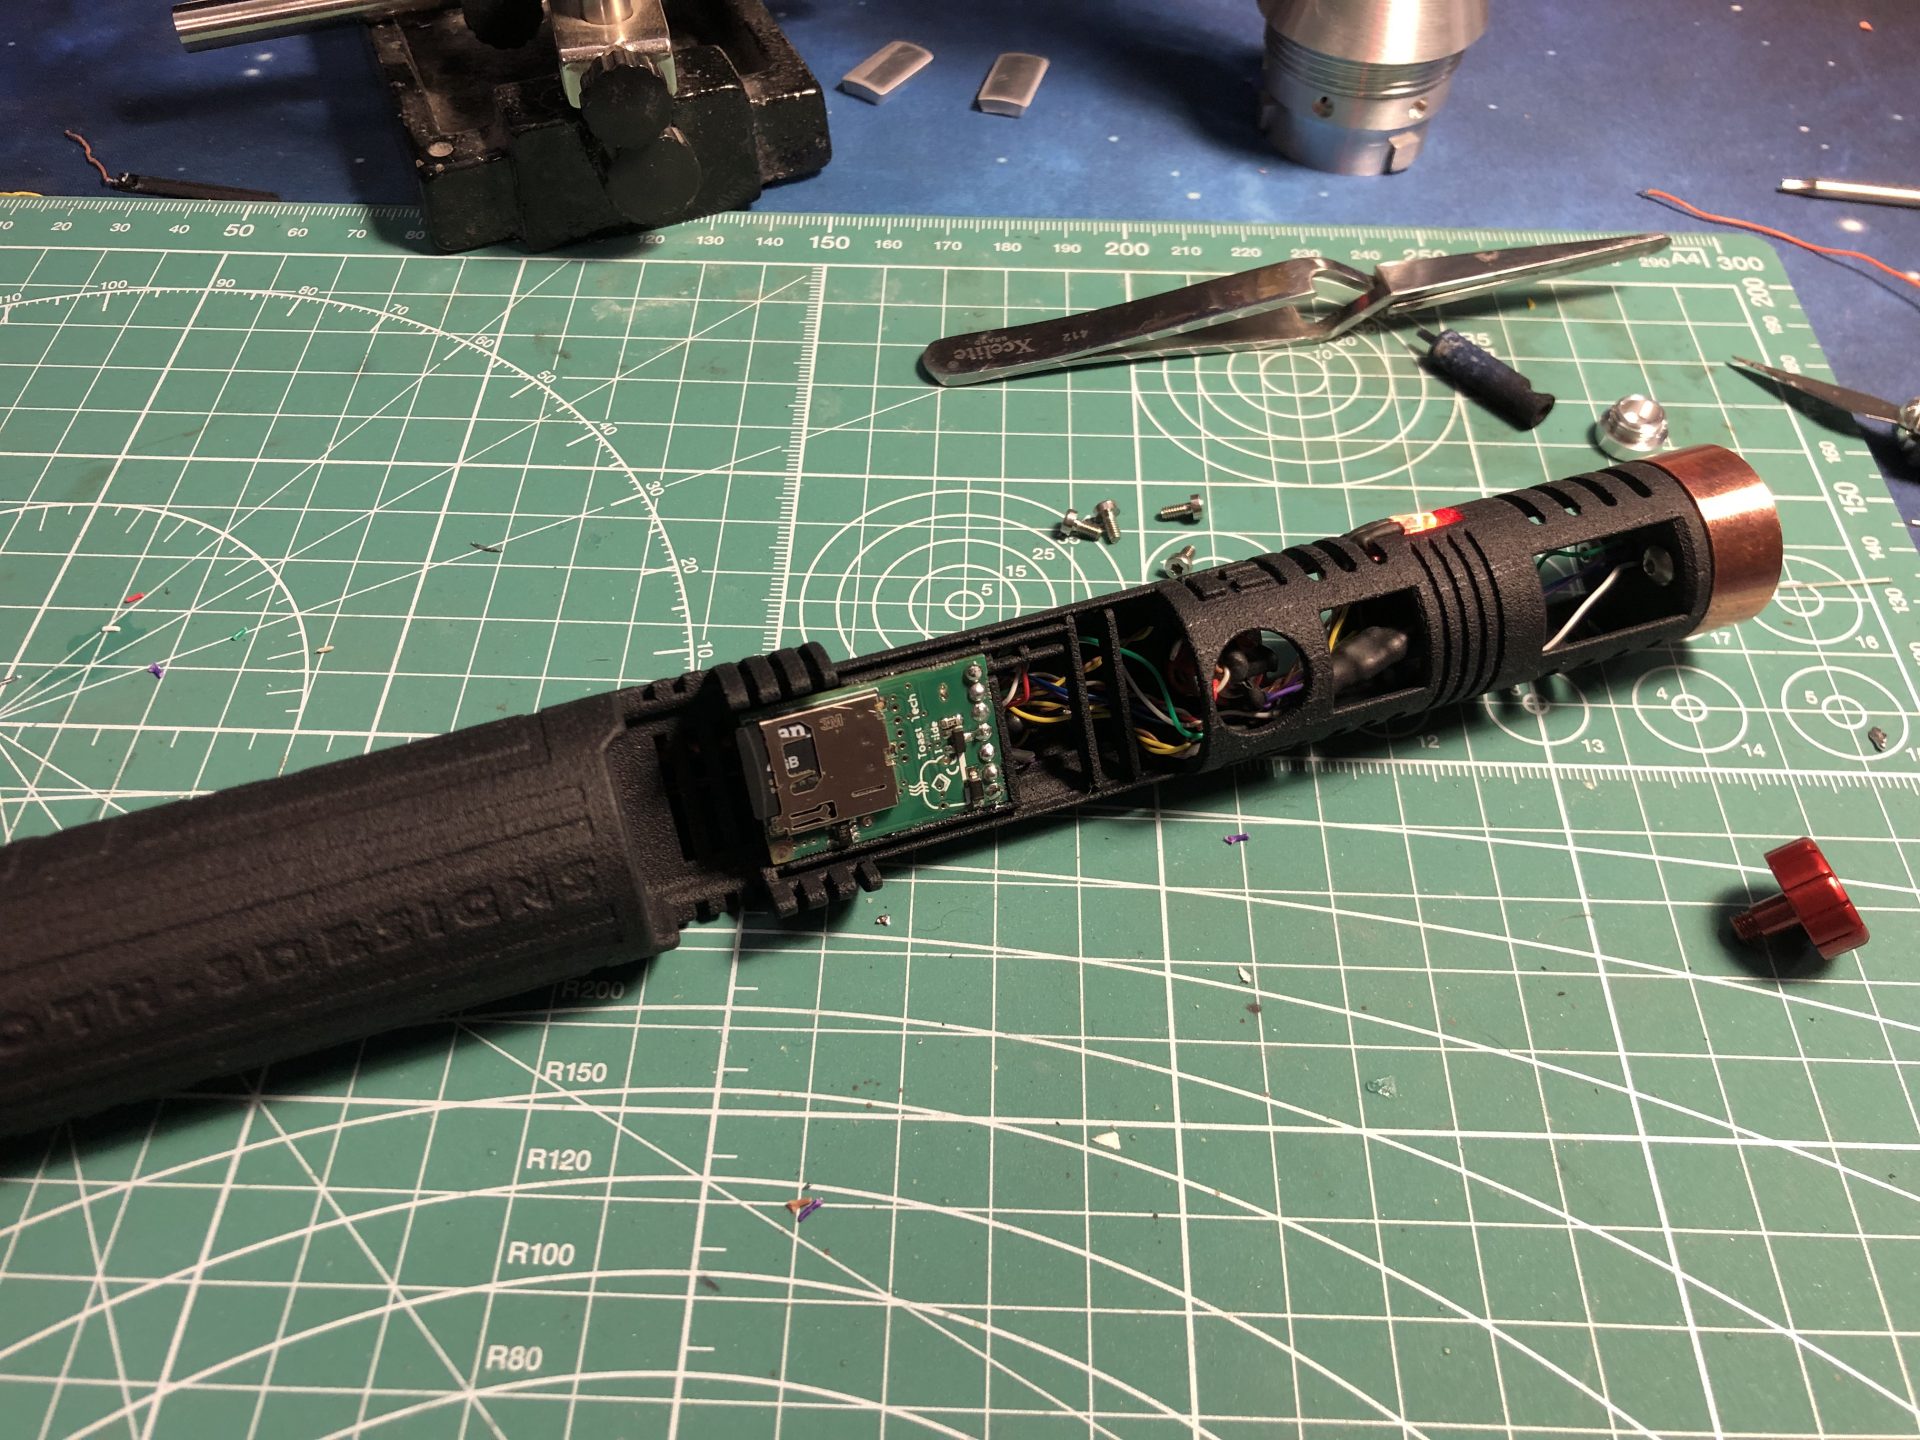
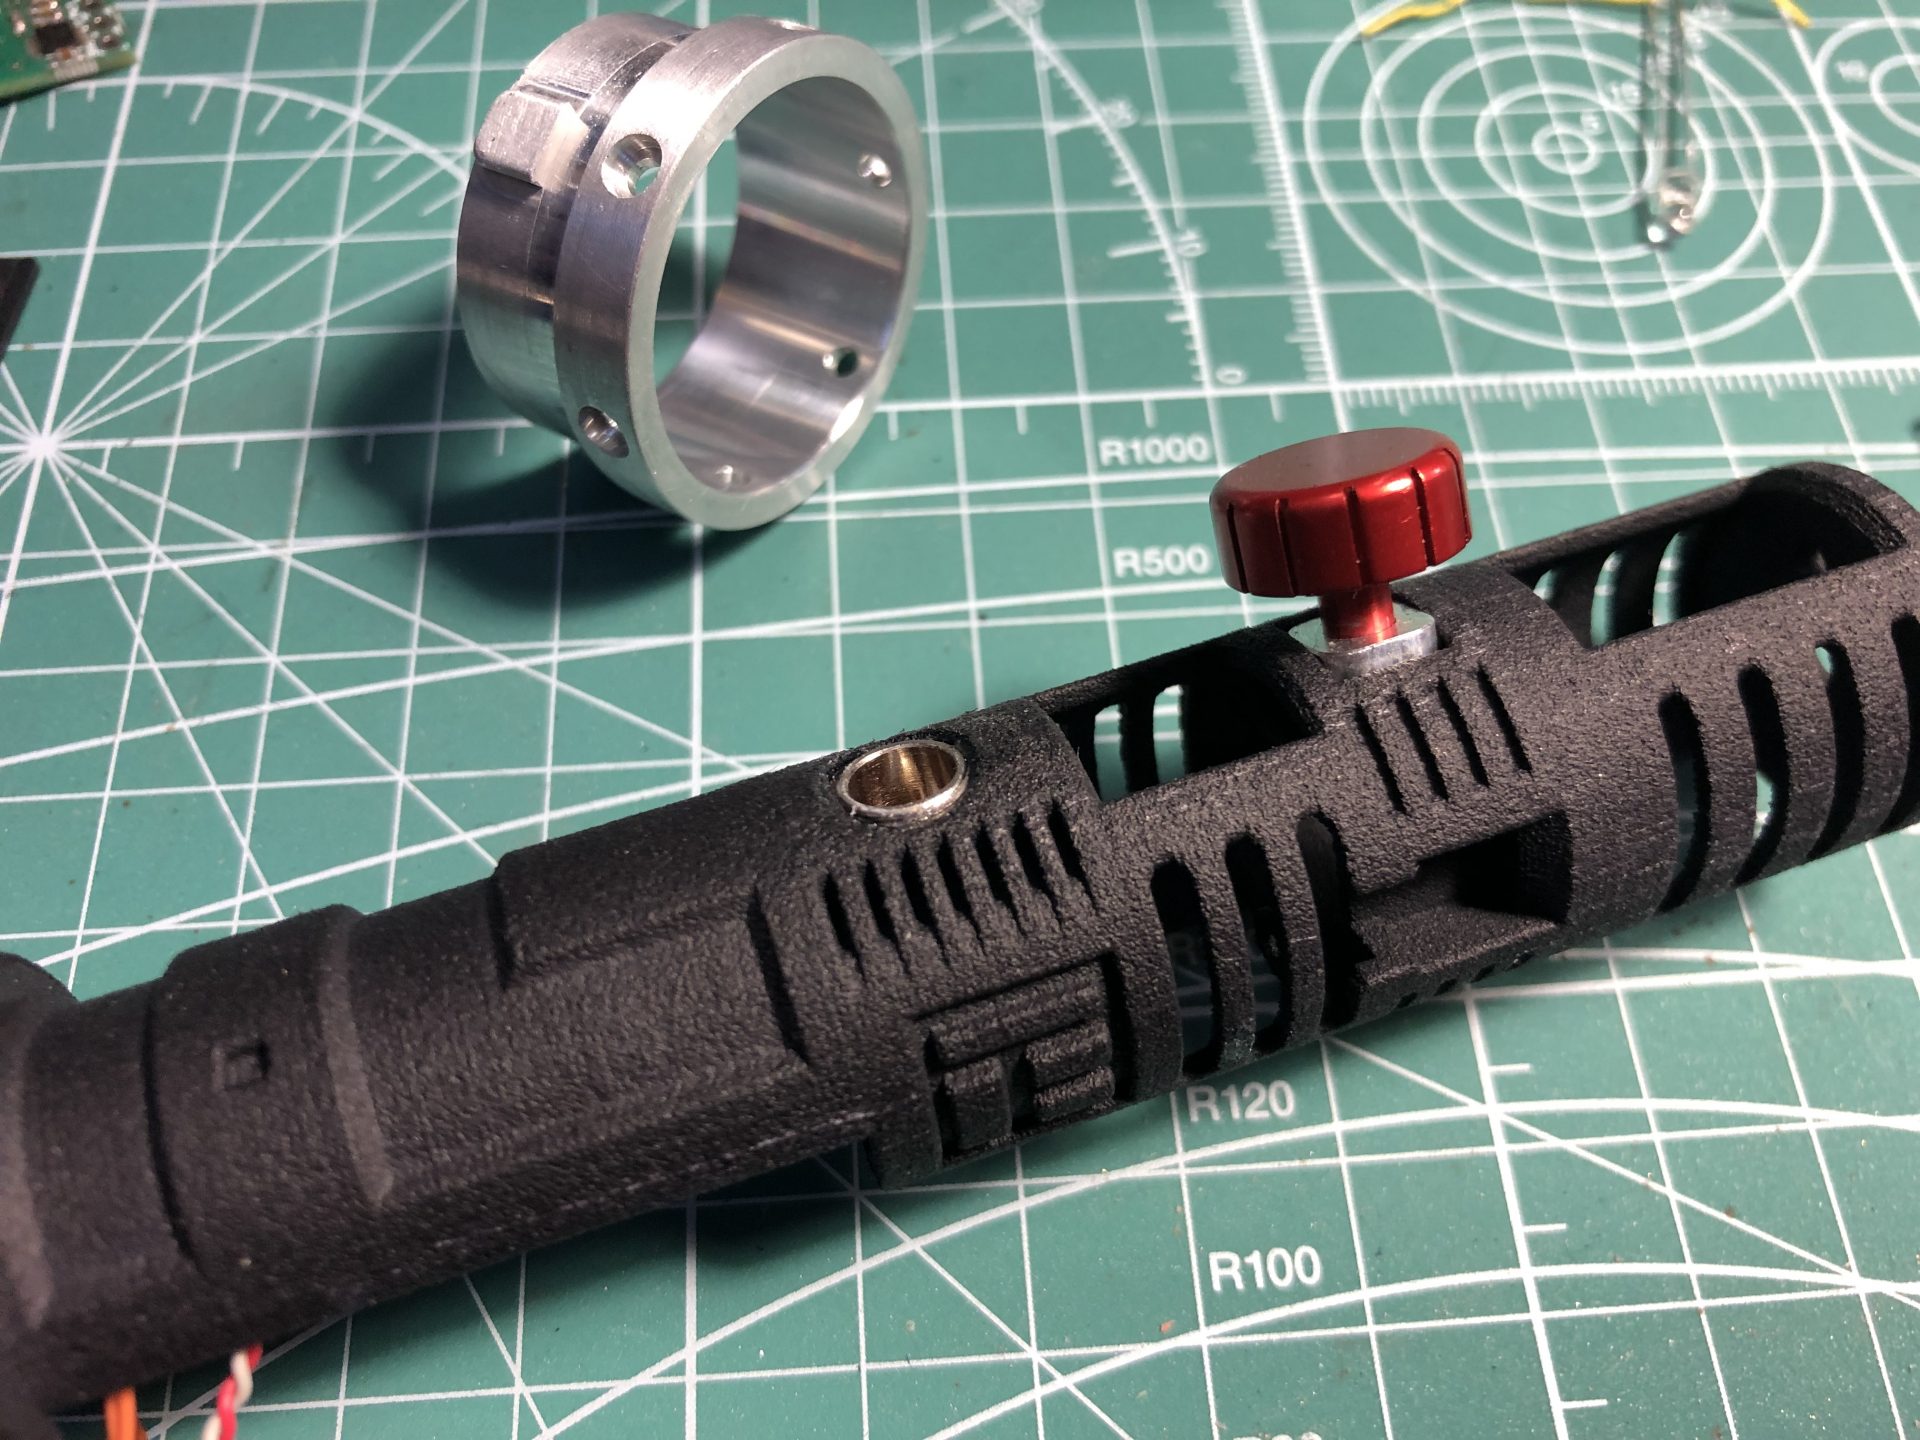
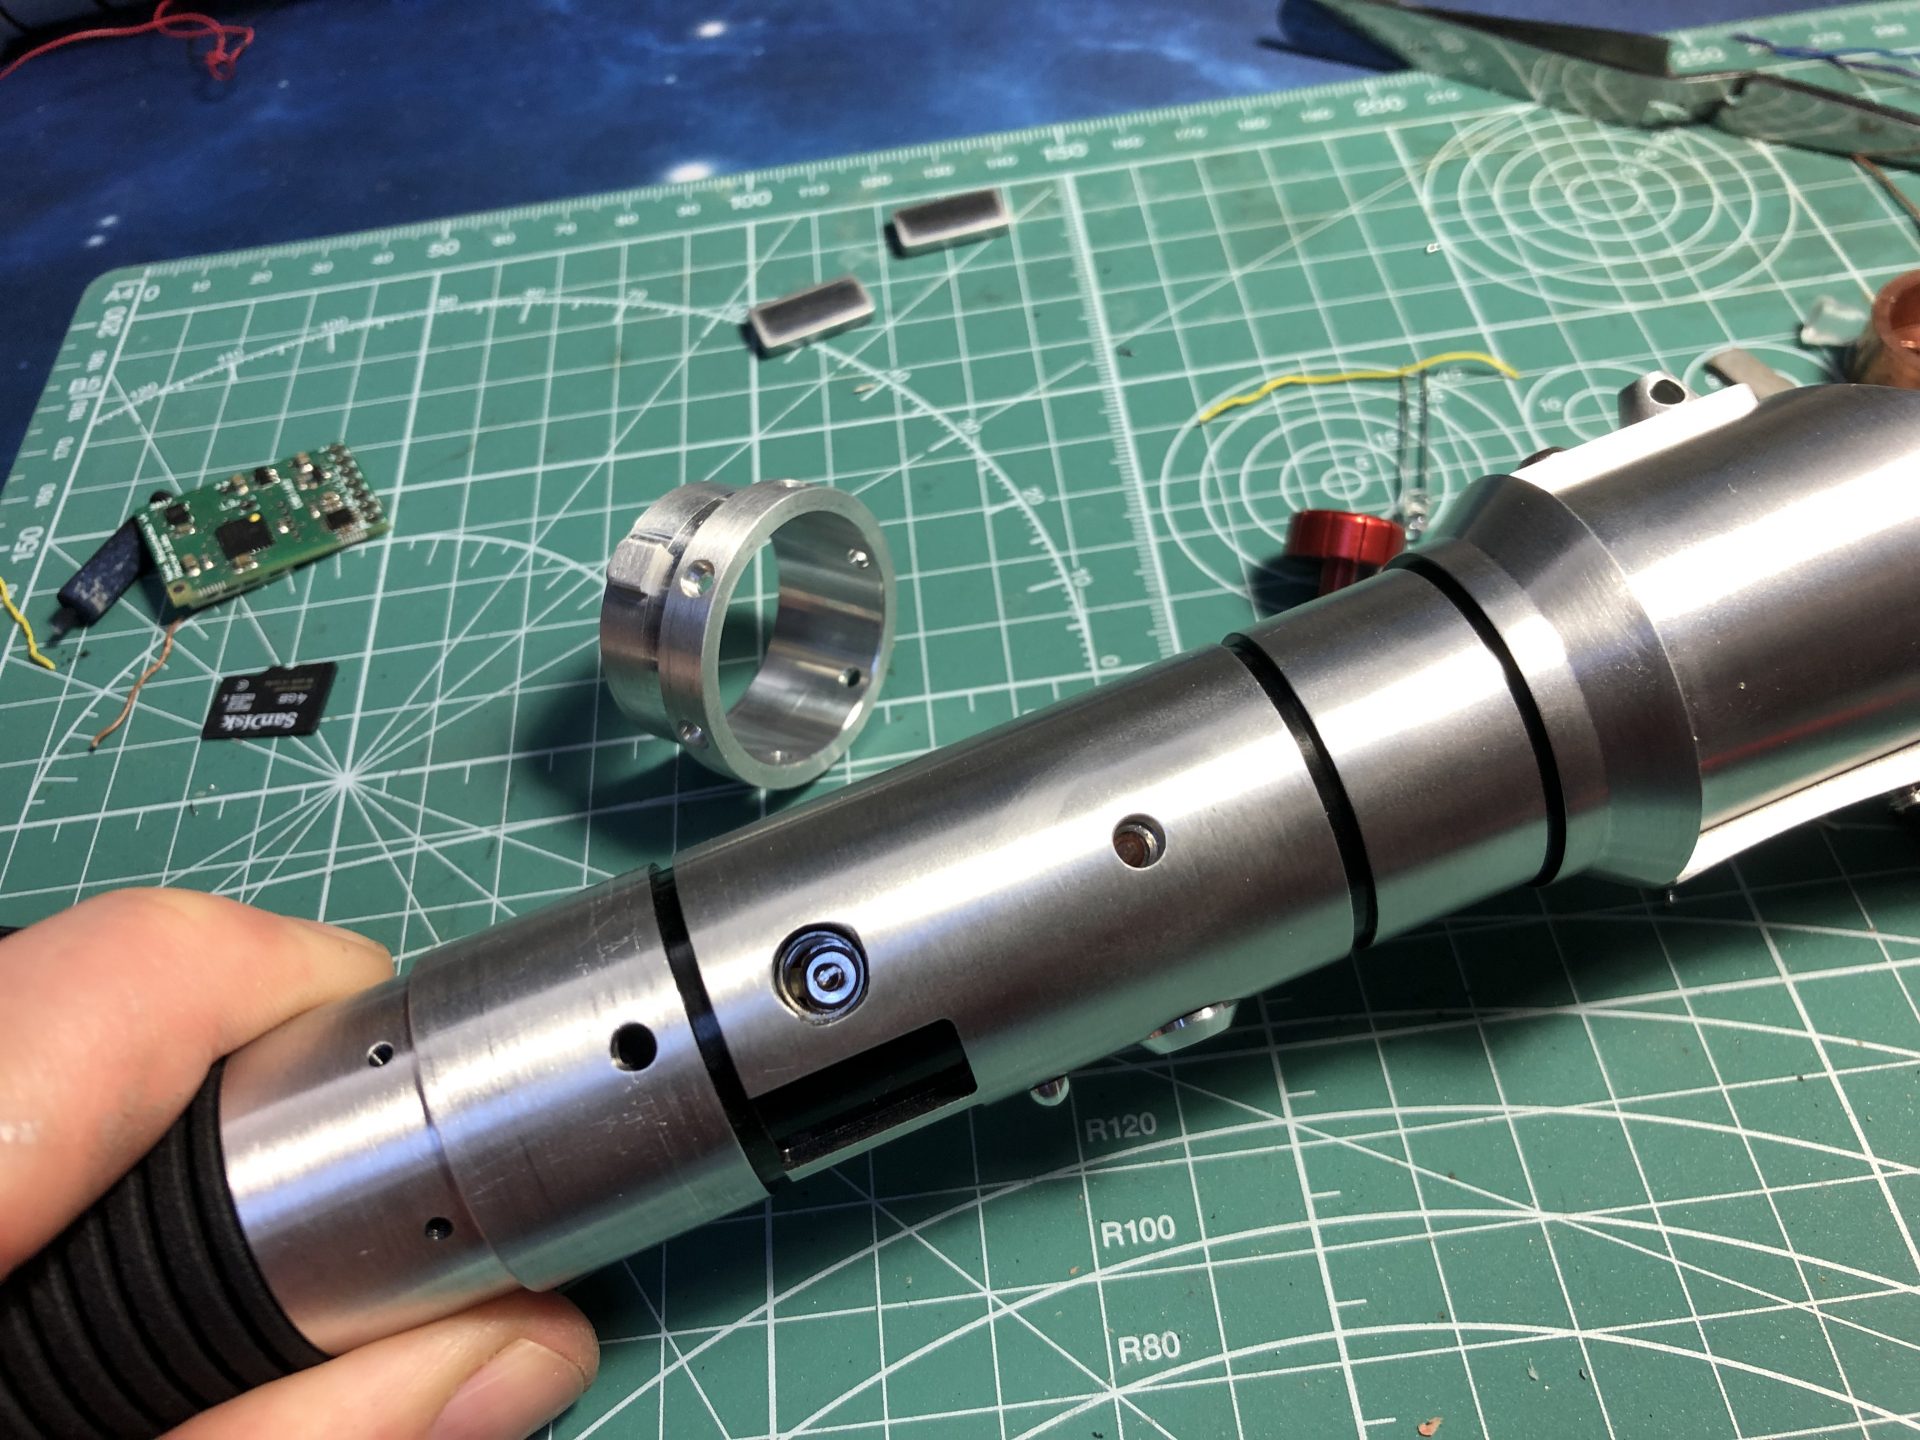
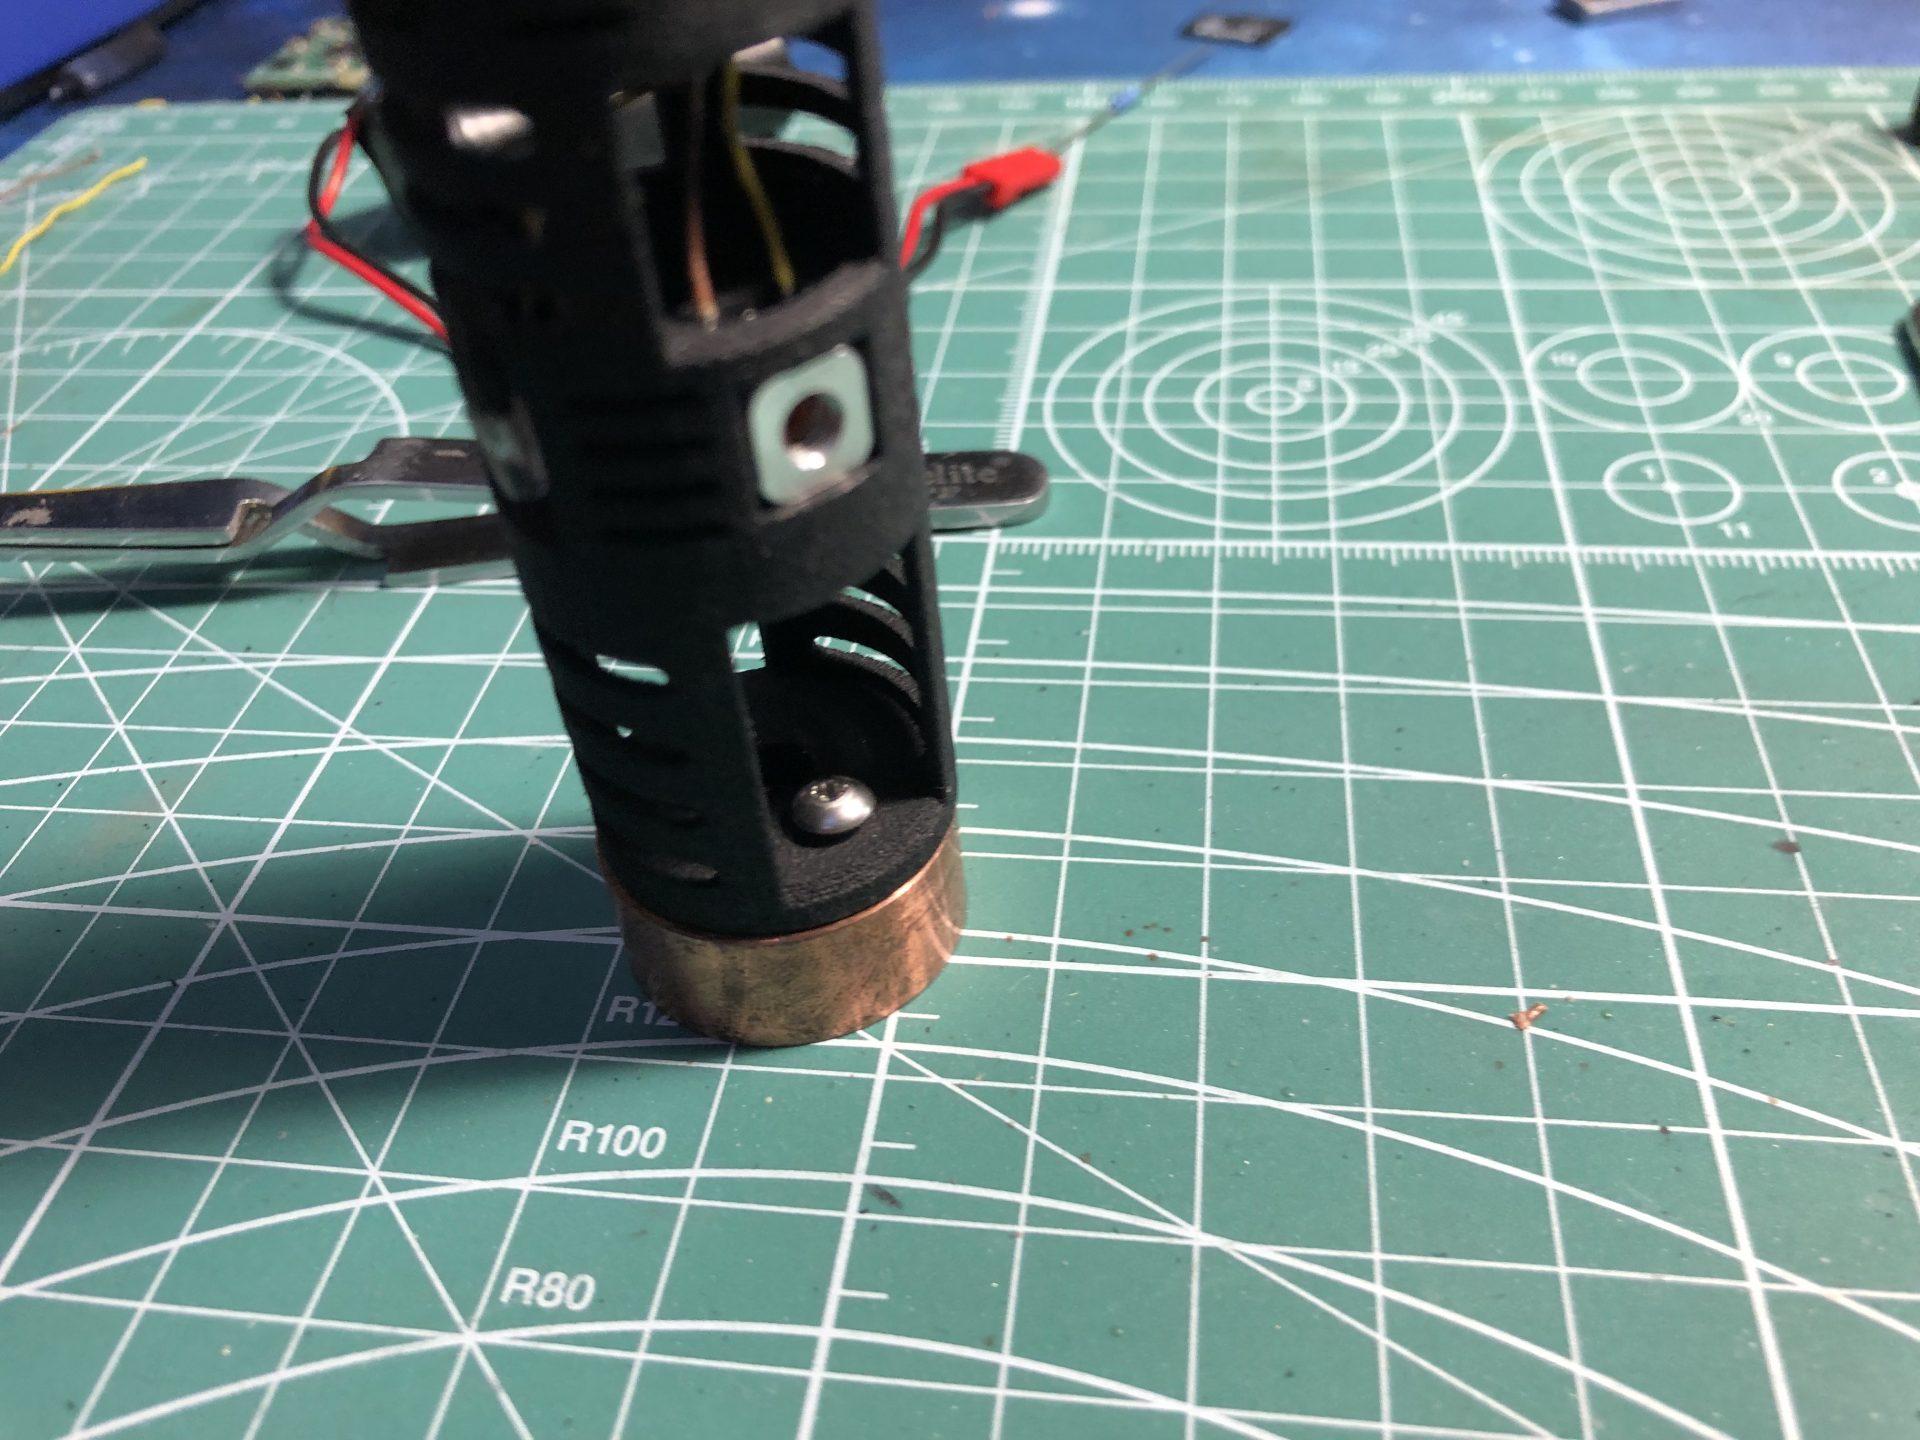
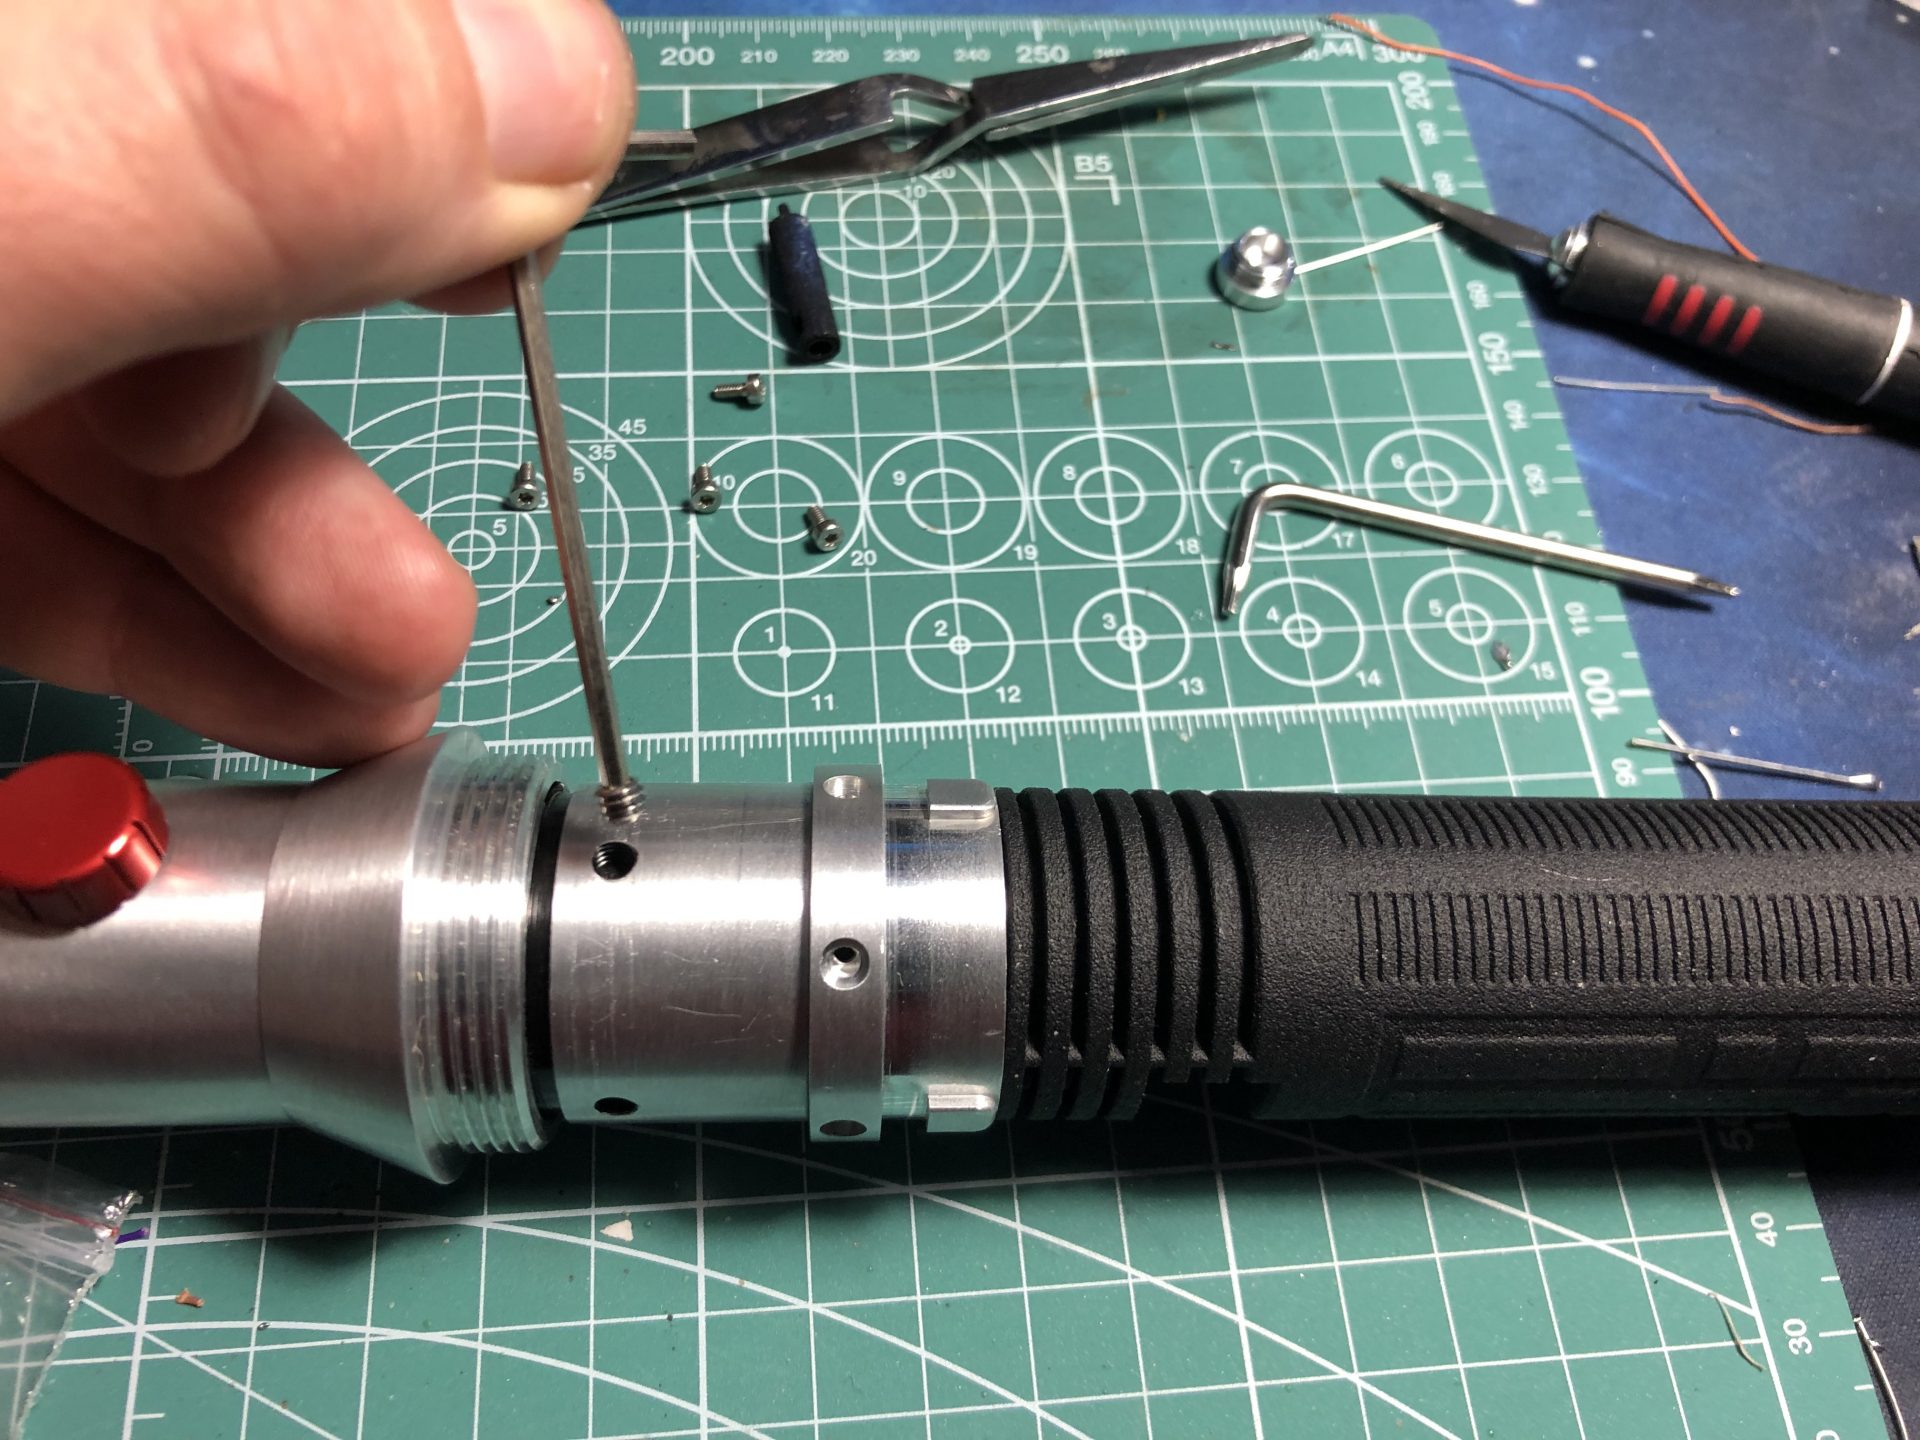
Once tested, insert the chassis in the upper hilt. A retention screw can be used as shown on the picture below, but it is not mandatory, as the ring little screw will also serve as retention screws.
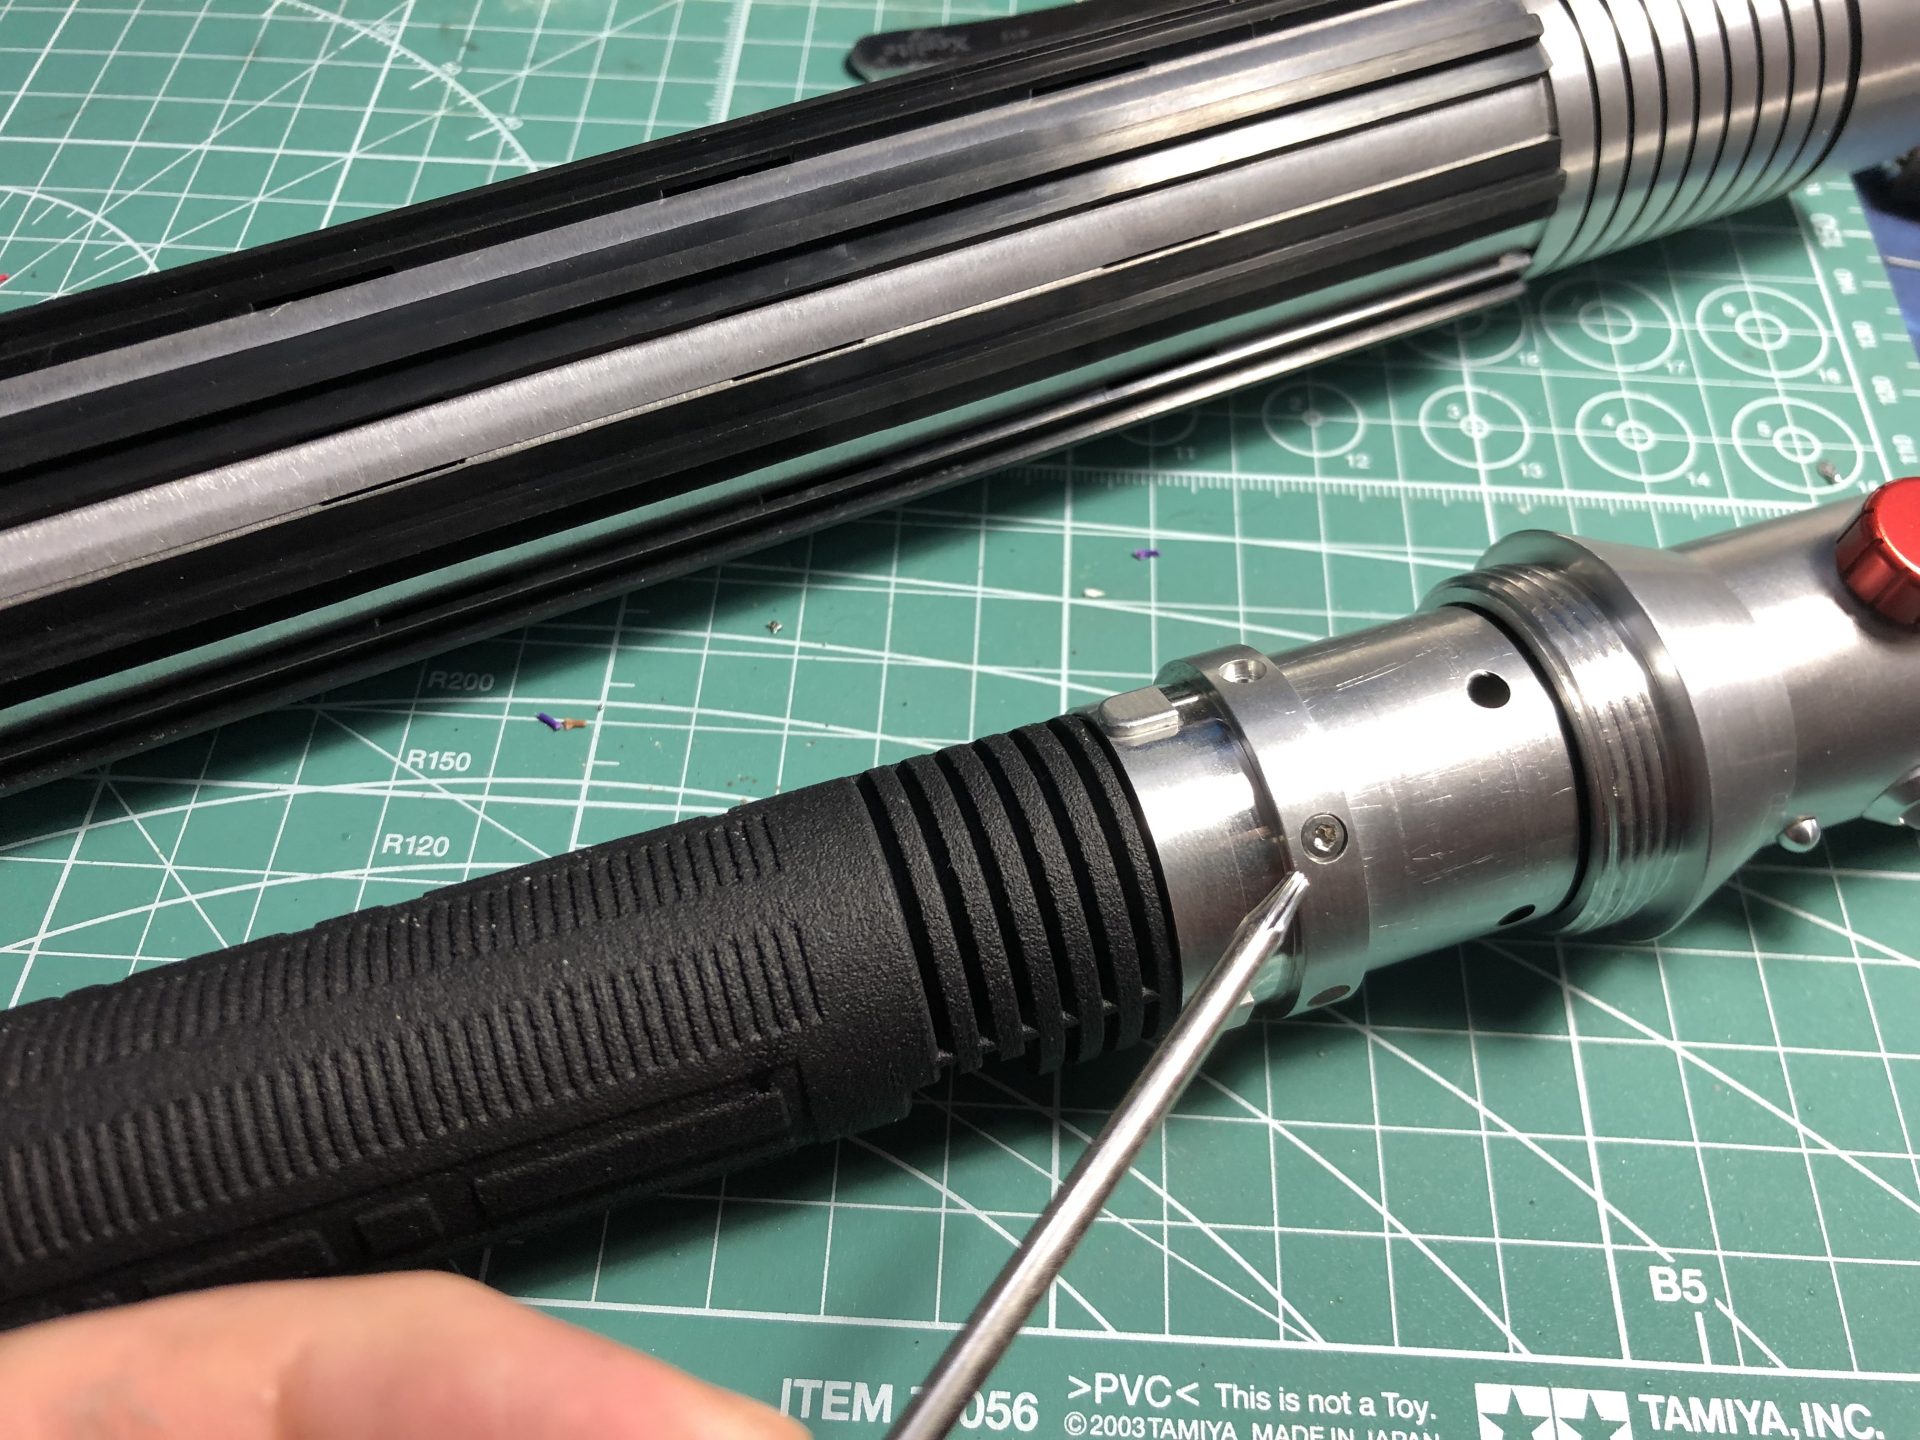
4 of the 6 little screws are used. 2 are left out on each side of the soundboard.

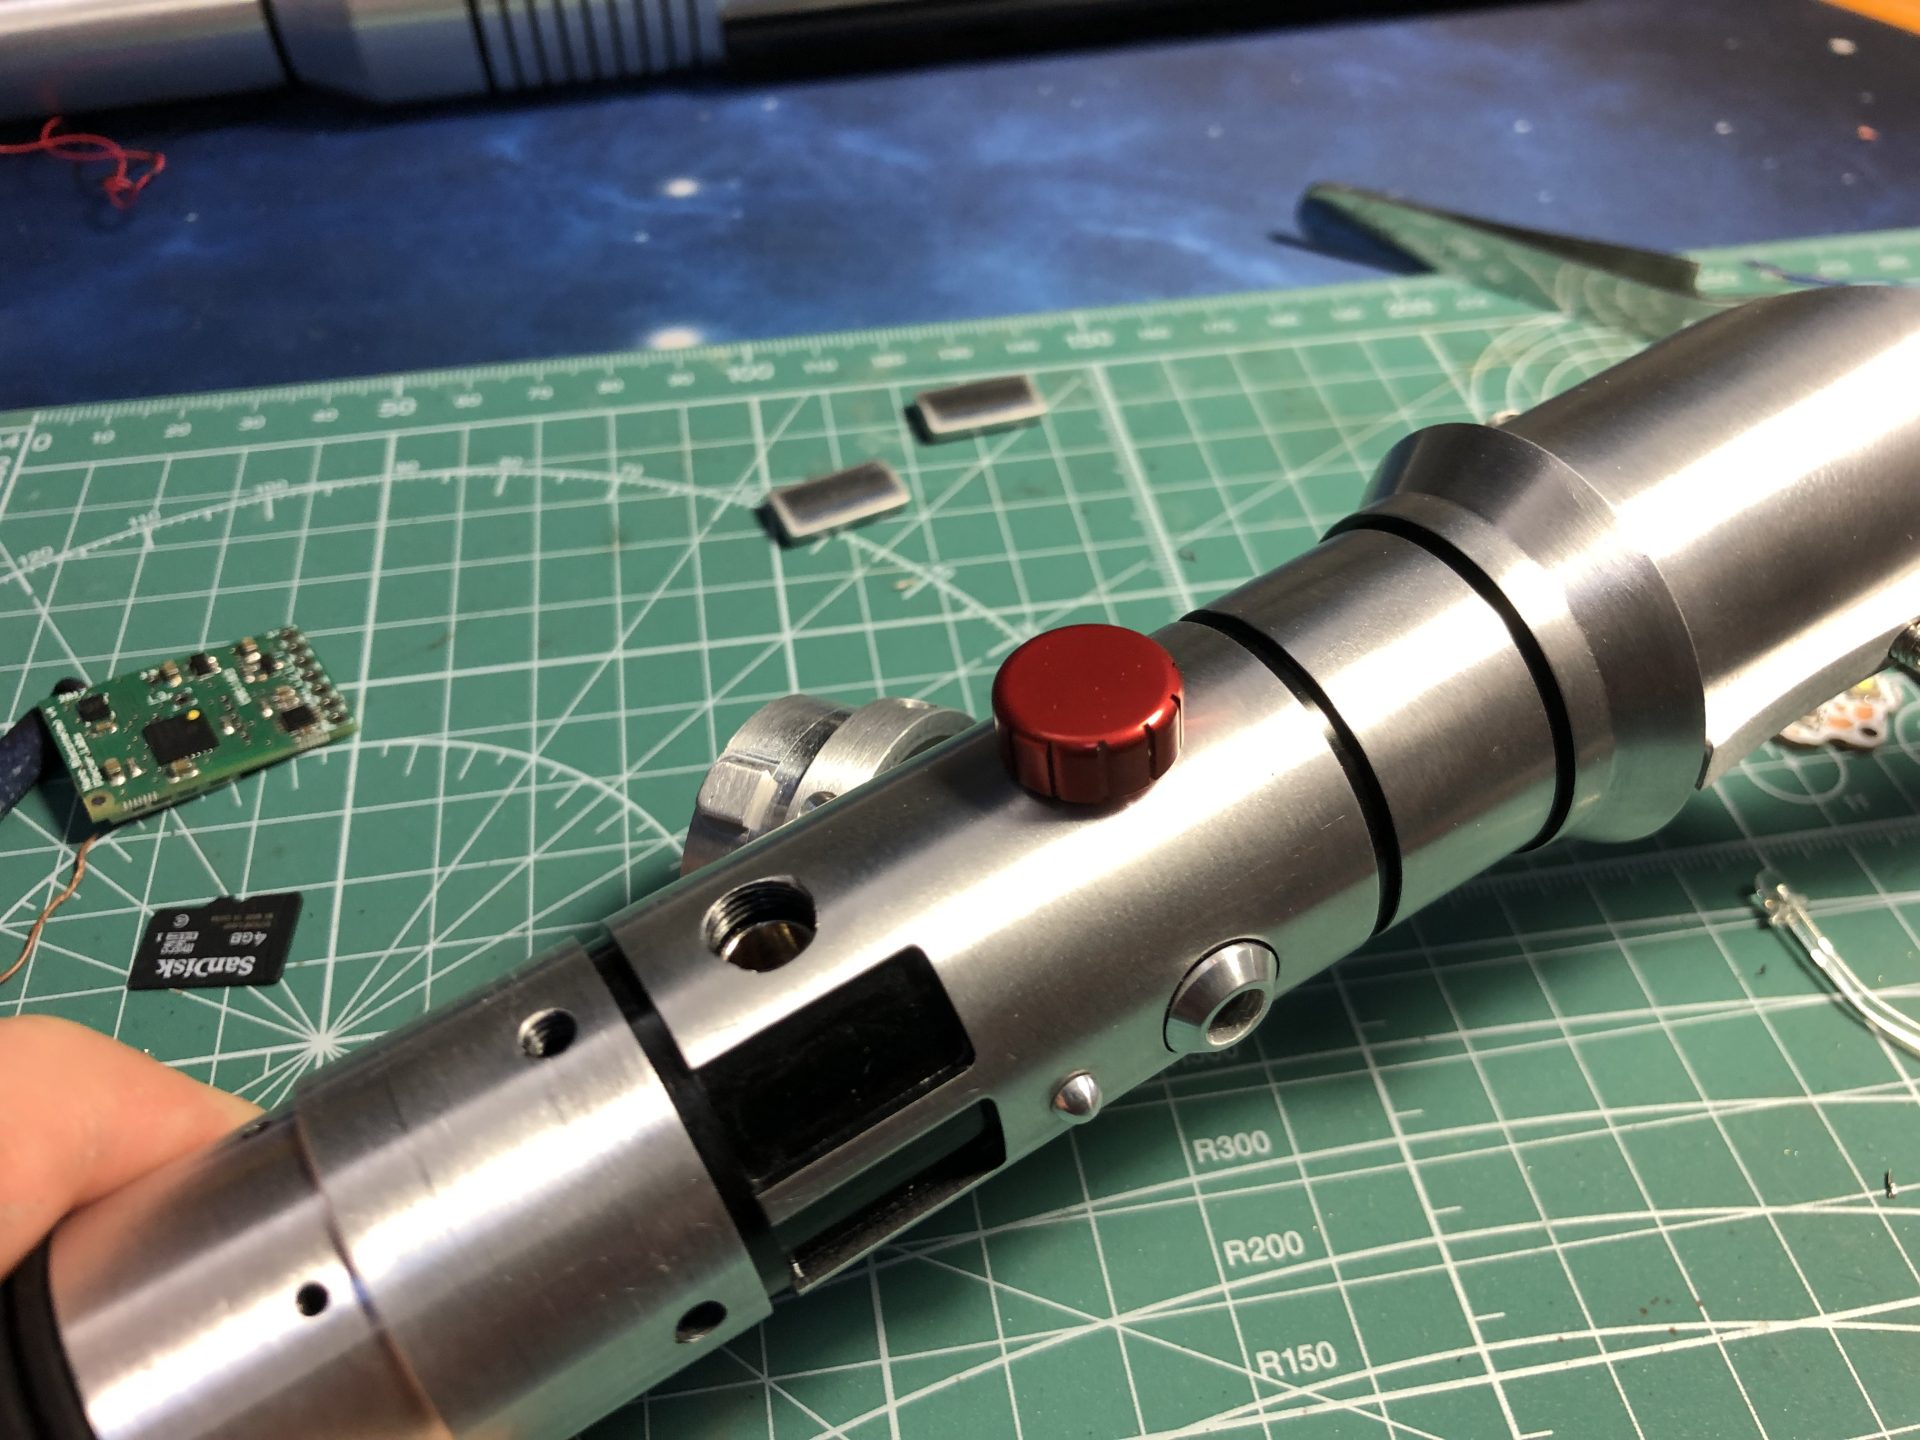
Add the red thumb screw and test again your install.
Last step, build the kill key by gluing it into the dedicated screw greeblie.