These designs are no longer supported (FAQ)
Two chassis variants are available for the Roman MK1 FX Kits:
– Padawan Var1 for a basic install, with a chassis mainly focused on securing all your electronics.
– Padawan Var2 to be installed with Rudy Pando’s Crystal Chamber.
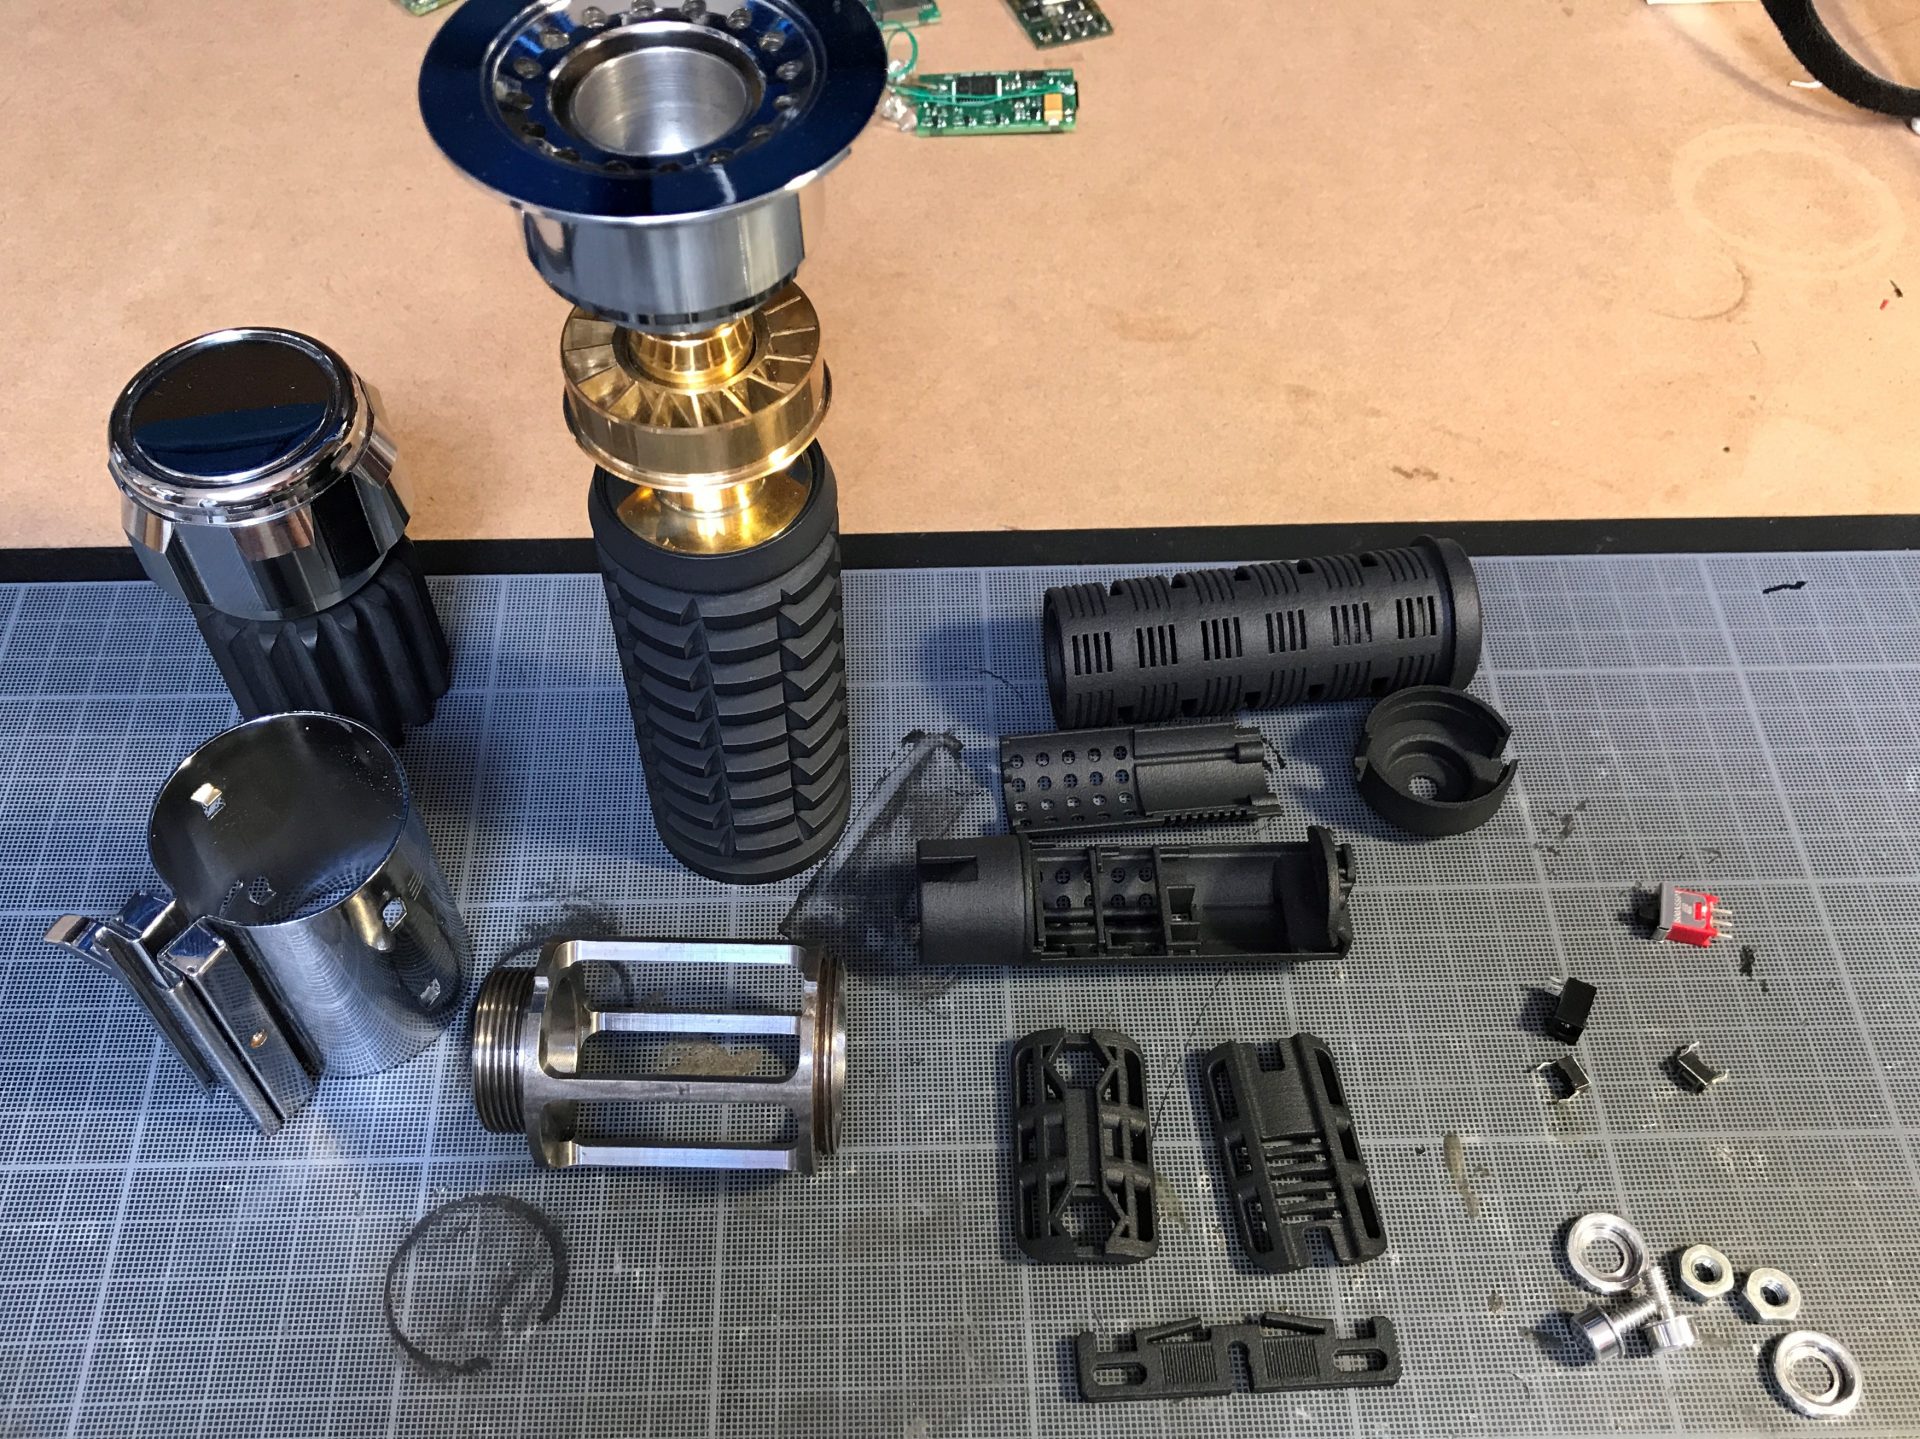
Both these chassis have the “MultiBoards Adaptive Chassis” design which allows any major soundboards to be installed (Plecter Labs or NEC). Note that the Padawan Var1 can also hold a Color Extender for Plecter Labs CF.
Variant 1:


Prices: Depending on material selected and current 3D printing service pricing, click on the link below to check.
Install Level: Intermediate
⇒ Chassis Kit: roman-props-mk1-padawan-var-1
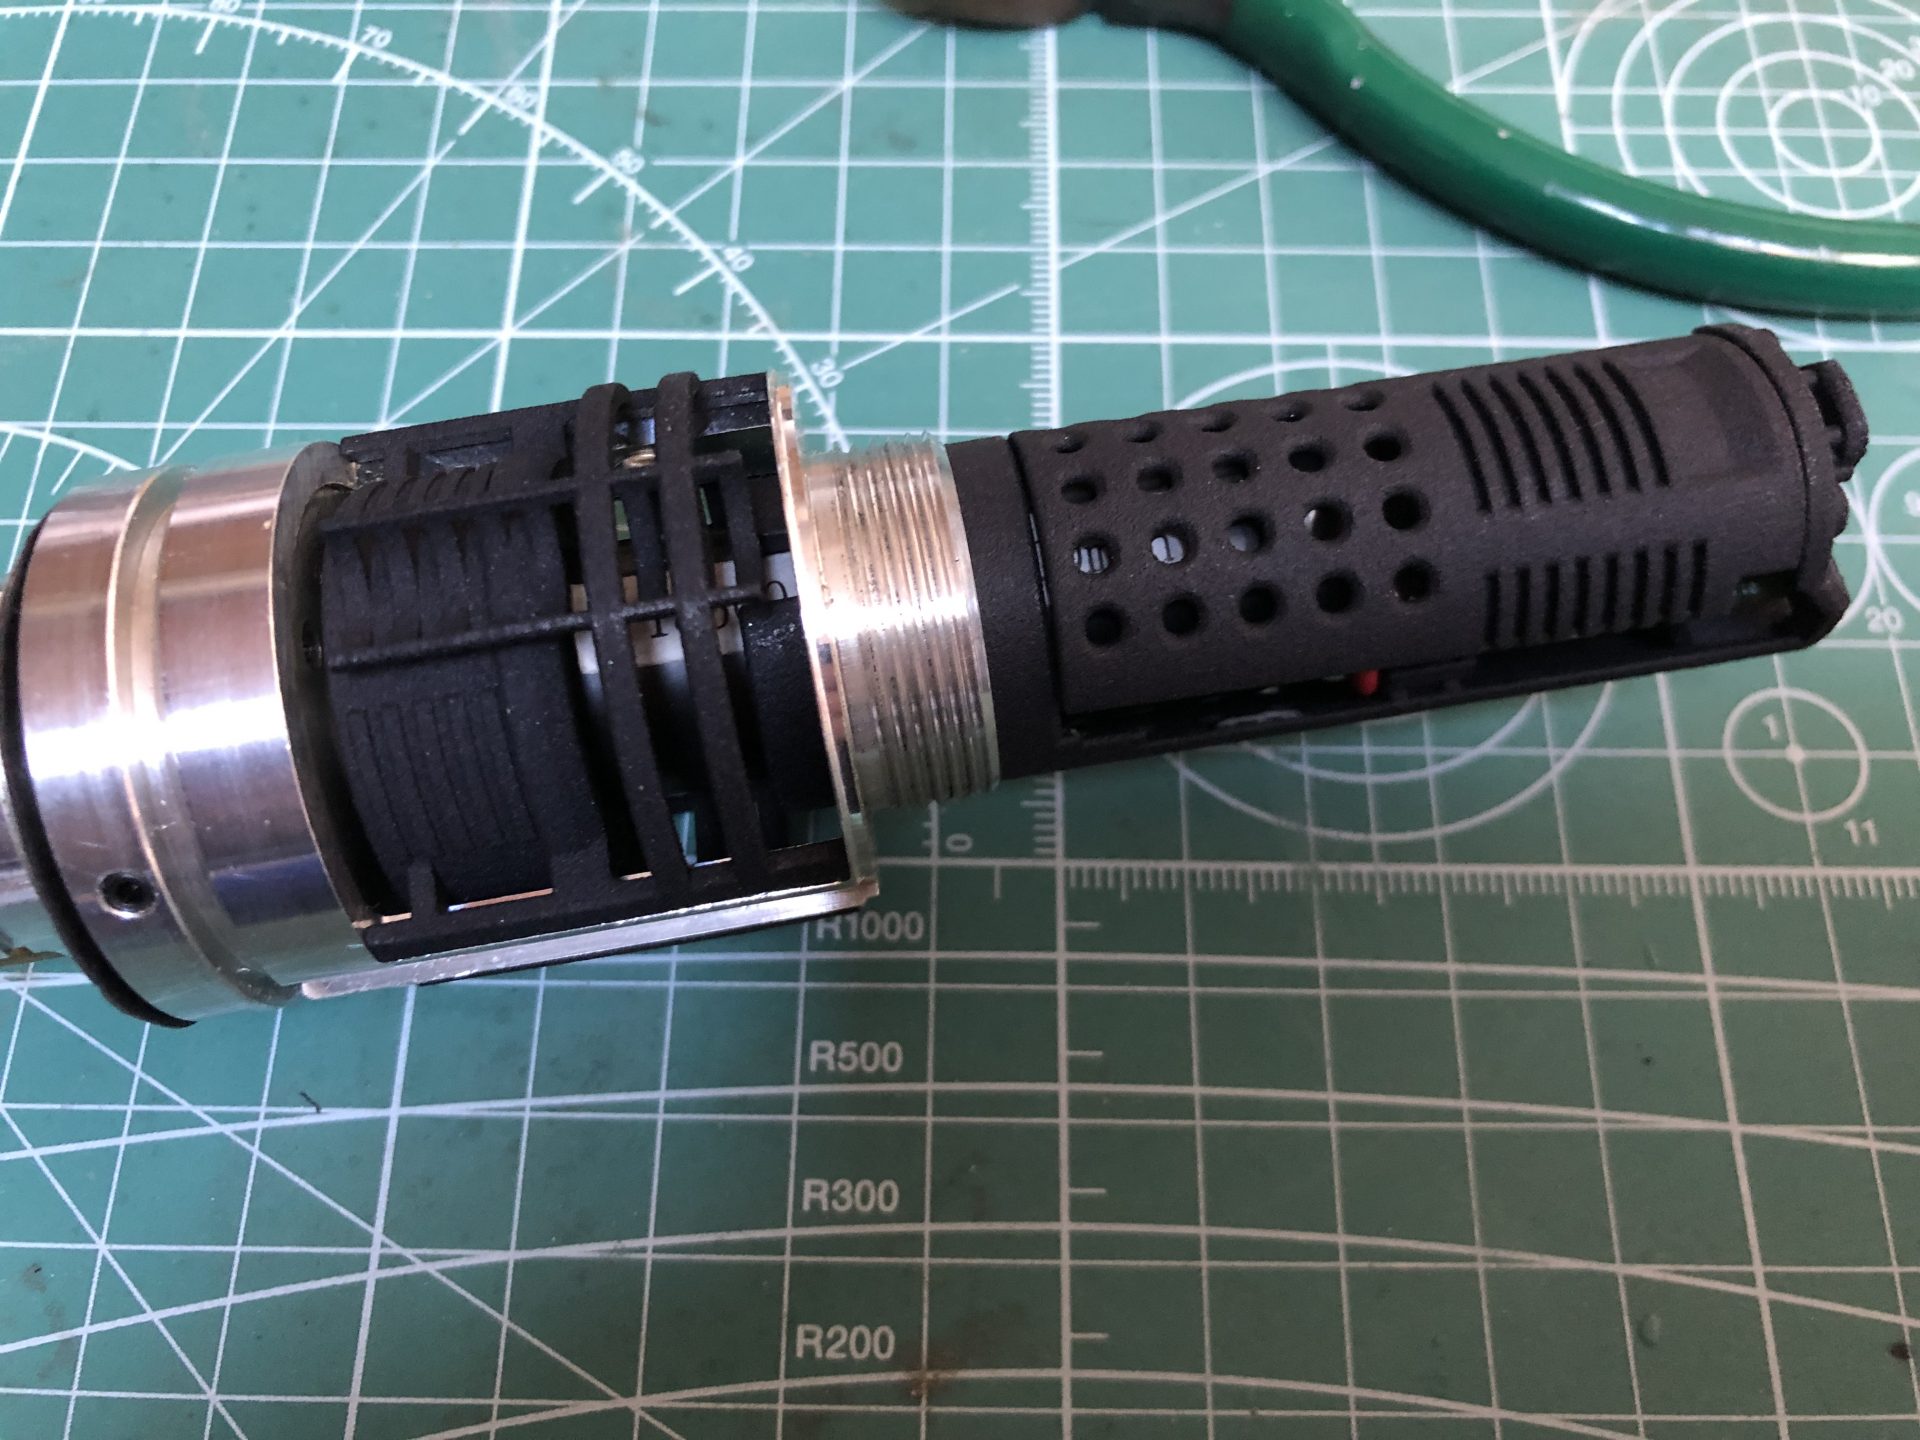
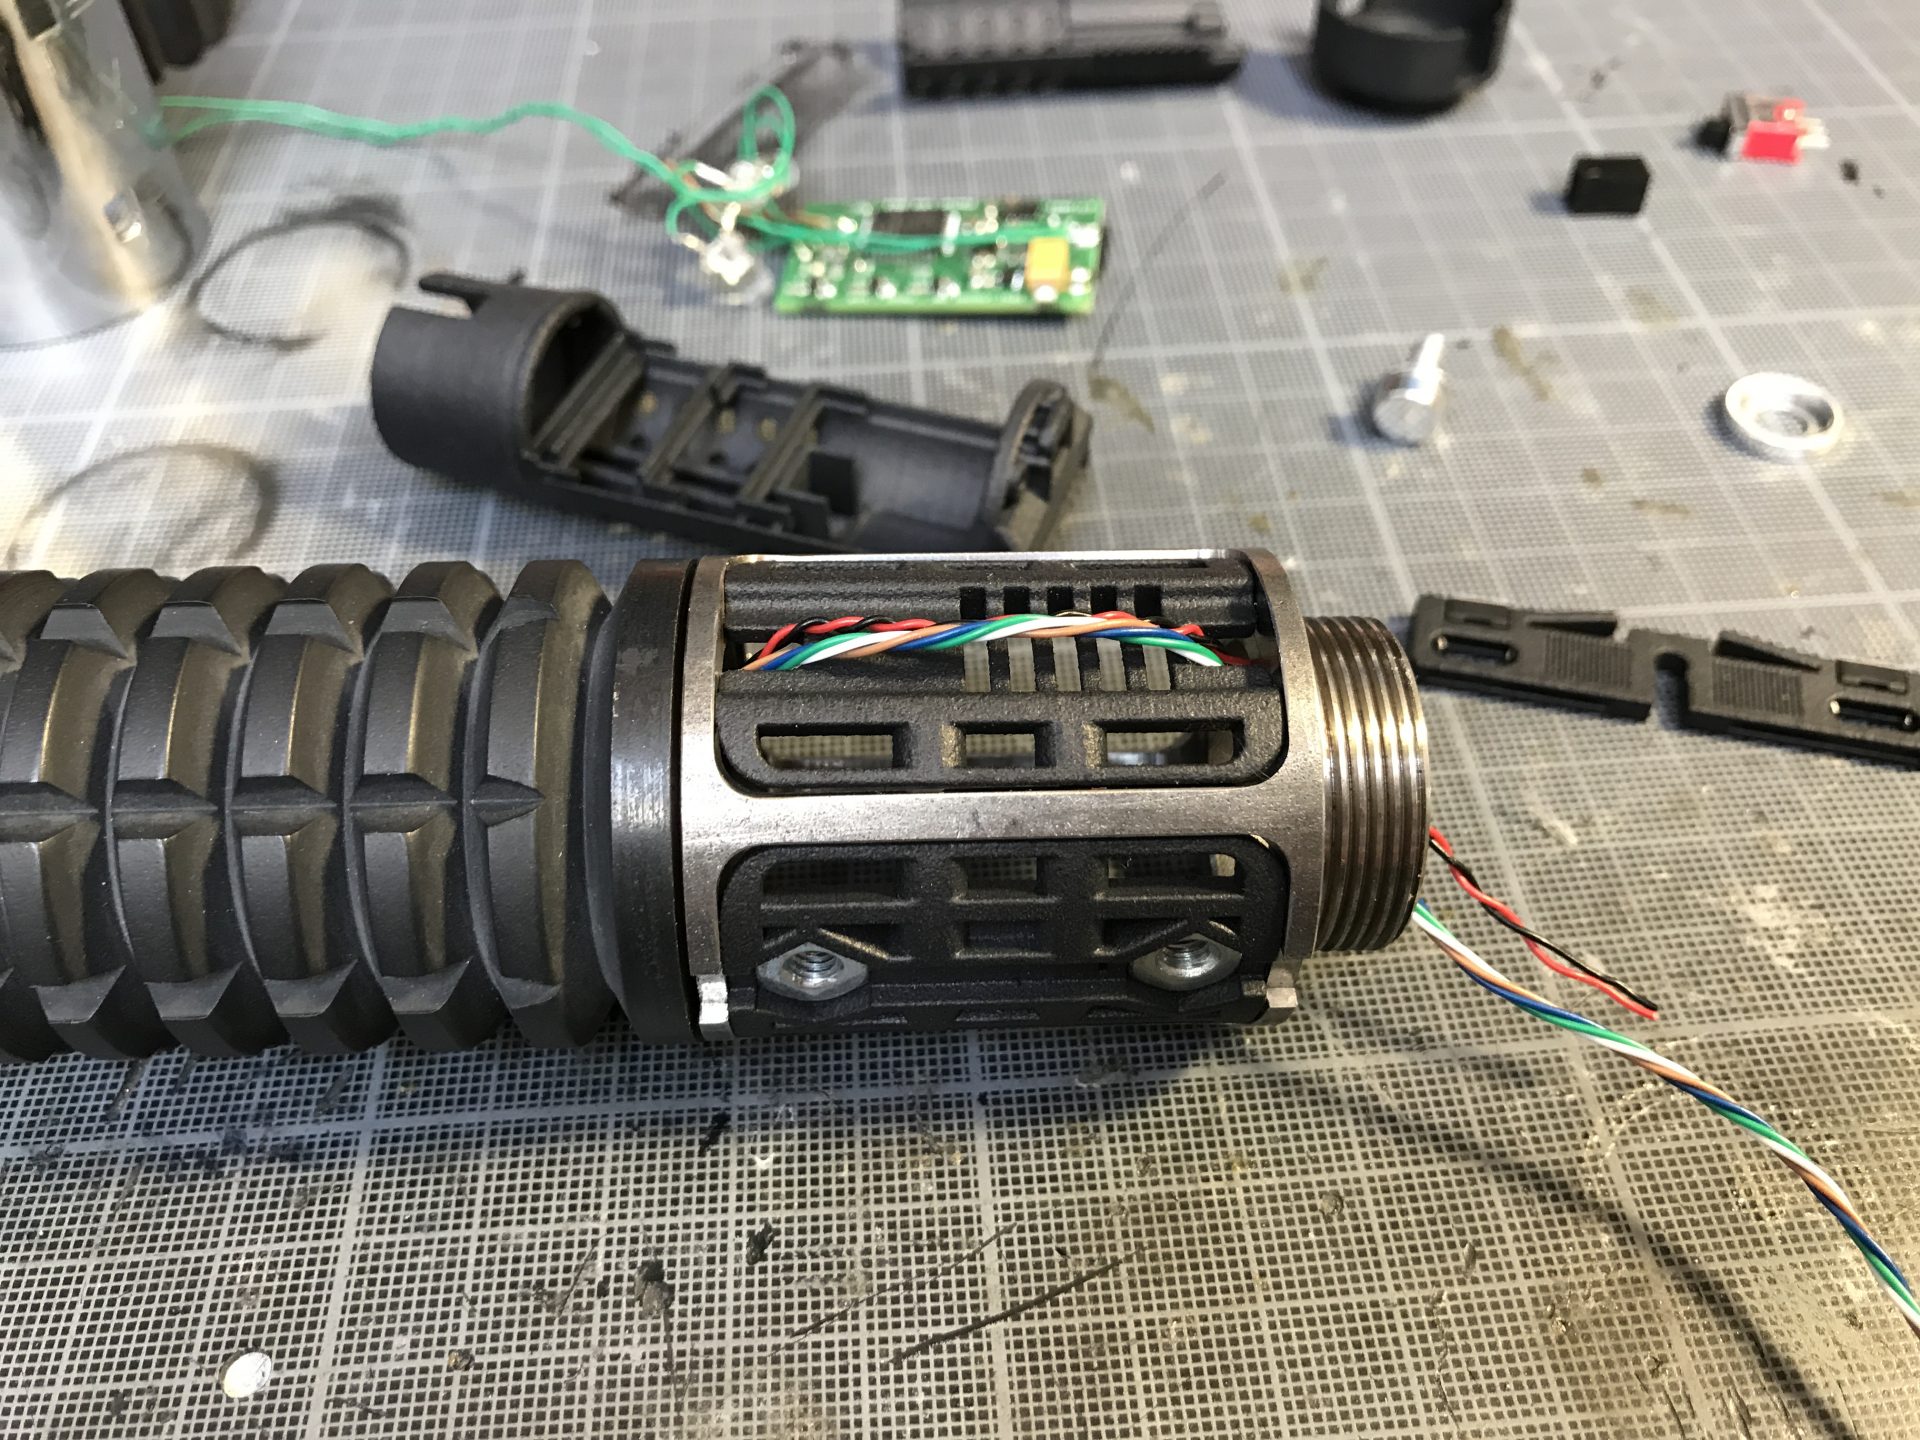
The kit contains: Soundboard module with MultiBoards Adaptive Chassis, battery module with Color Extender slot for Crystal Focus install, a switches holder, a speaker holder, a clamp spacer for the 2 hex nuts, and a camp spacer / wire channel.
⇒ New chassis for CFX: roman-props-mk1-padawan-var-1-cfx
Same kit as above but specific to the new CFX soudnboard.
Variant 2: For Rudy Pando’s Crystal Chamber


Prices: Depending on material selected and current 3D printing service pricing, click on the link below to check
Install Level: Expert
⇒ Chassis Kit: roman-props-mk1-padawan-var-2
The kit contains: Soundboard module with MultiBoards Adaptive Chassis, a switches holder, a speaker holder.
Space being really limited with Rudy Pando’s CC, the chassis can only accept:
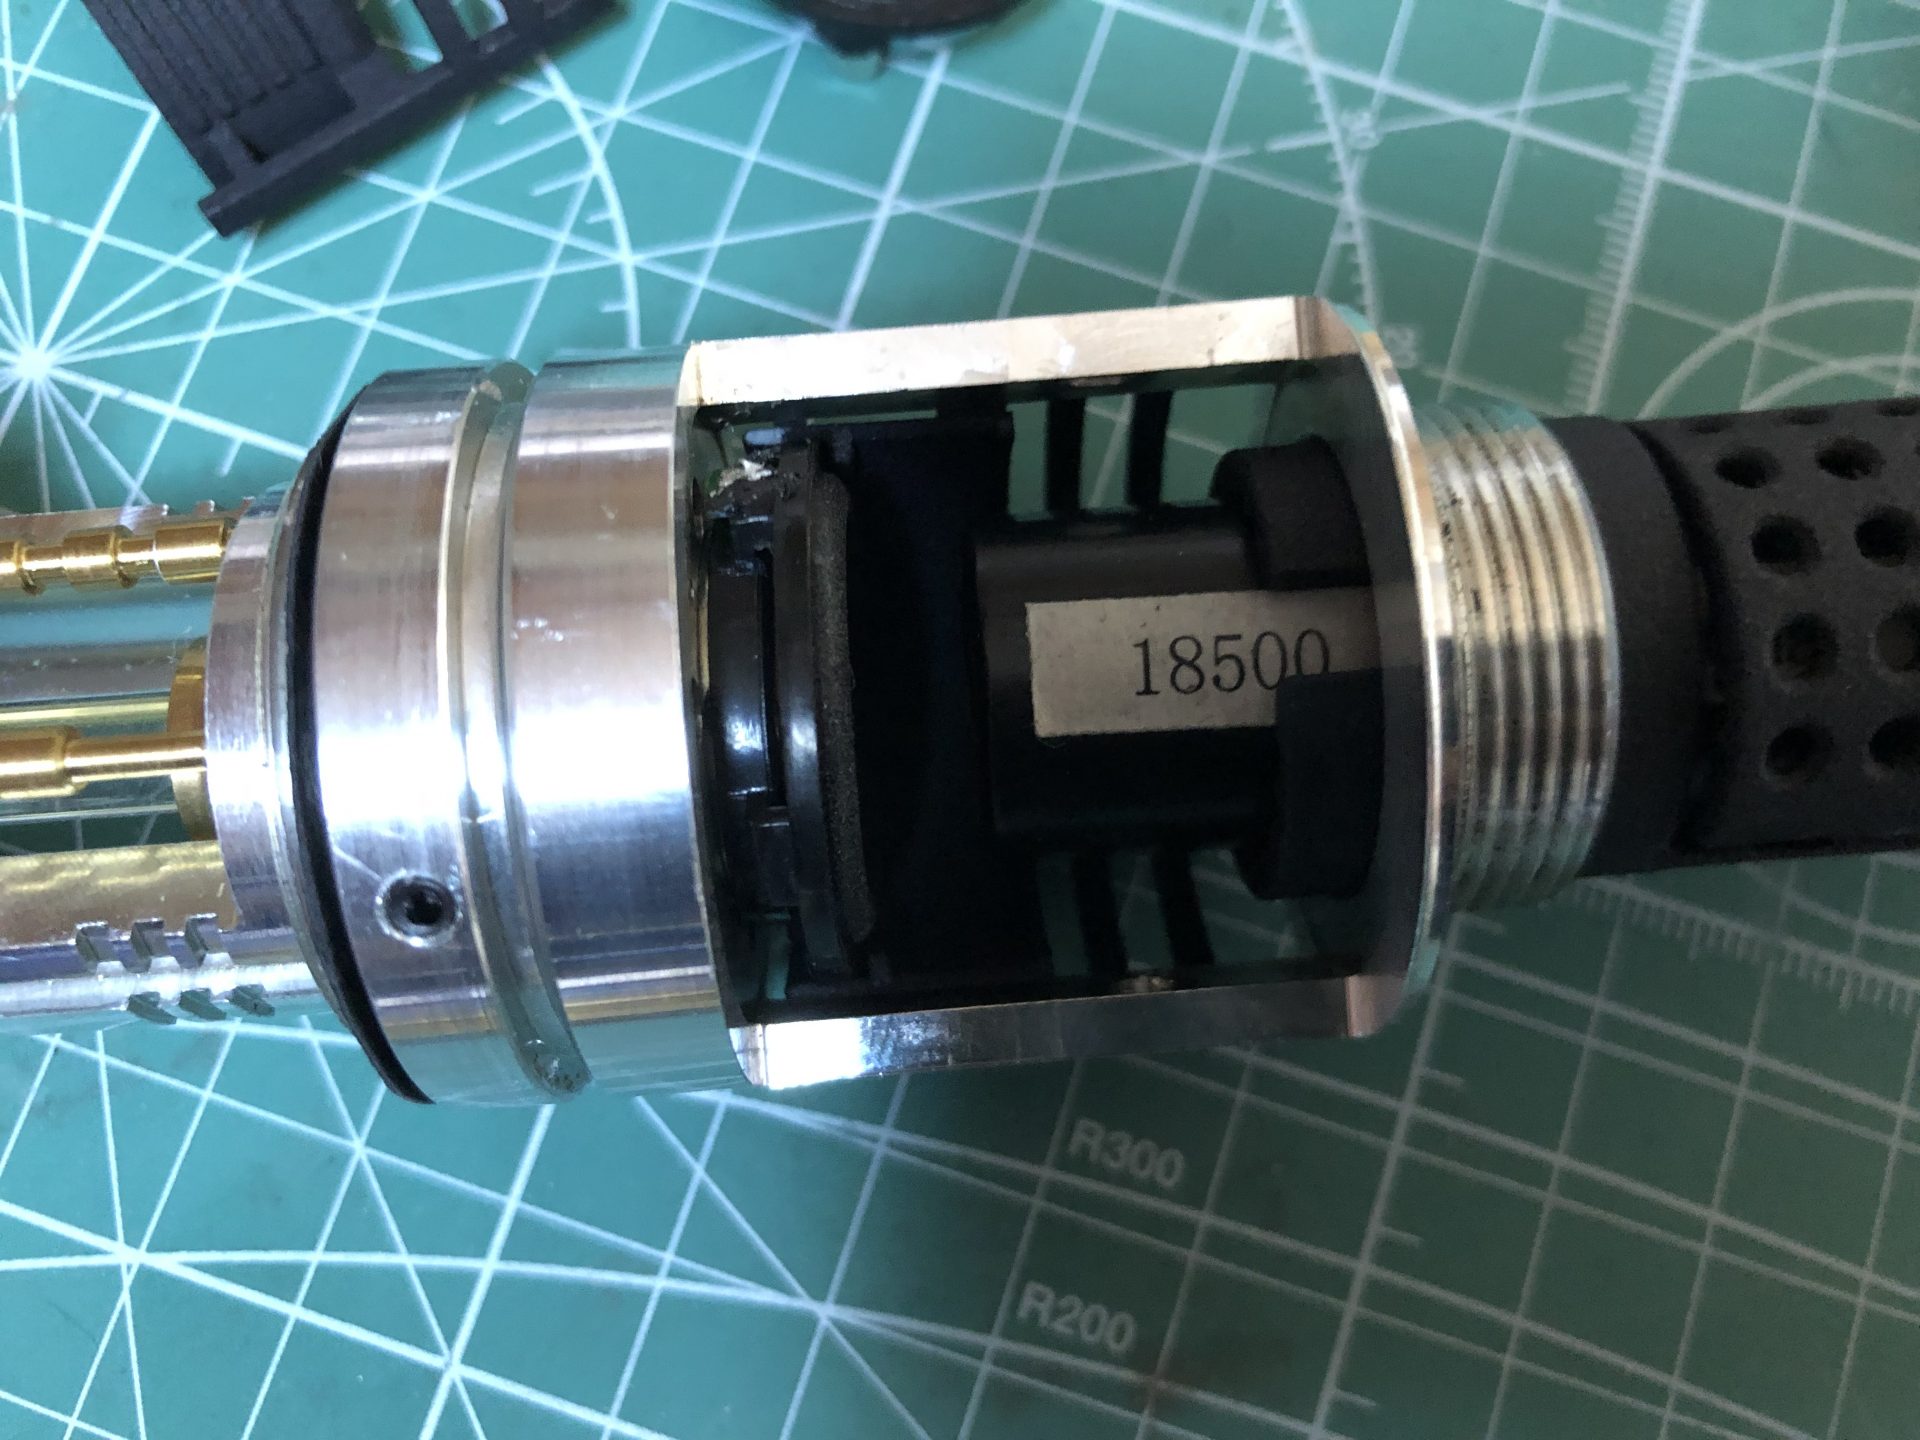
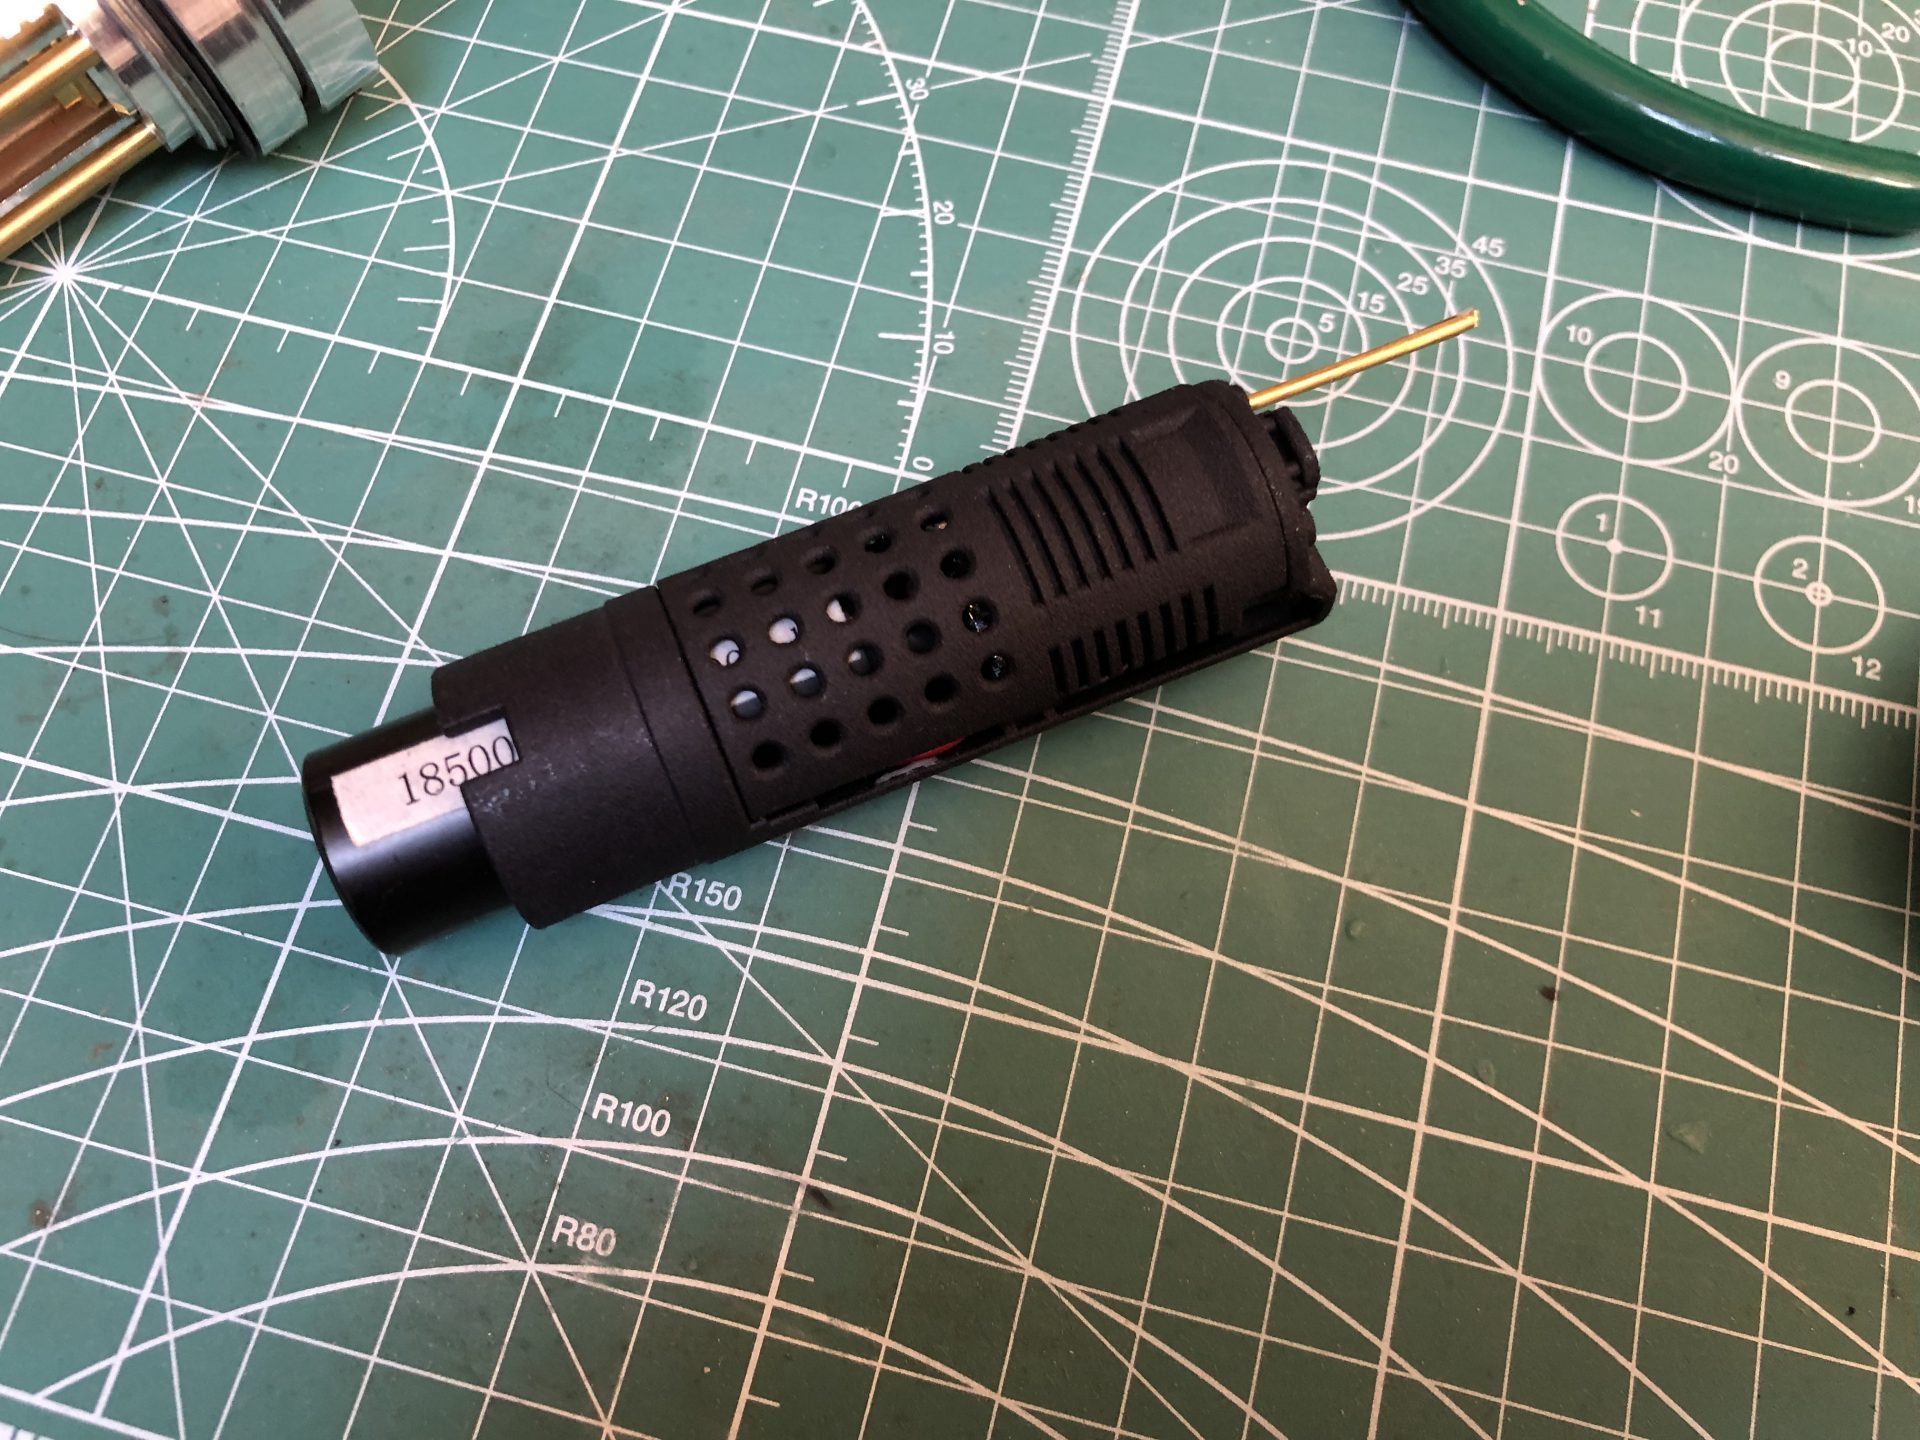
– 18500 battery + 28mm bass or premium speaker for NB installs
– 18350 battery + 28mm premium speaker for all other soundboards
⇒ New chassis for CFX: roman-props-mk1-padawan-var-2-cfx
Same kit as above, with 18500 battery + 28mm bass speaker and specific to the new CFX soudnboard.
Additional chassis parts:
Here is a list of parts needed to install the Chassis
⇒ 1.5mmOD rods for the soundboard cover
Quick install guide:
Disclainer:
– These instructions will details the install procedure as much as possible. GOTH-3Designs cannot be held responsible for any mistakes made by DIYers.
– Always wear protective gear when working on install (gloves, eye protection, …), GOTH-3Designs cannot be held responsible in case of accident.
Note 1: Use the smallest AWG wire size possible:
– Tri-Cree install => 30awg for eveything
– Neopixel install (Var1 only) => 32 awg wires for everything except Battery and Neopixel strip + and – (24awg PTFE).
Note 2: These instructions will not cover how to wire the soundboard, make sure to learn how to by reading the manual.
Padawan VAR1
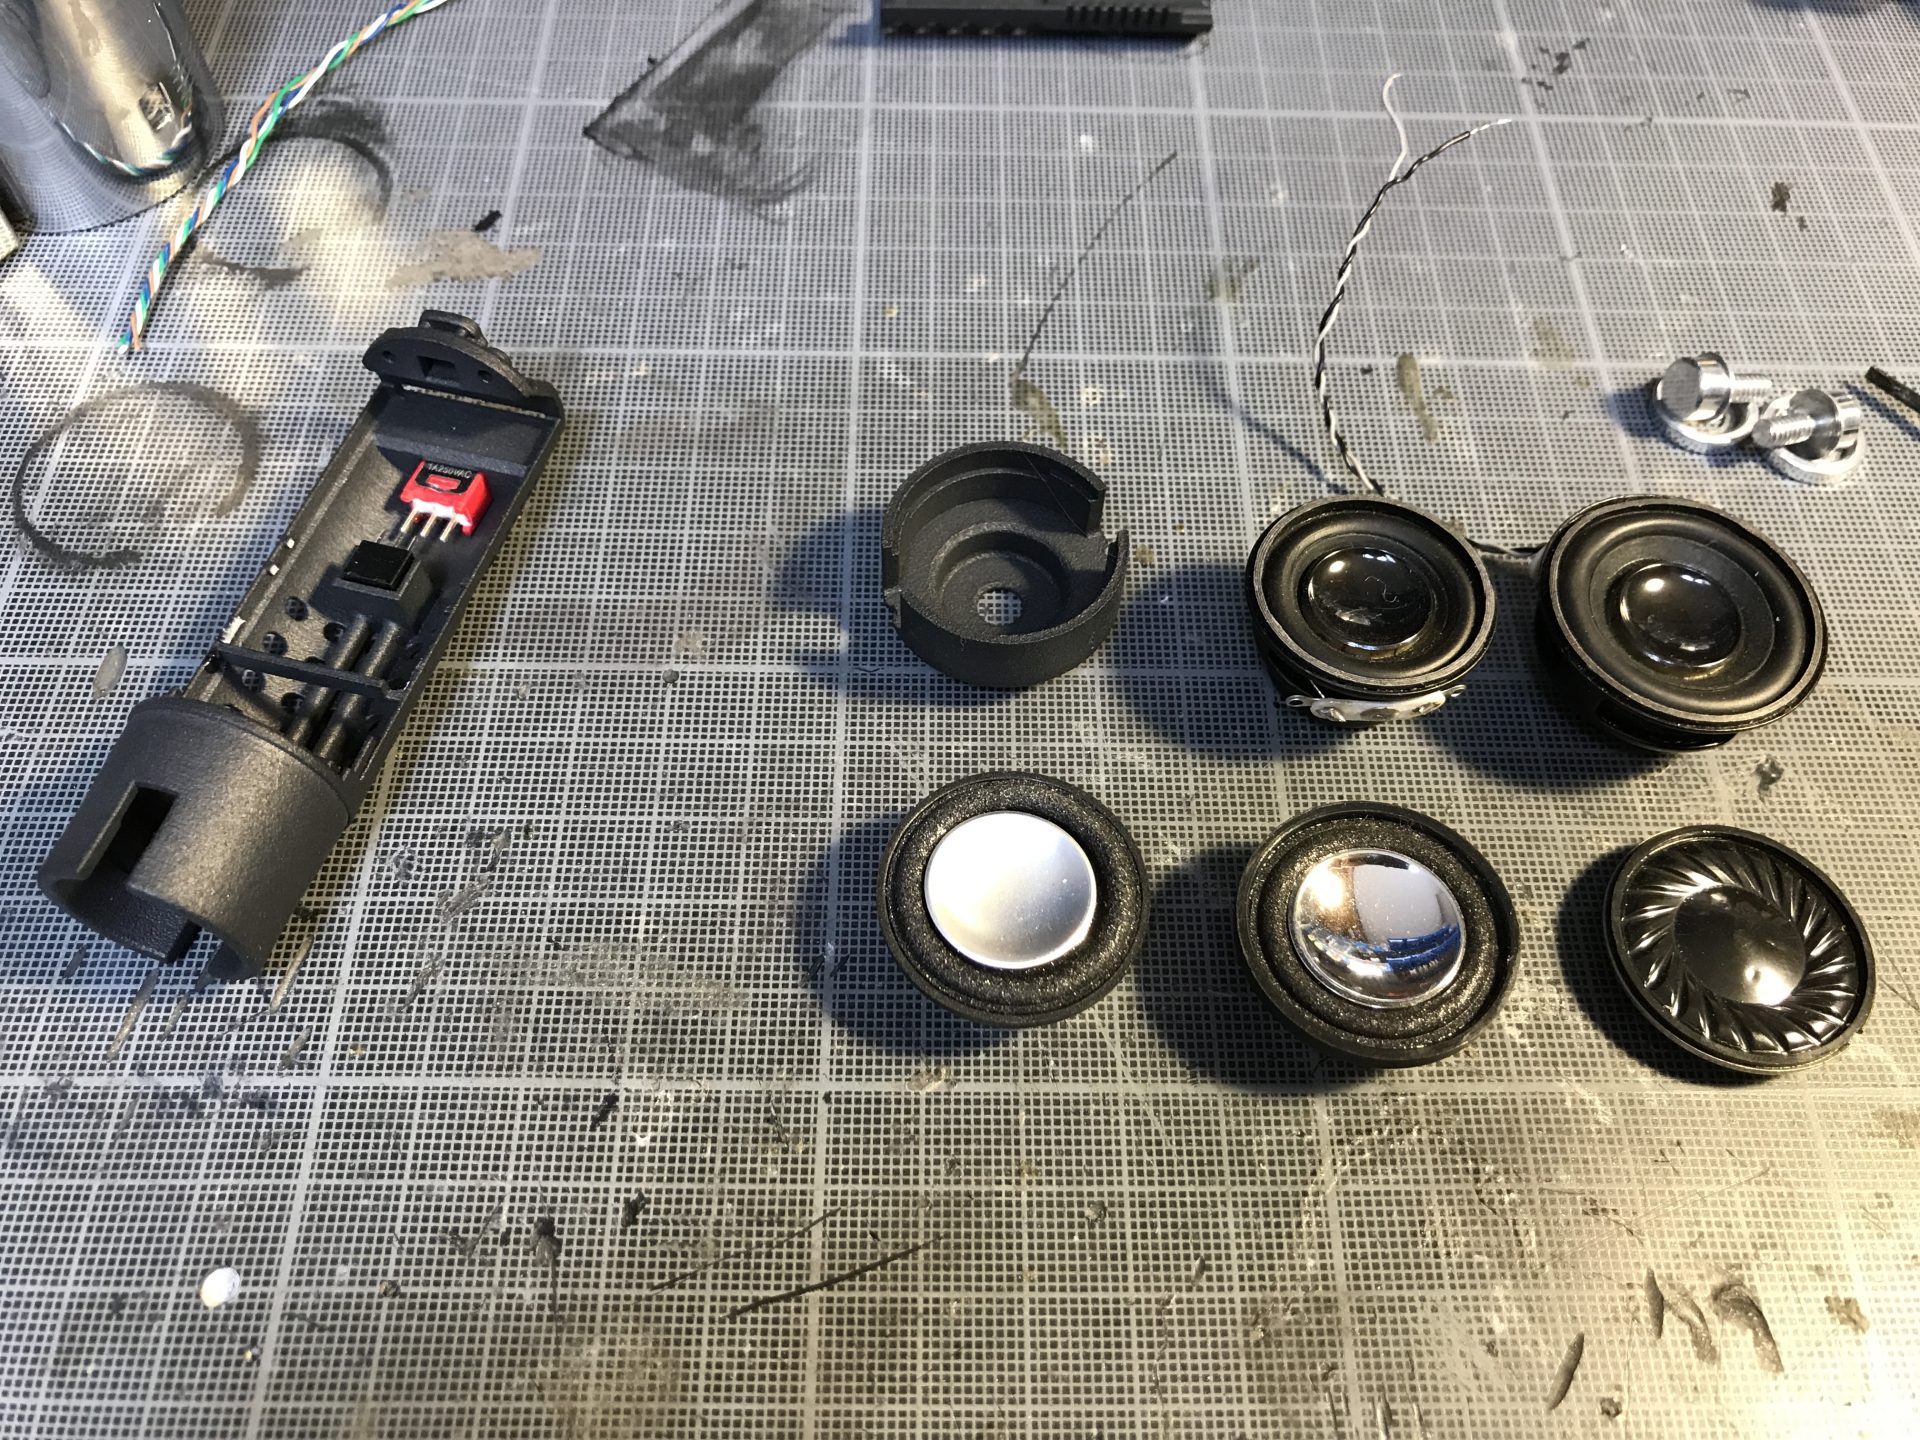
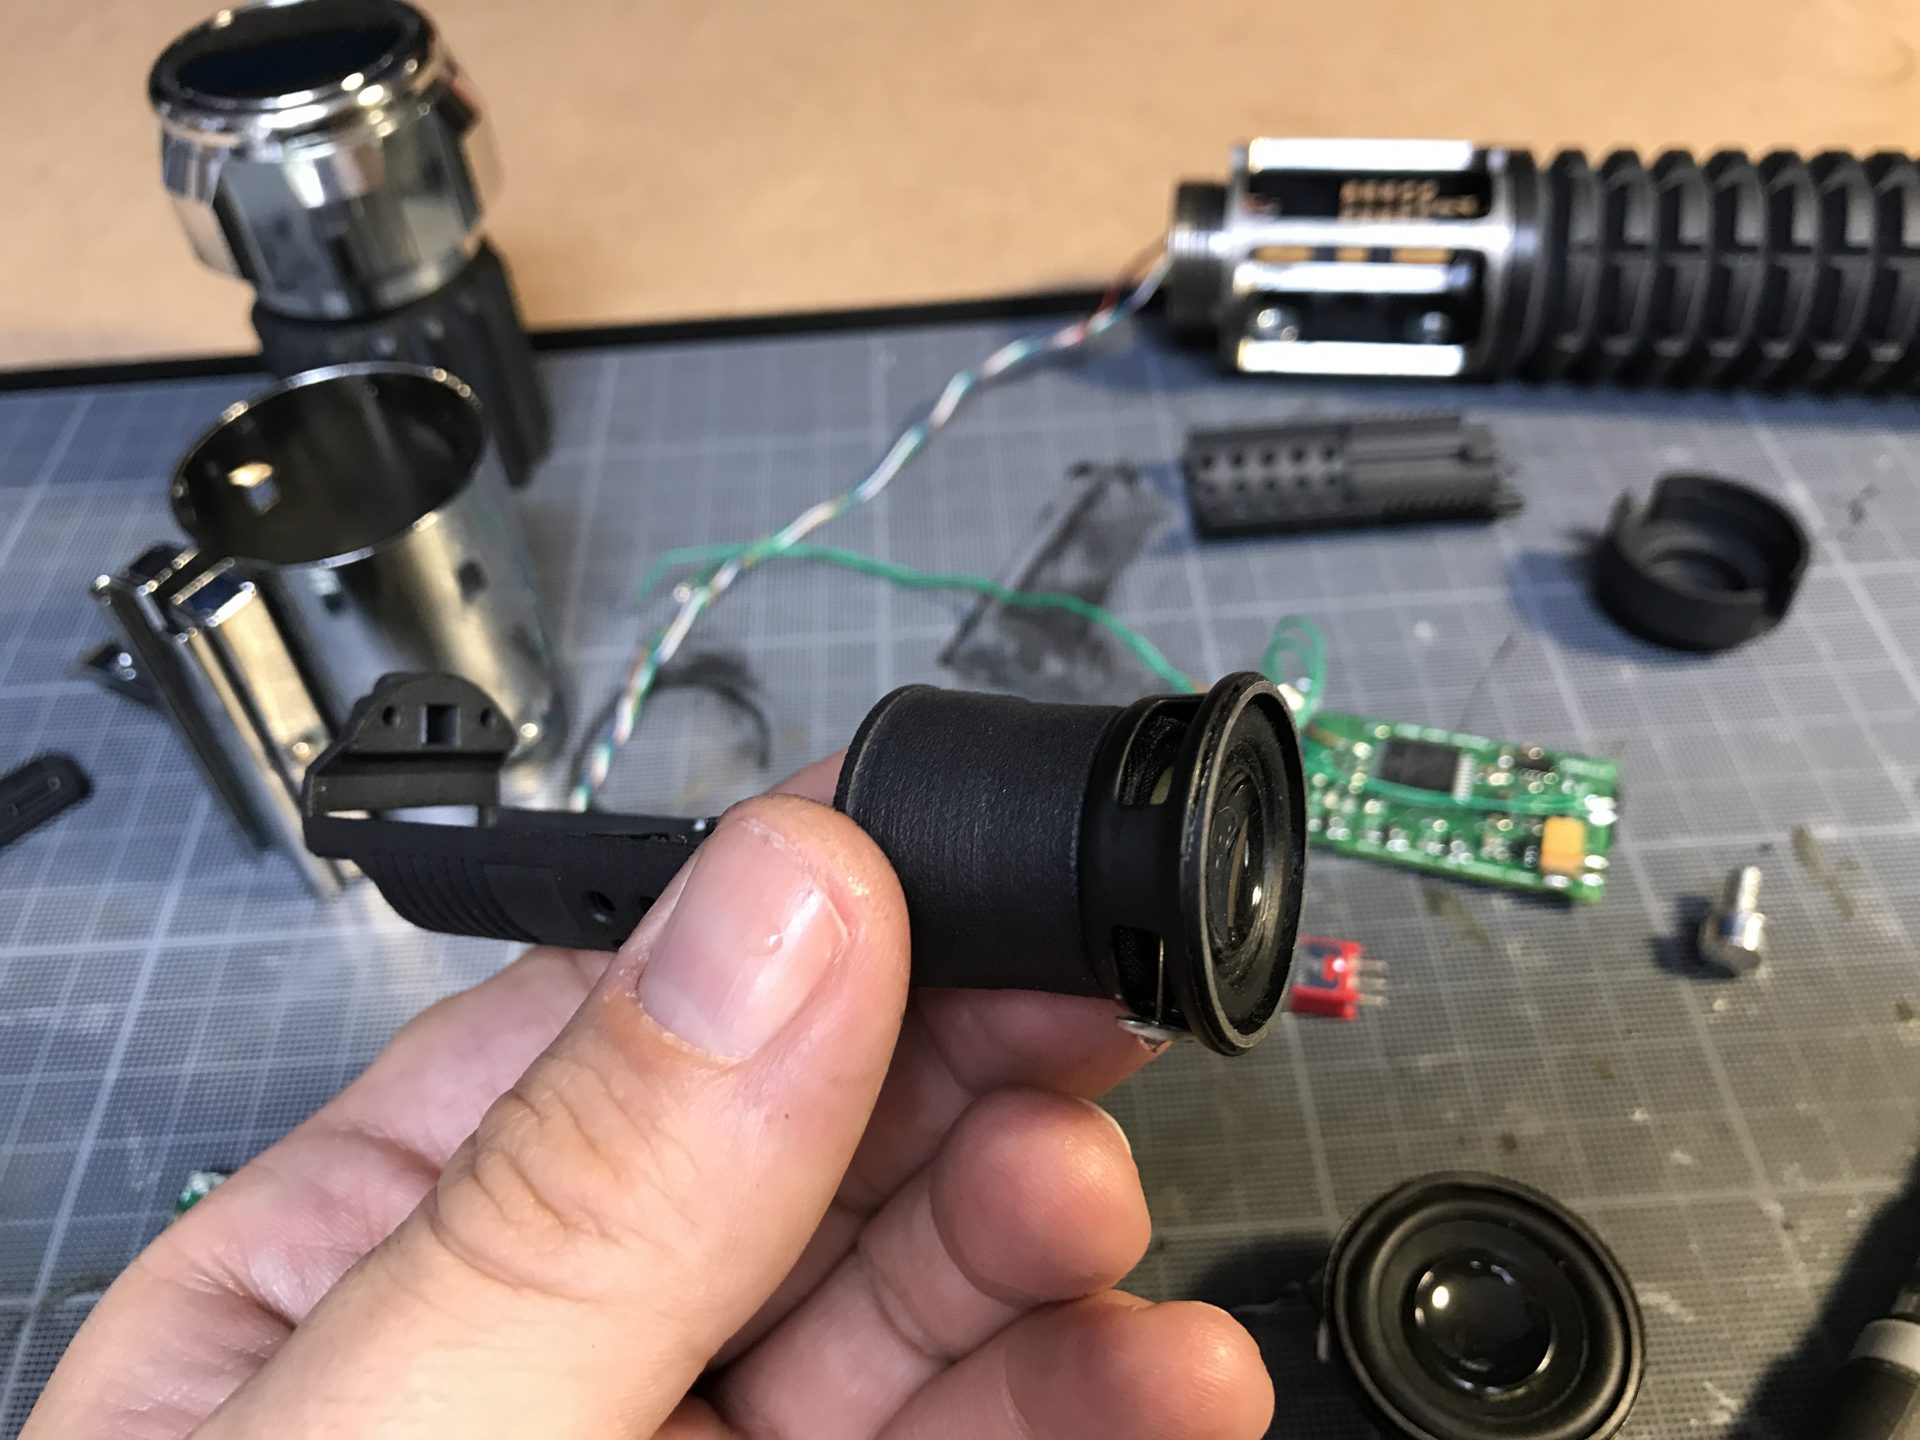
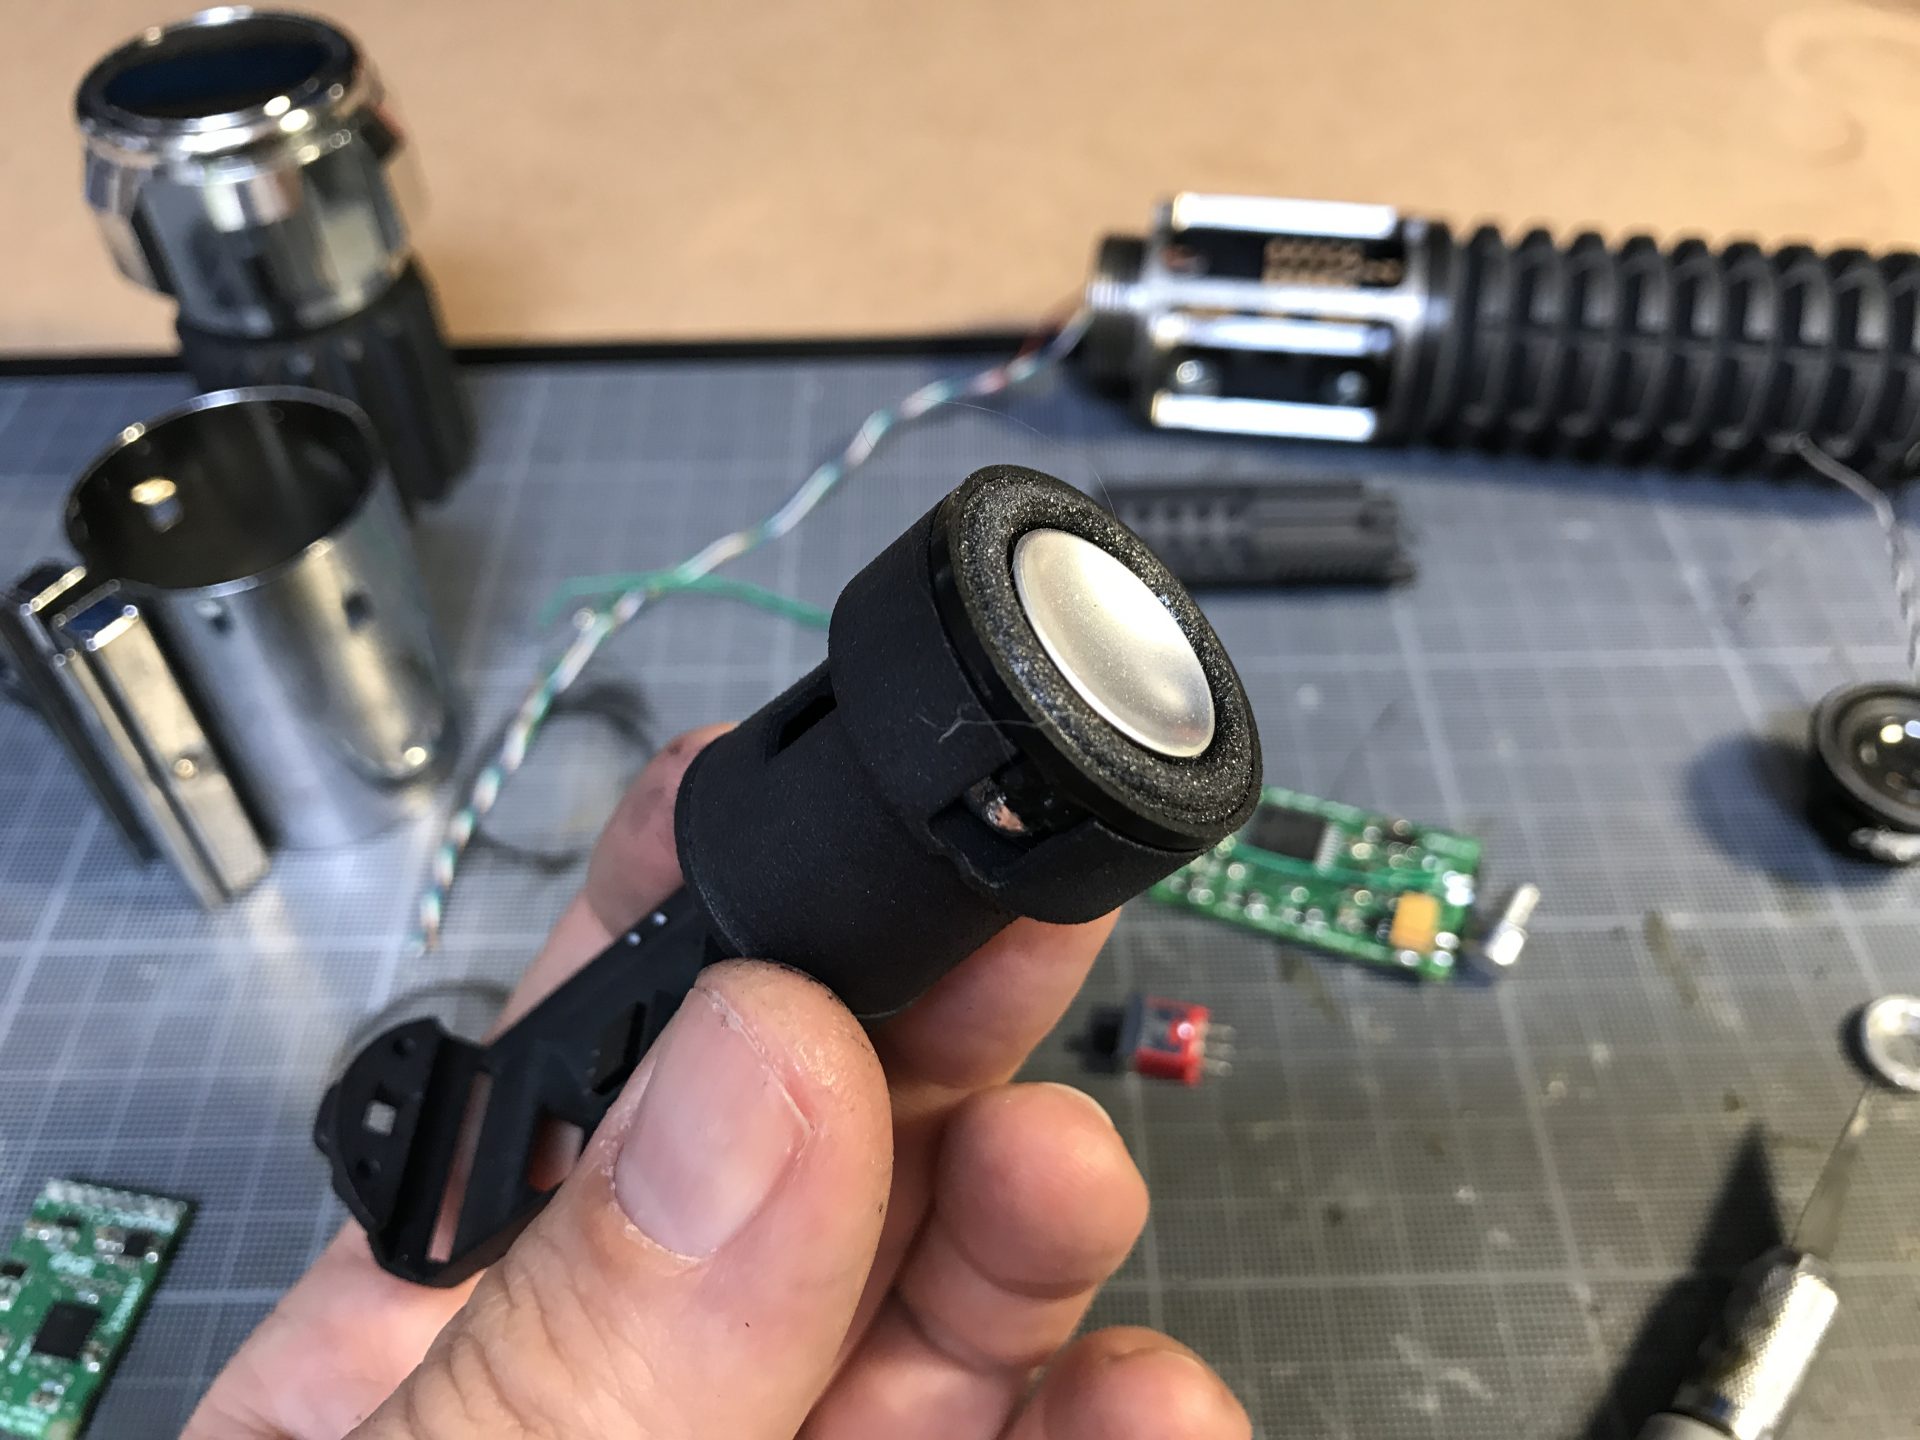
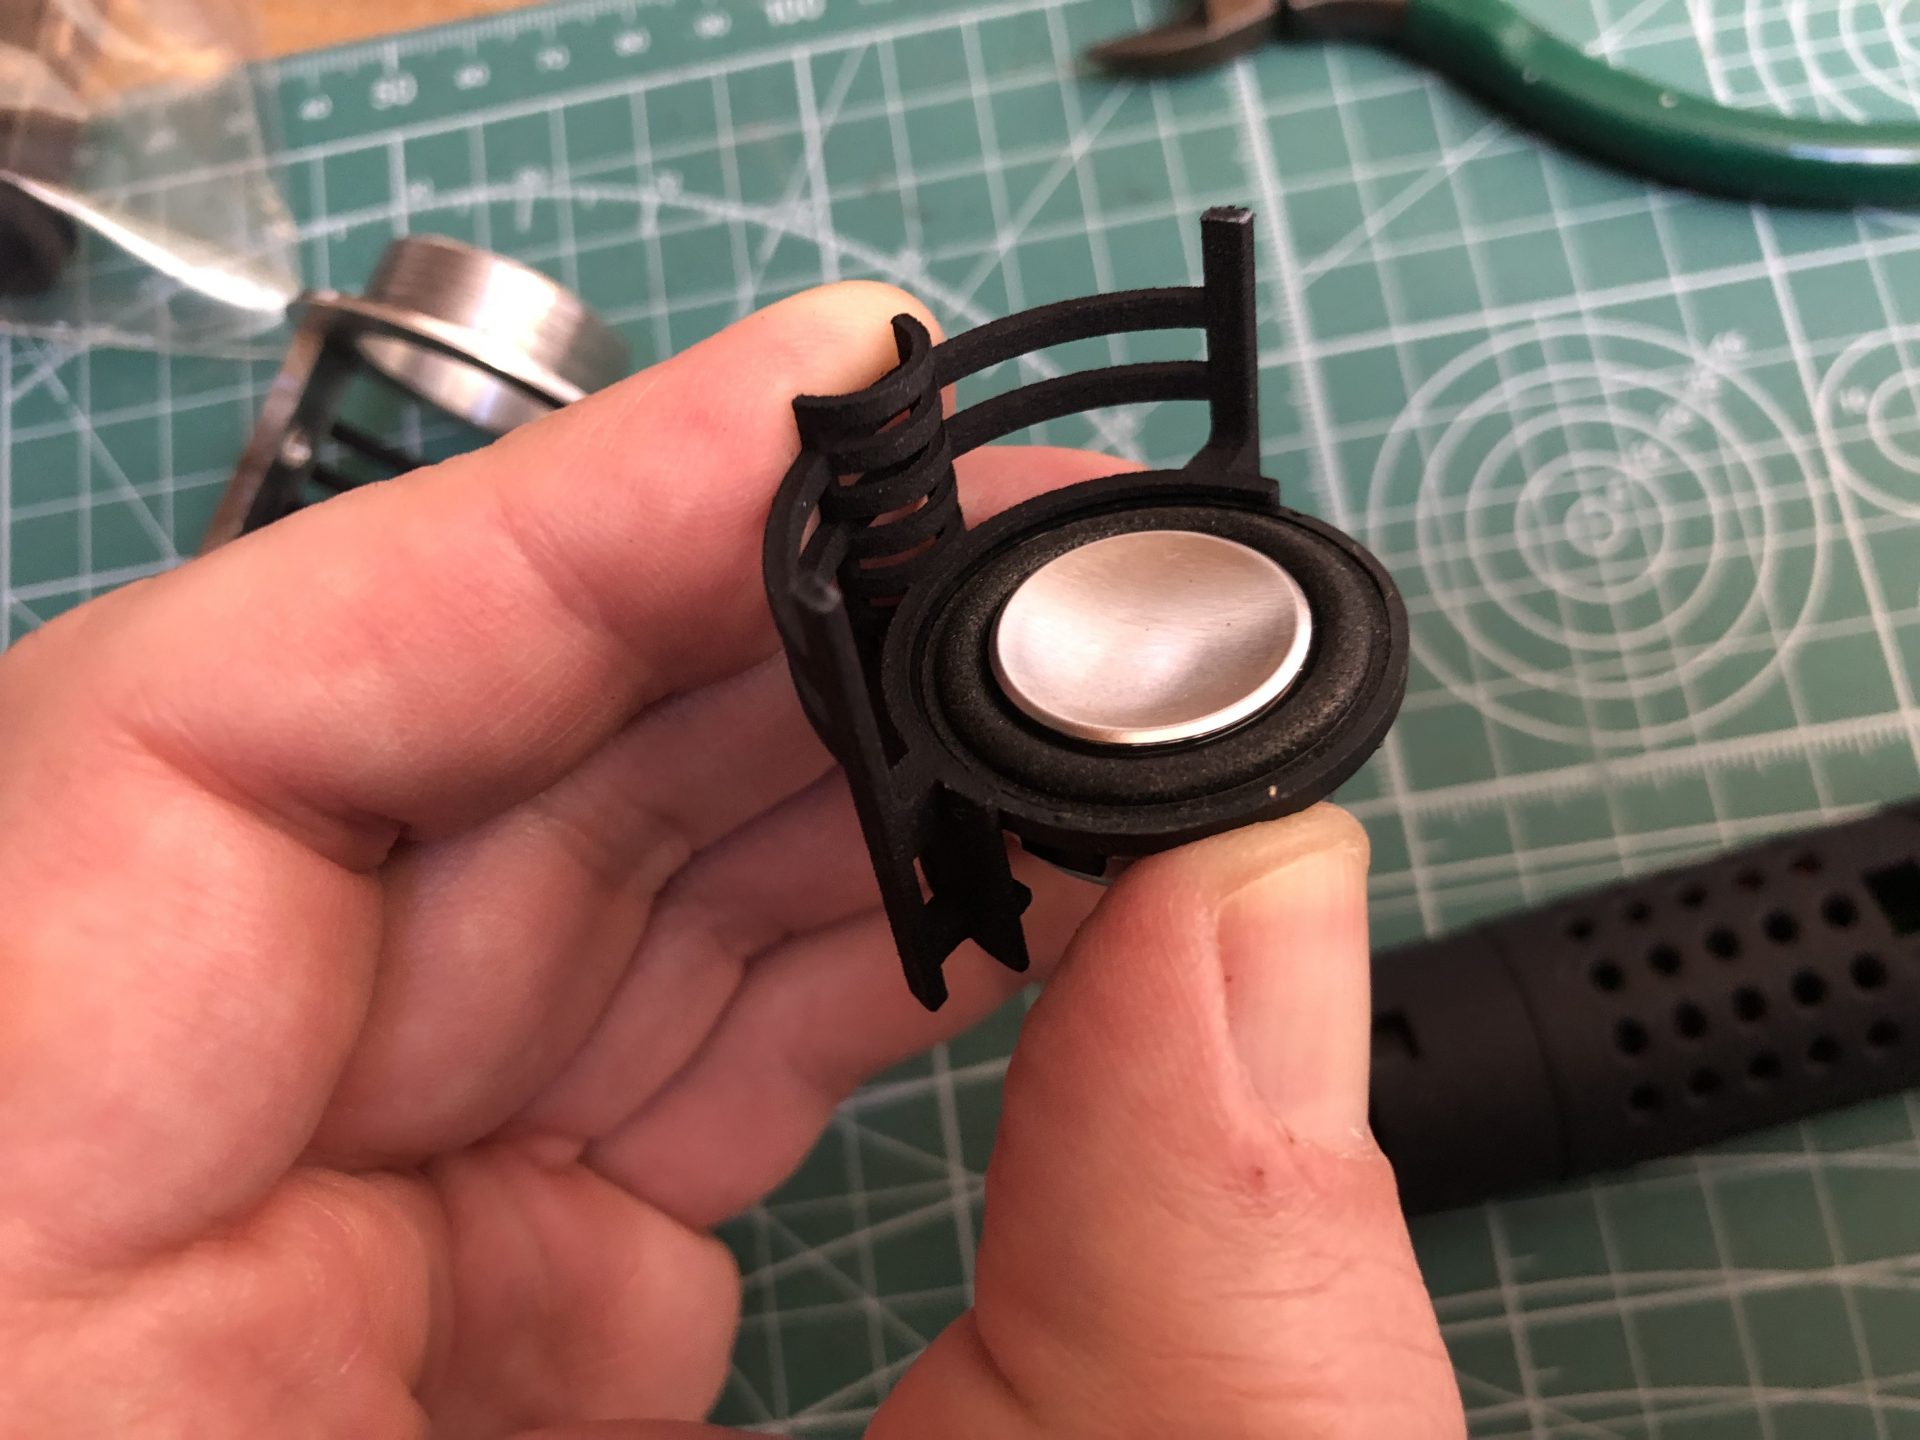
Step 0: Choose your speaker, you can either install a 28mm speaker using the adapter part provided with the kit or Saber Essential 31mm speaker, directly attached to the soundboard module.
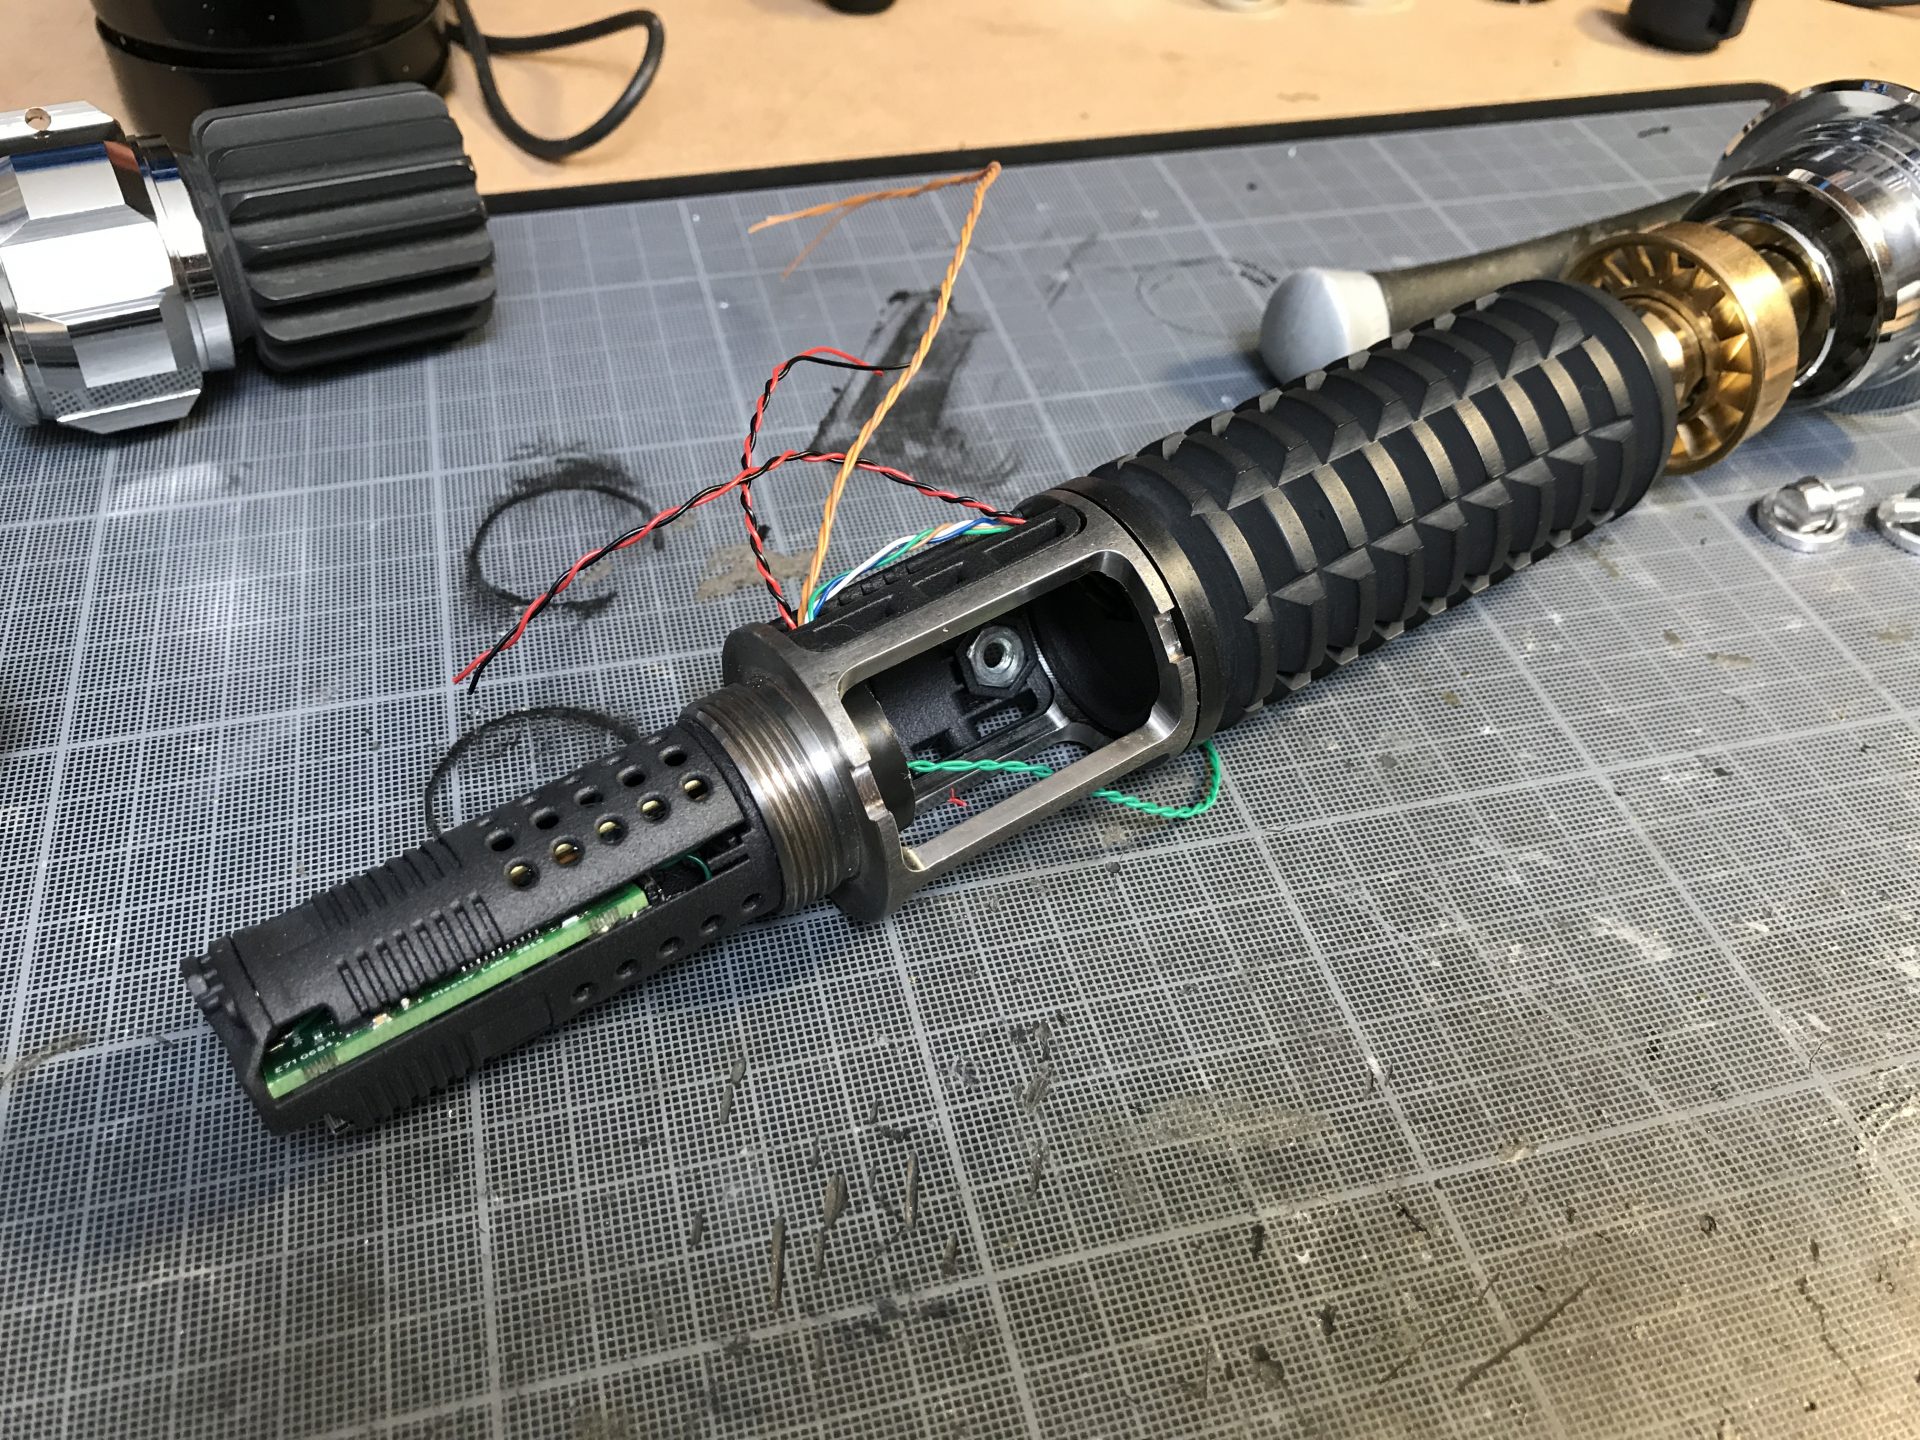
Step 1: Wire + install the main led
Step 2: Install the battery in the battery module (and CEx if used), insert the battery module in the grenade section (passing the led wires over it), and lock the whole by screwing the clamp spacer.
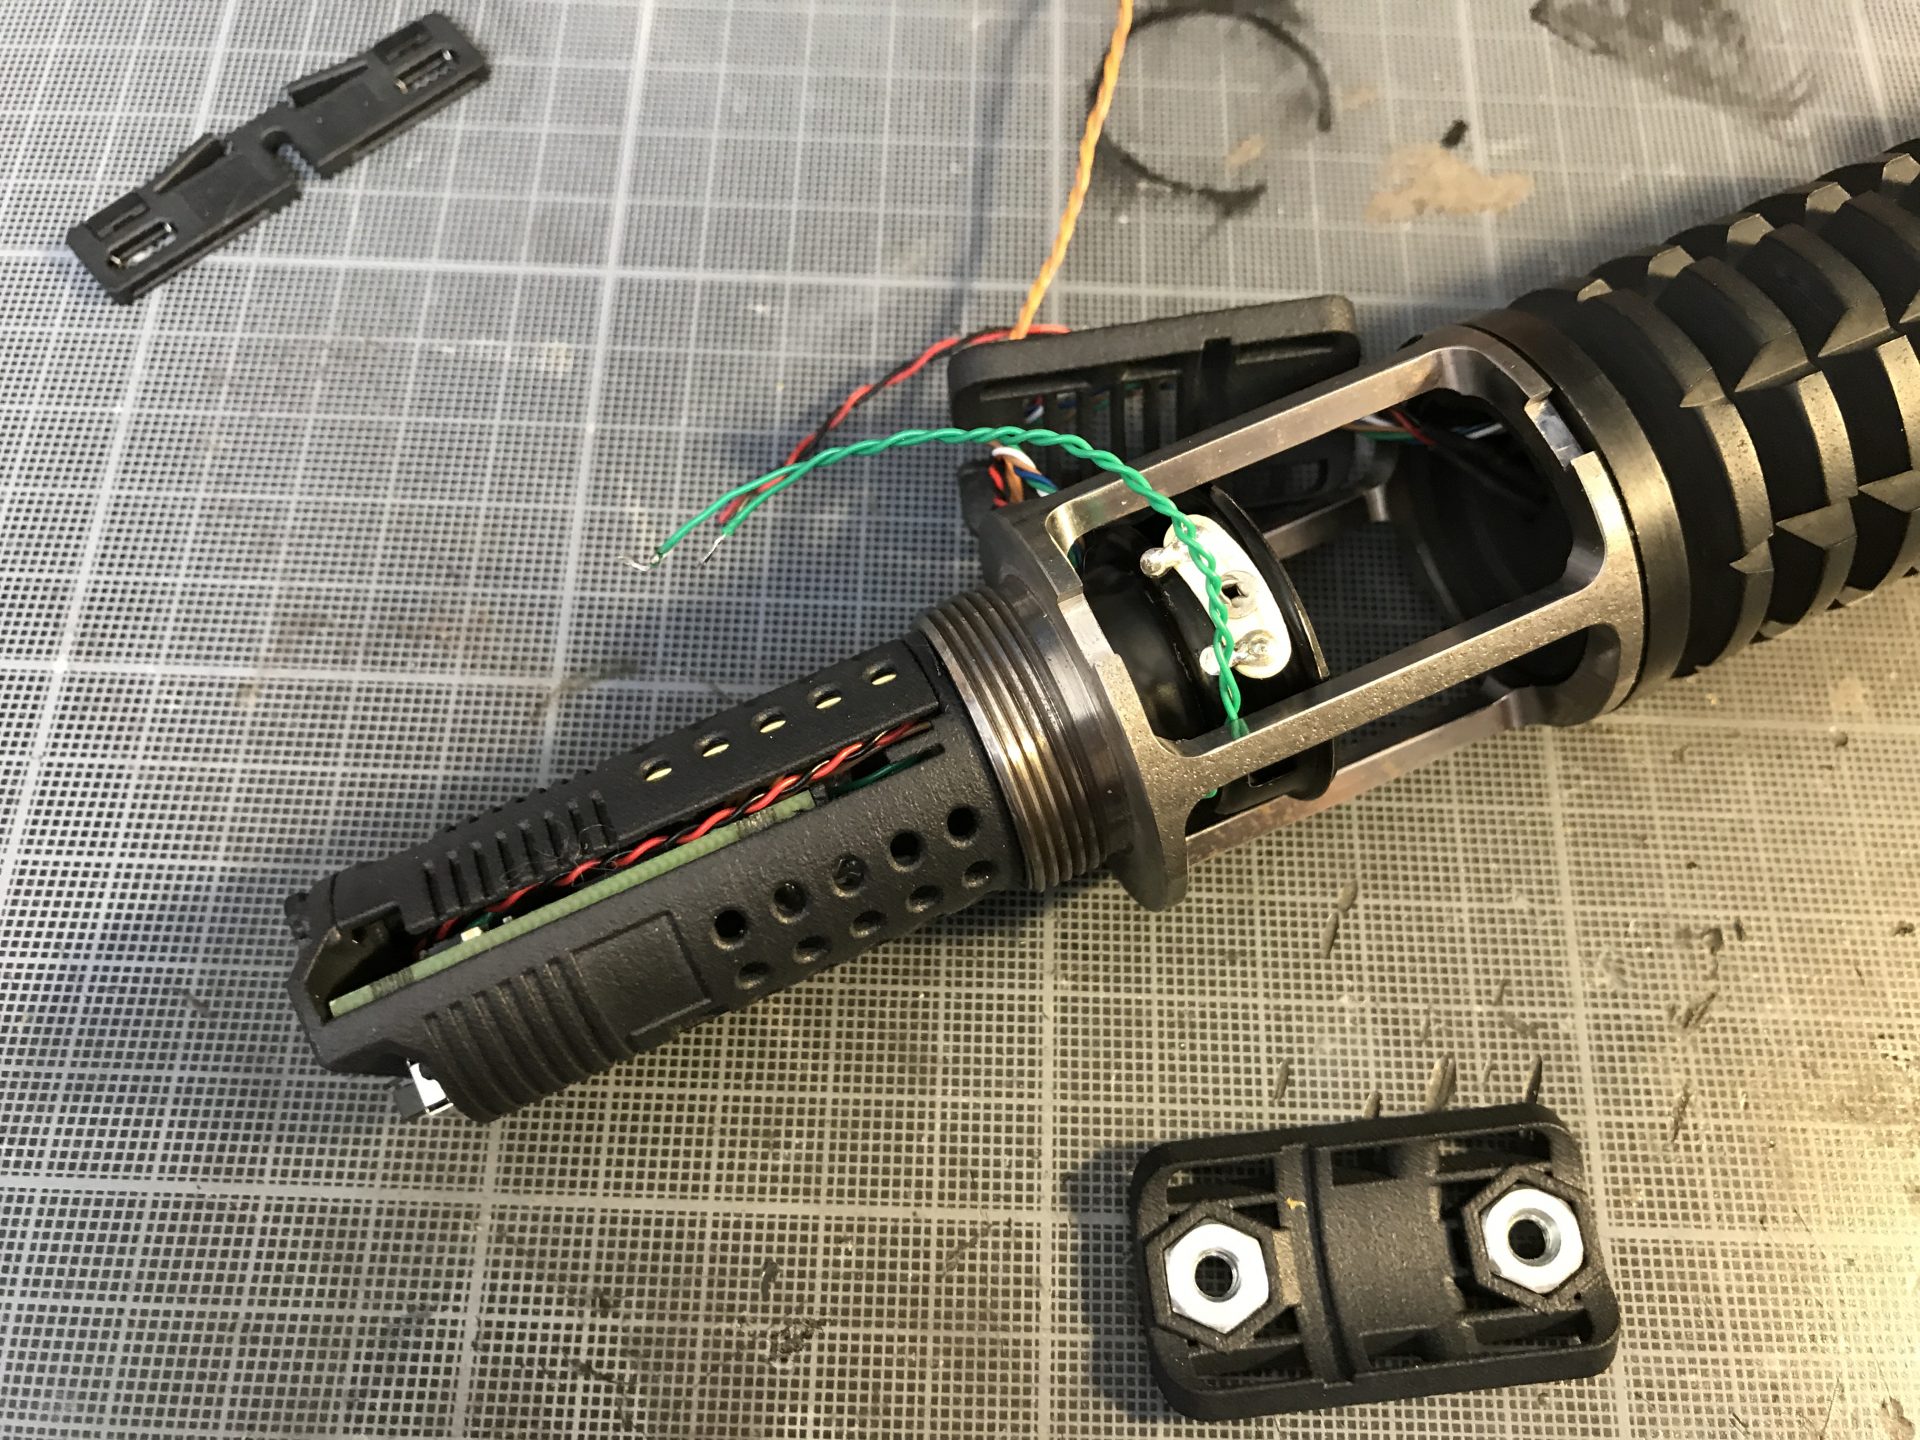
Notes: there are 2 chassis parts going in the clamp spacer: one to channel the wires to be installed on top (and avoid conflicts with the speaker), one to add the hex nuts, on the side.
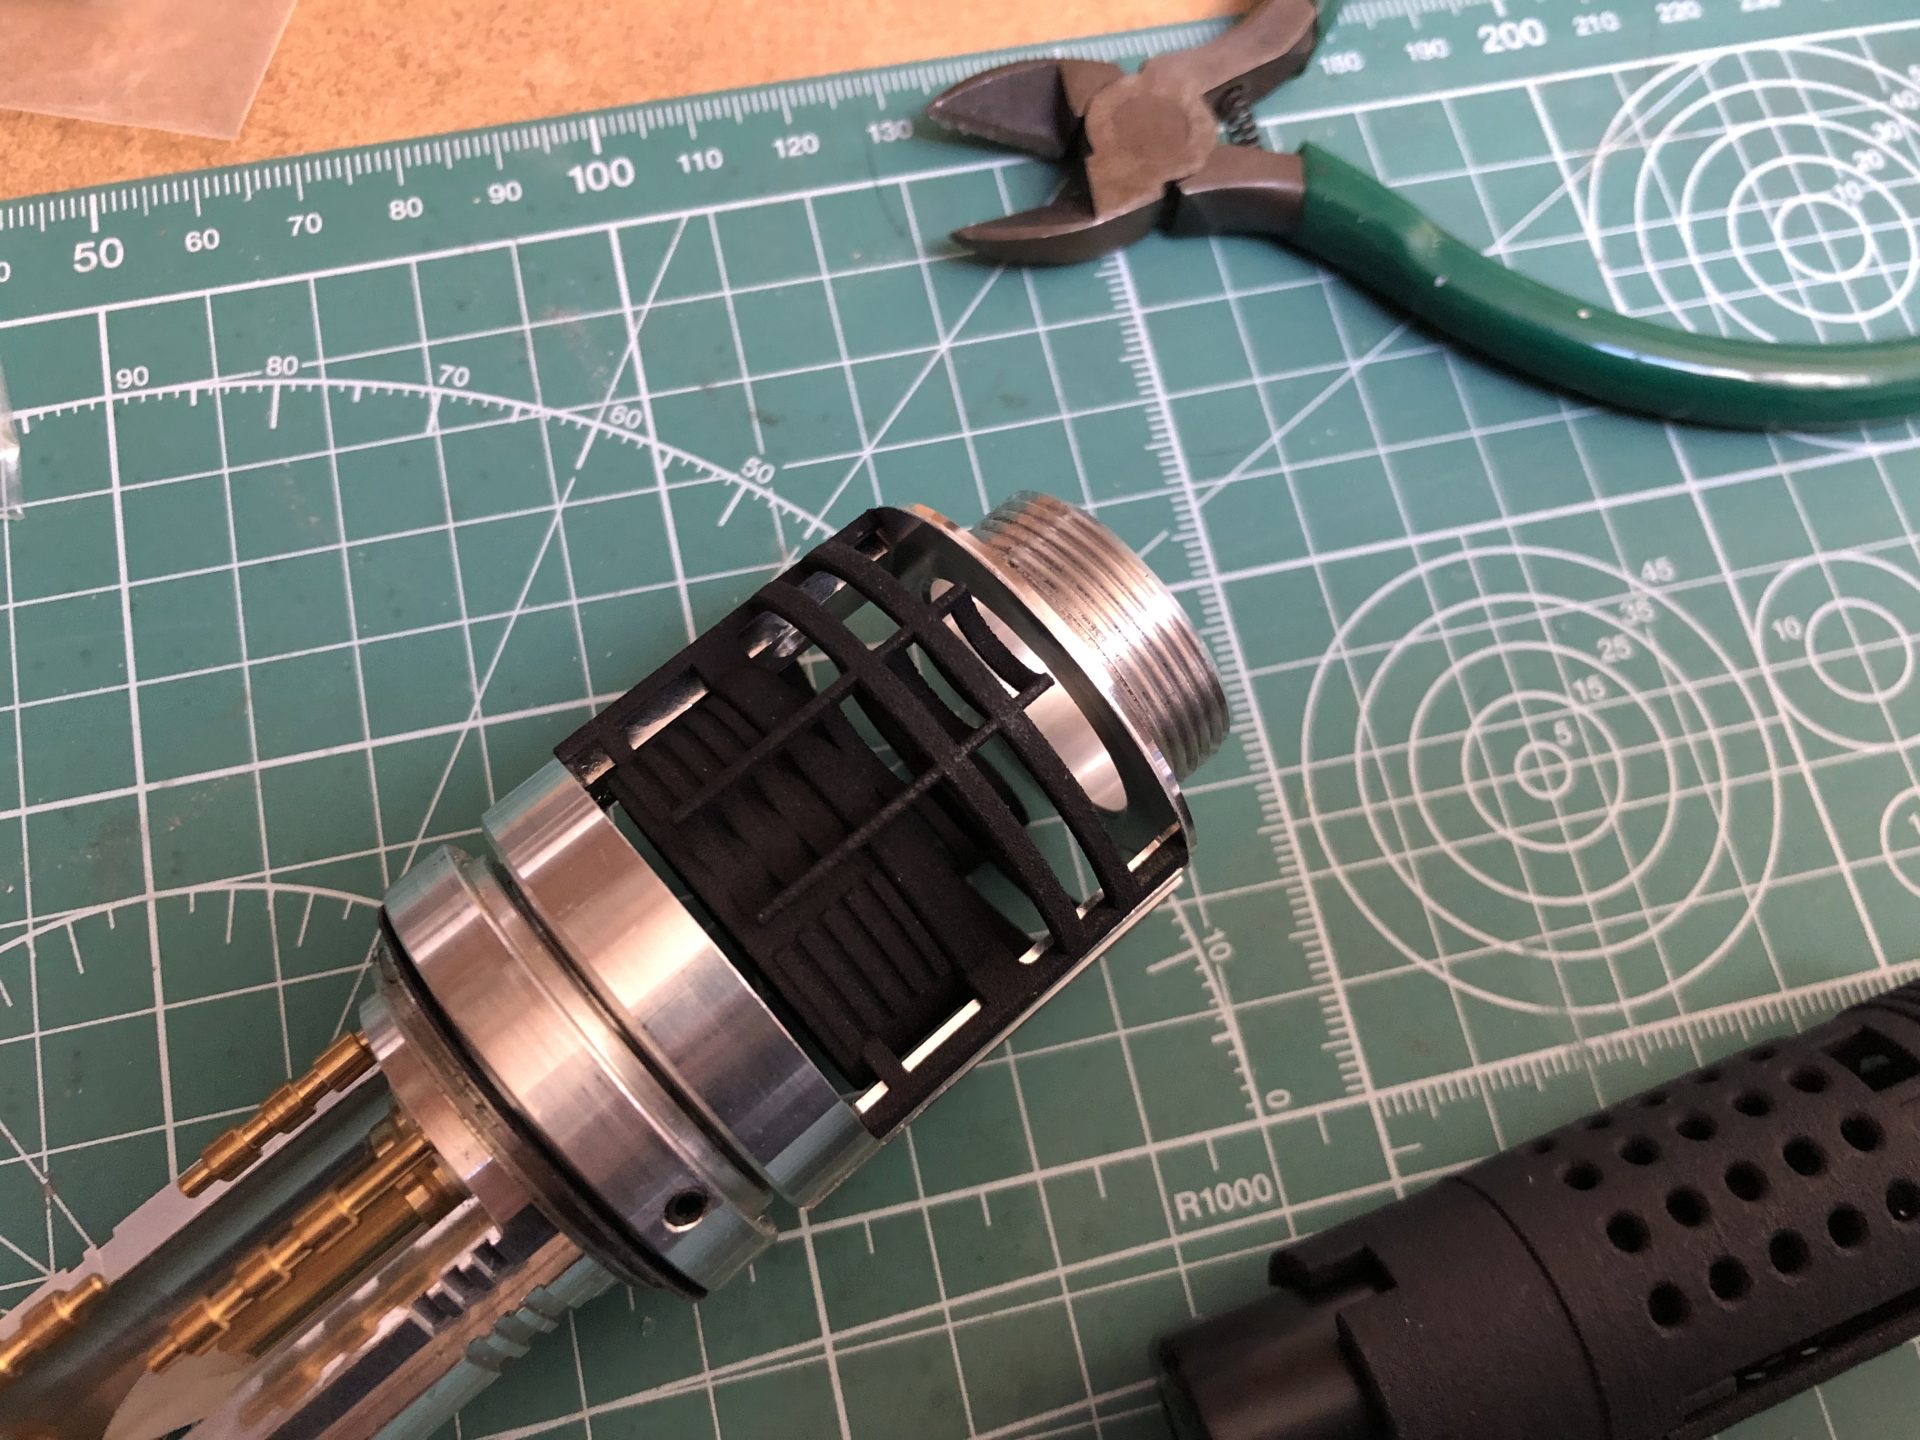
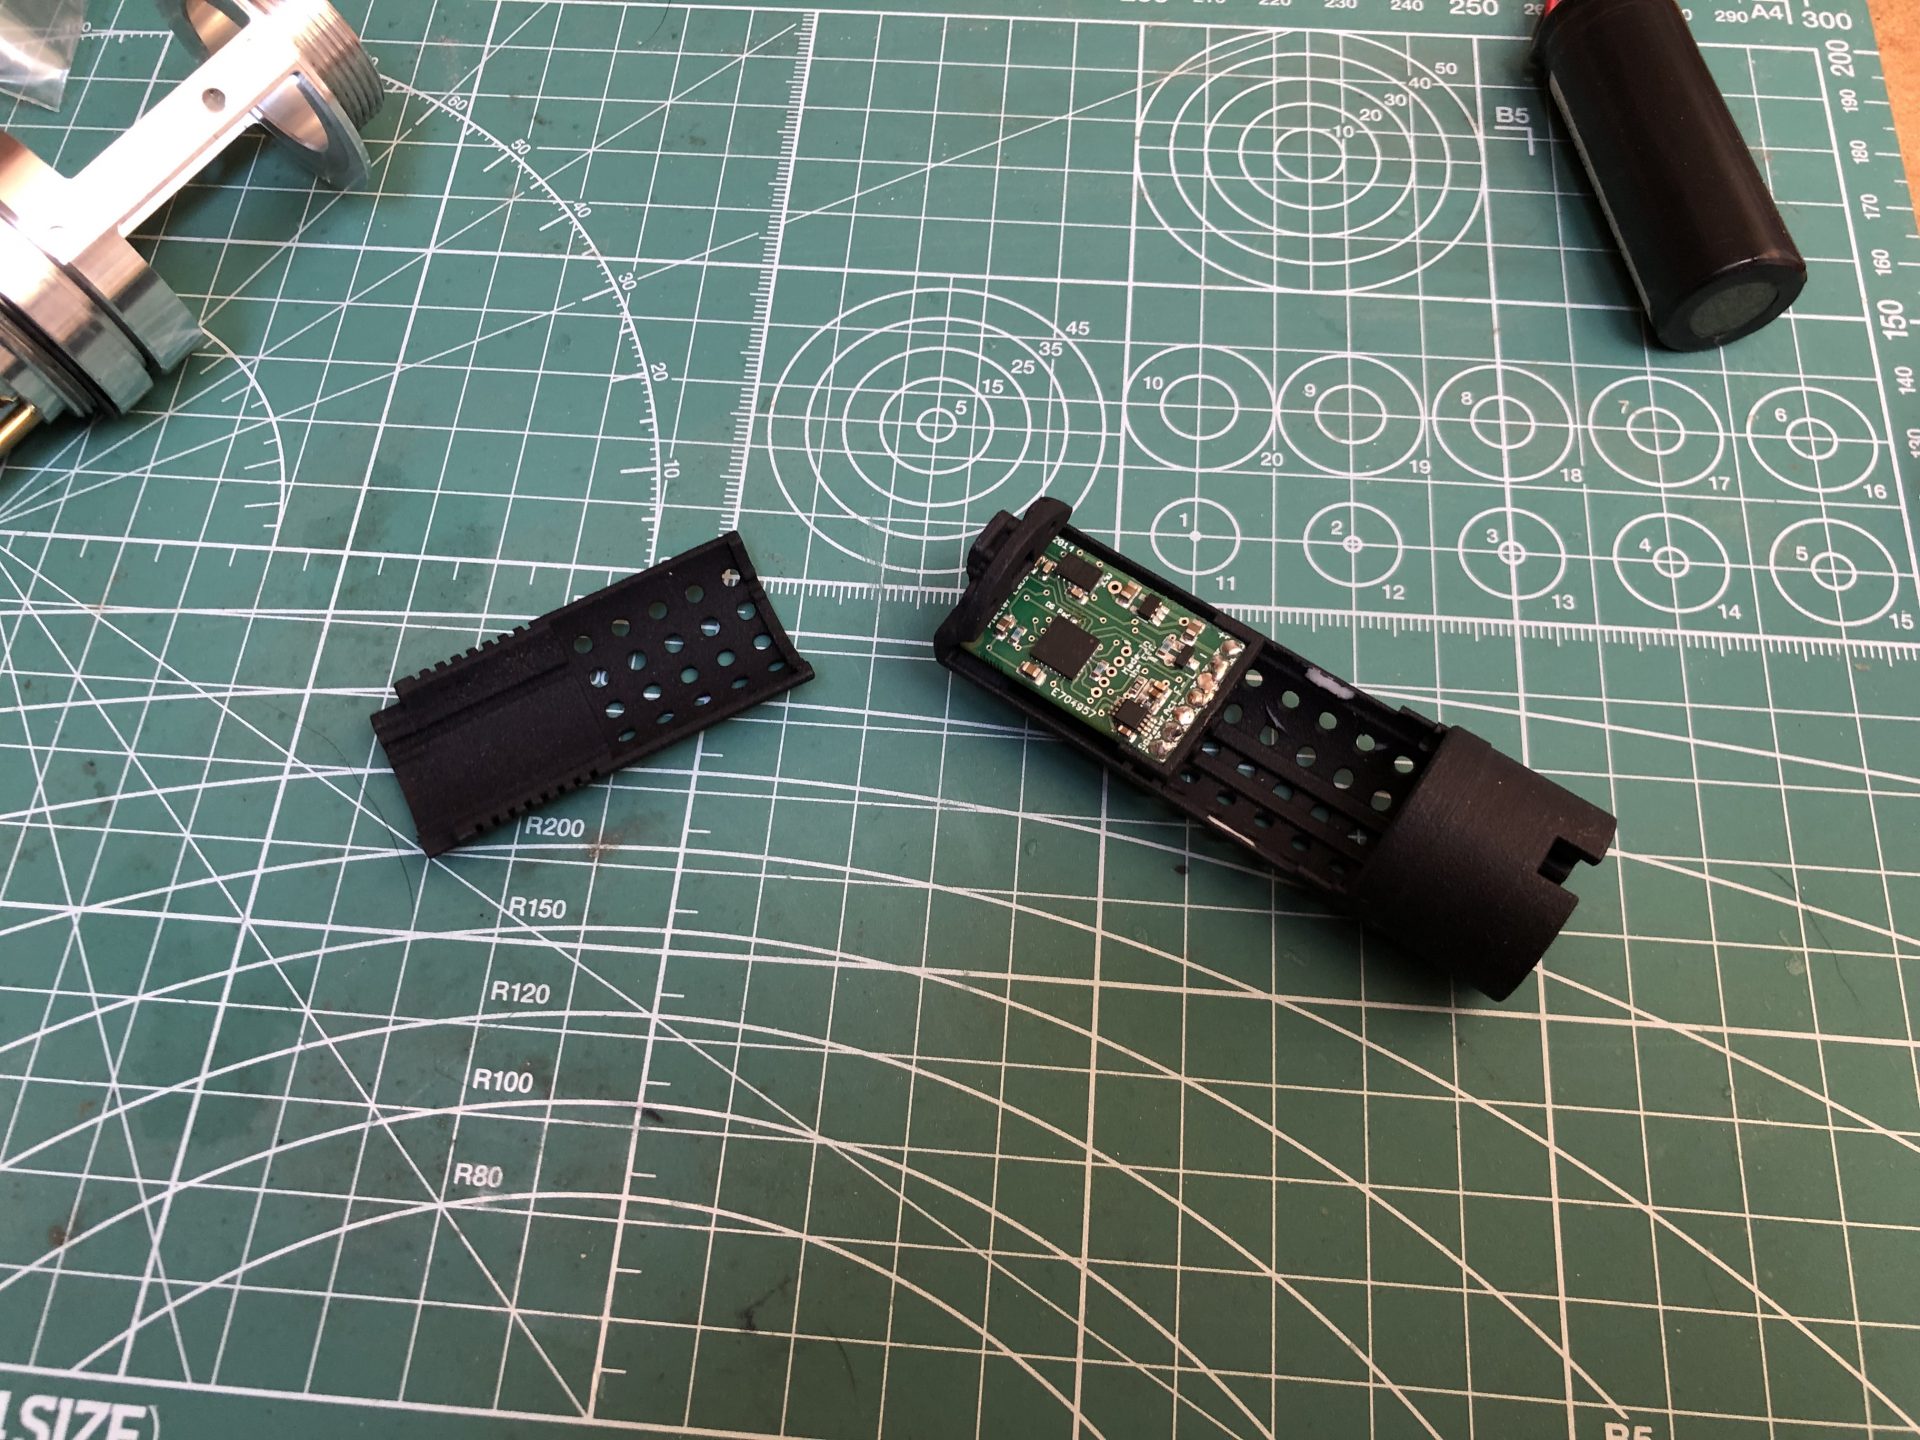
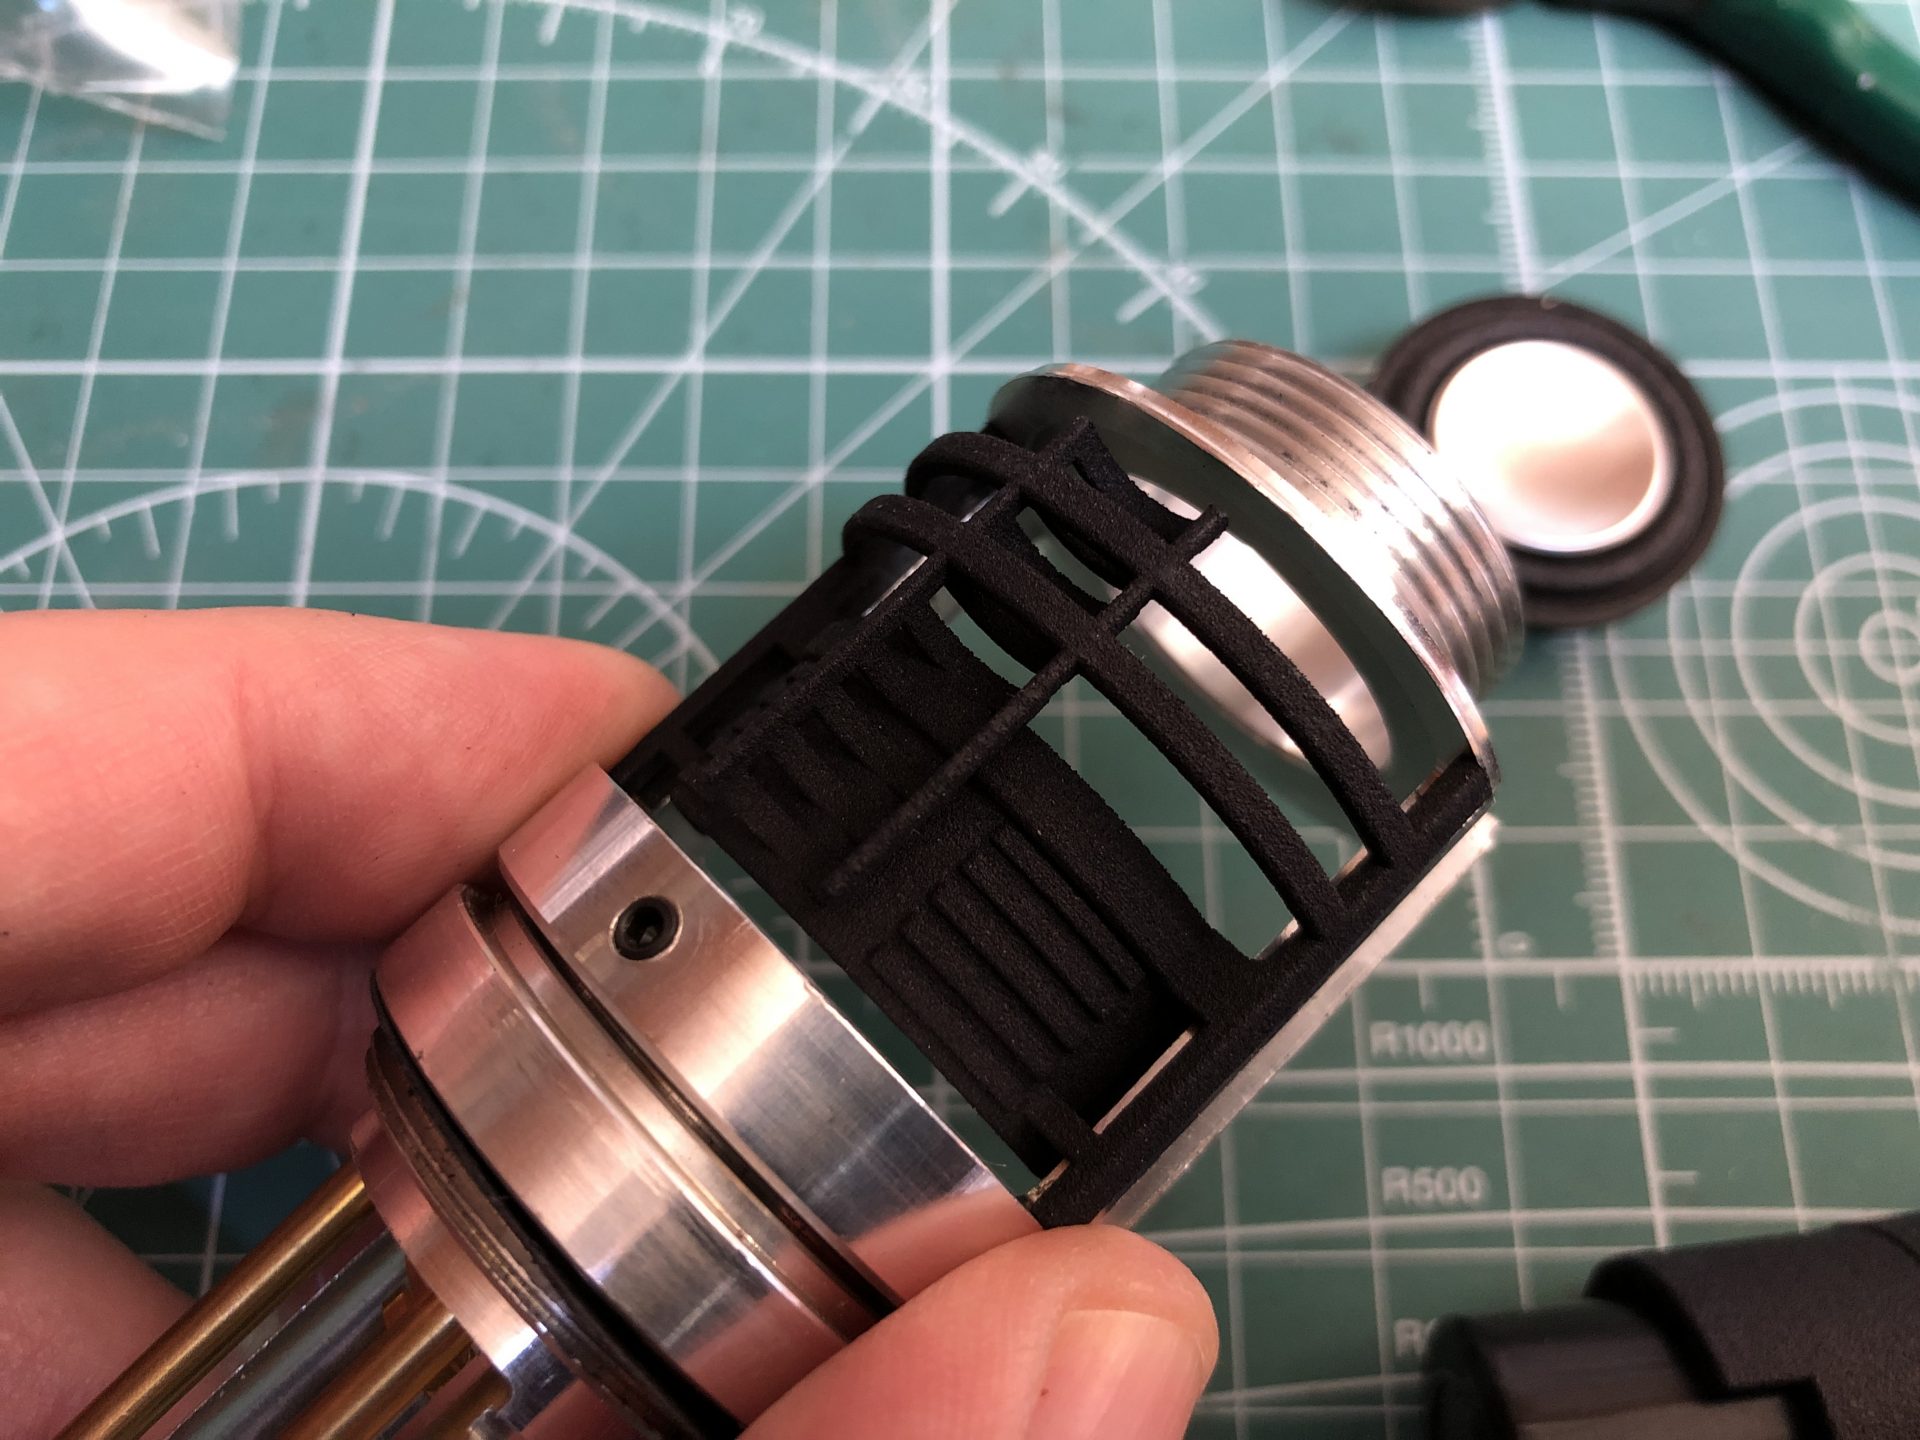
Step 3: Wire and install the soundboard, recharge port and on/off switch in the soundboard module, then add the cover. The soundboard module will normally press fit into the clamp spacer, if not totally secure, you can either glue it or add electrical tape.
Step 4: Add the speaker and wire it. The speaker has to be glued to the soundboard module (super glue). If using a 31mm speaker, the clamp spacer parts have a groove to provide additional support.
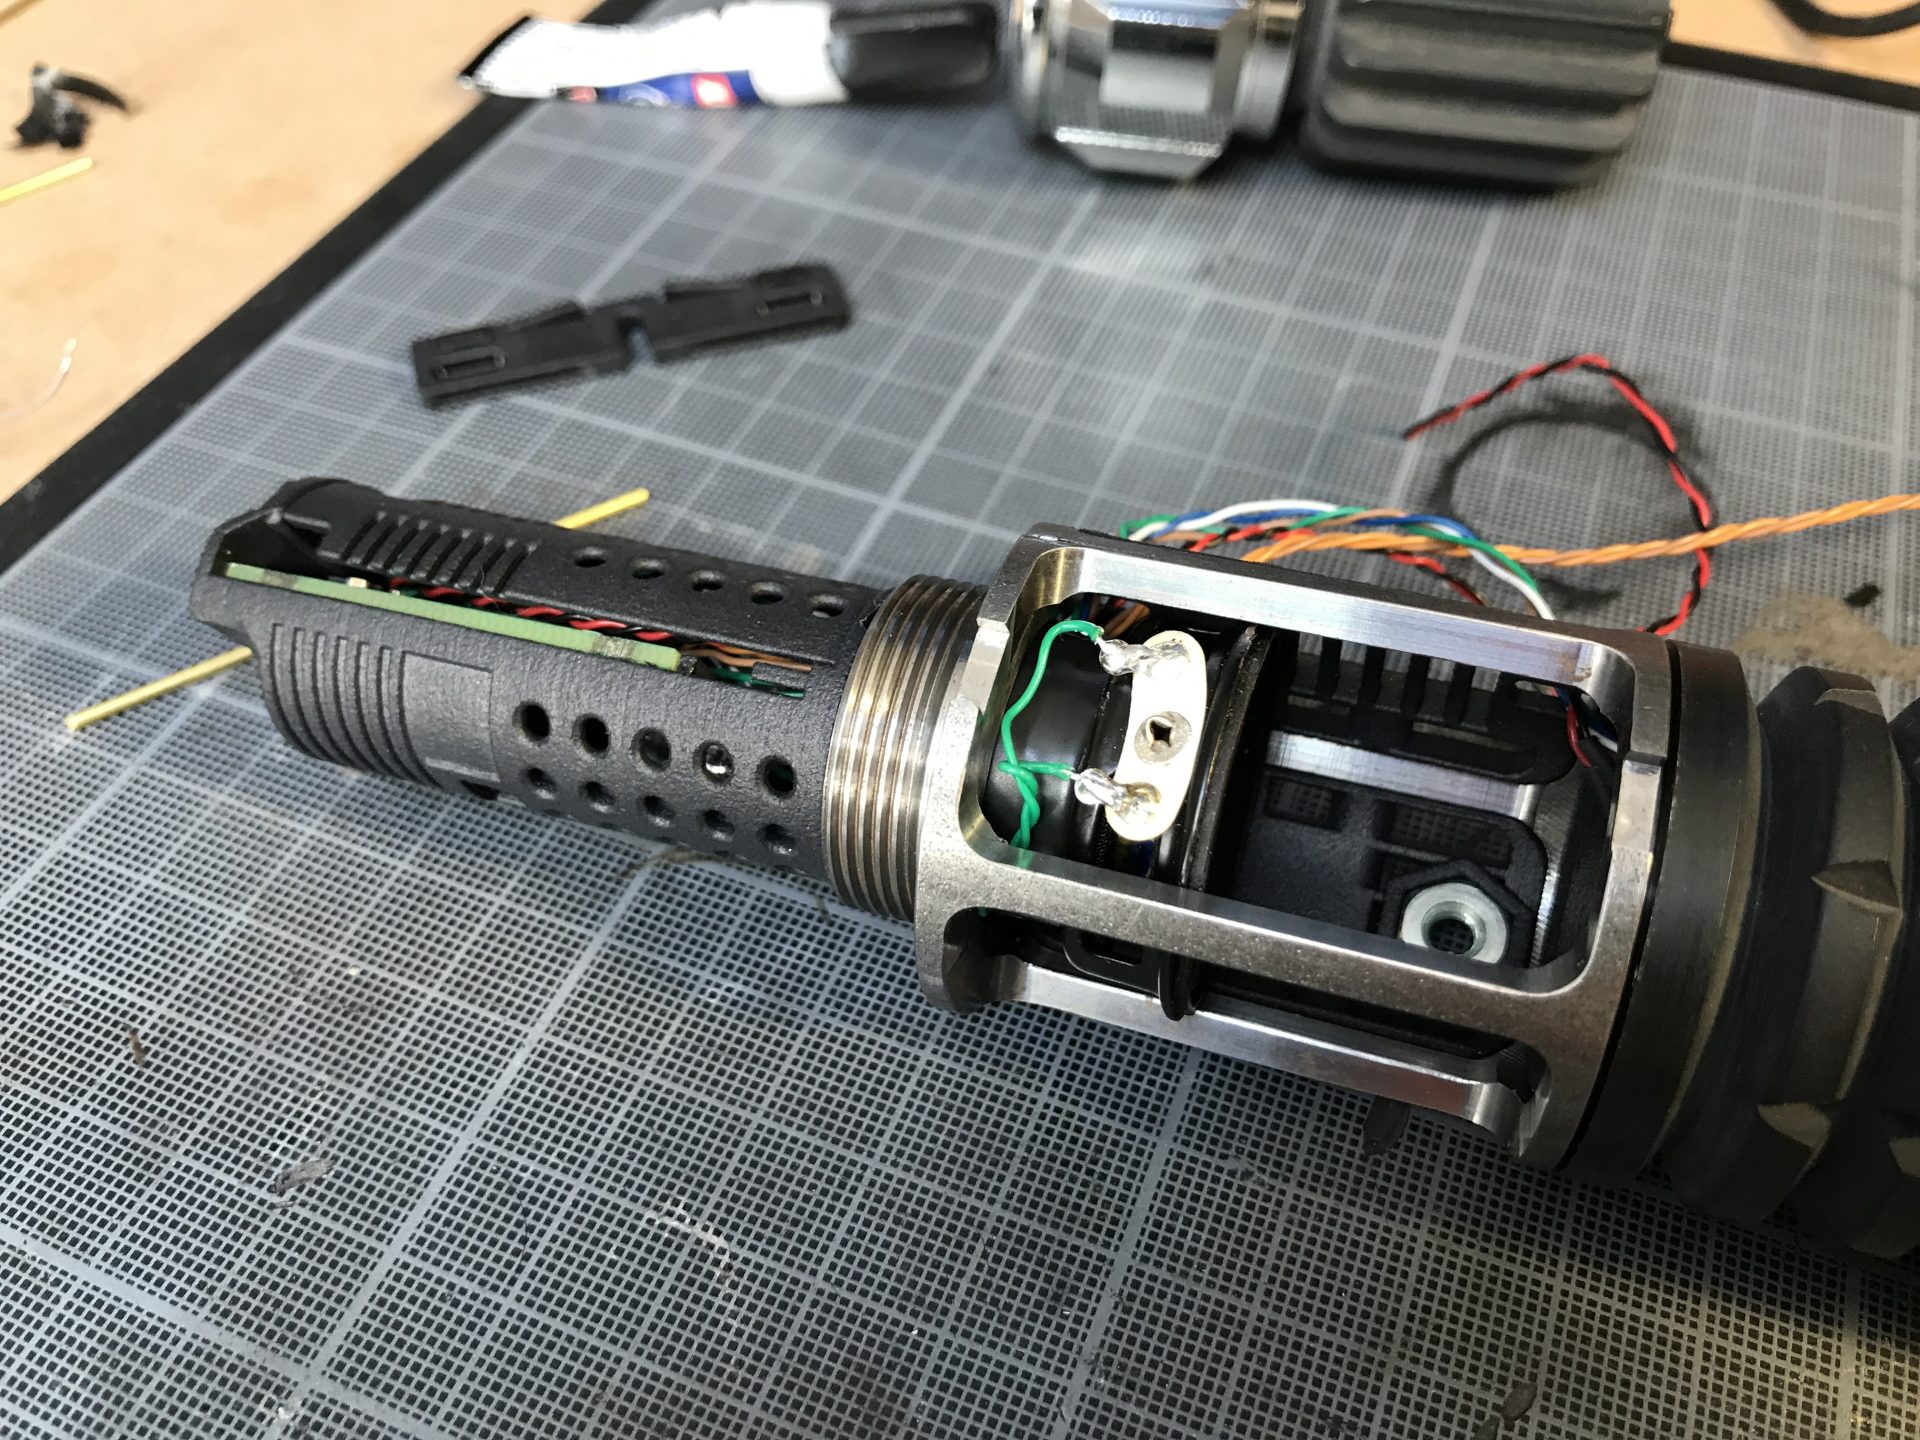
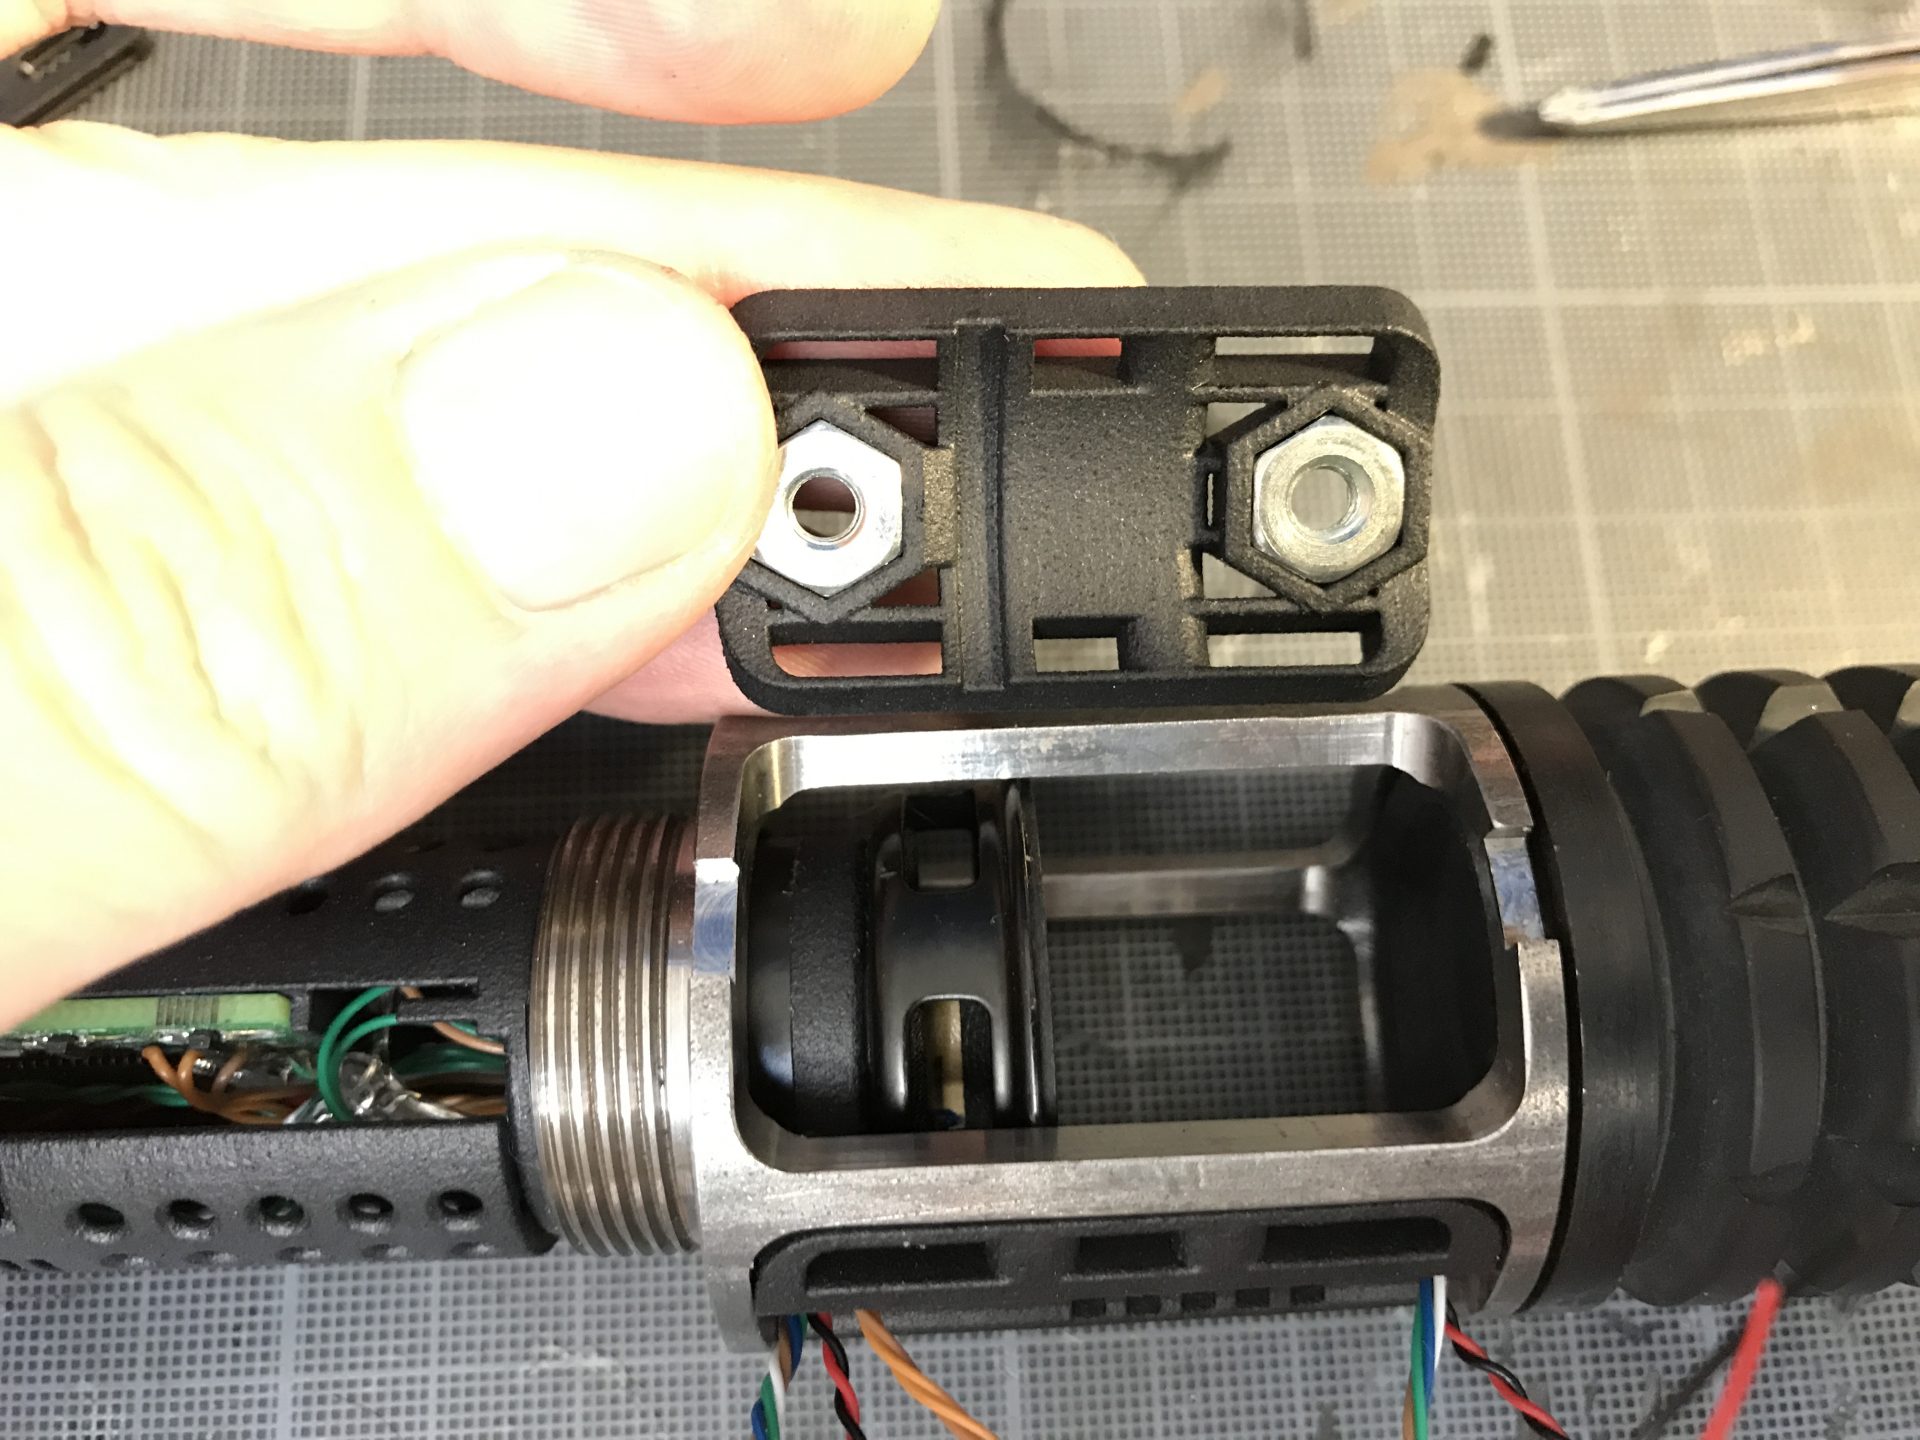
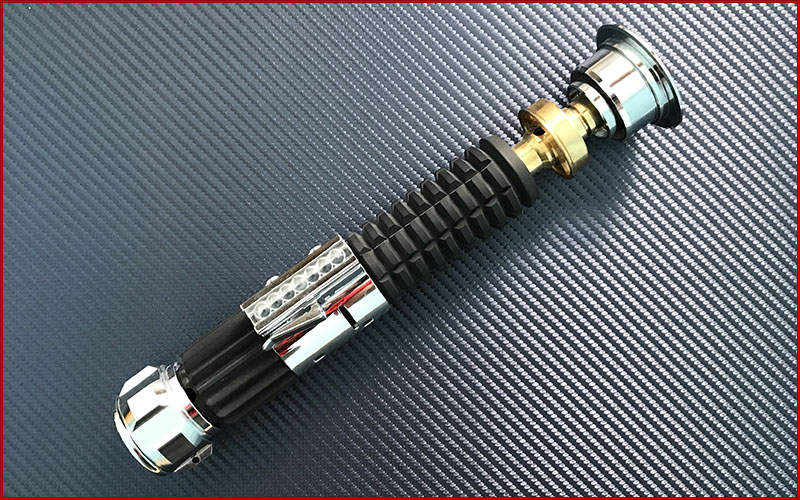
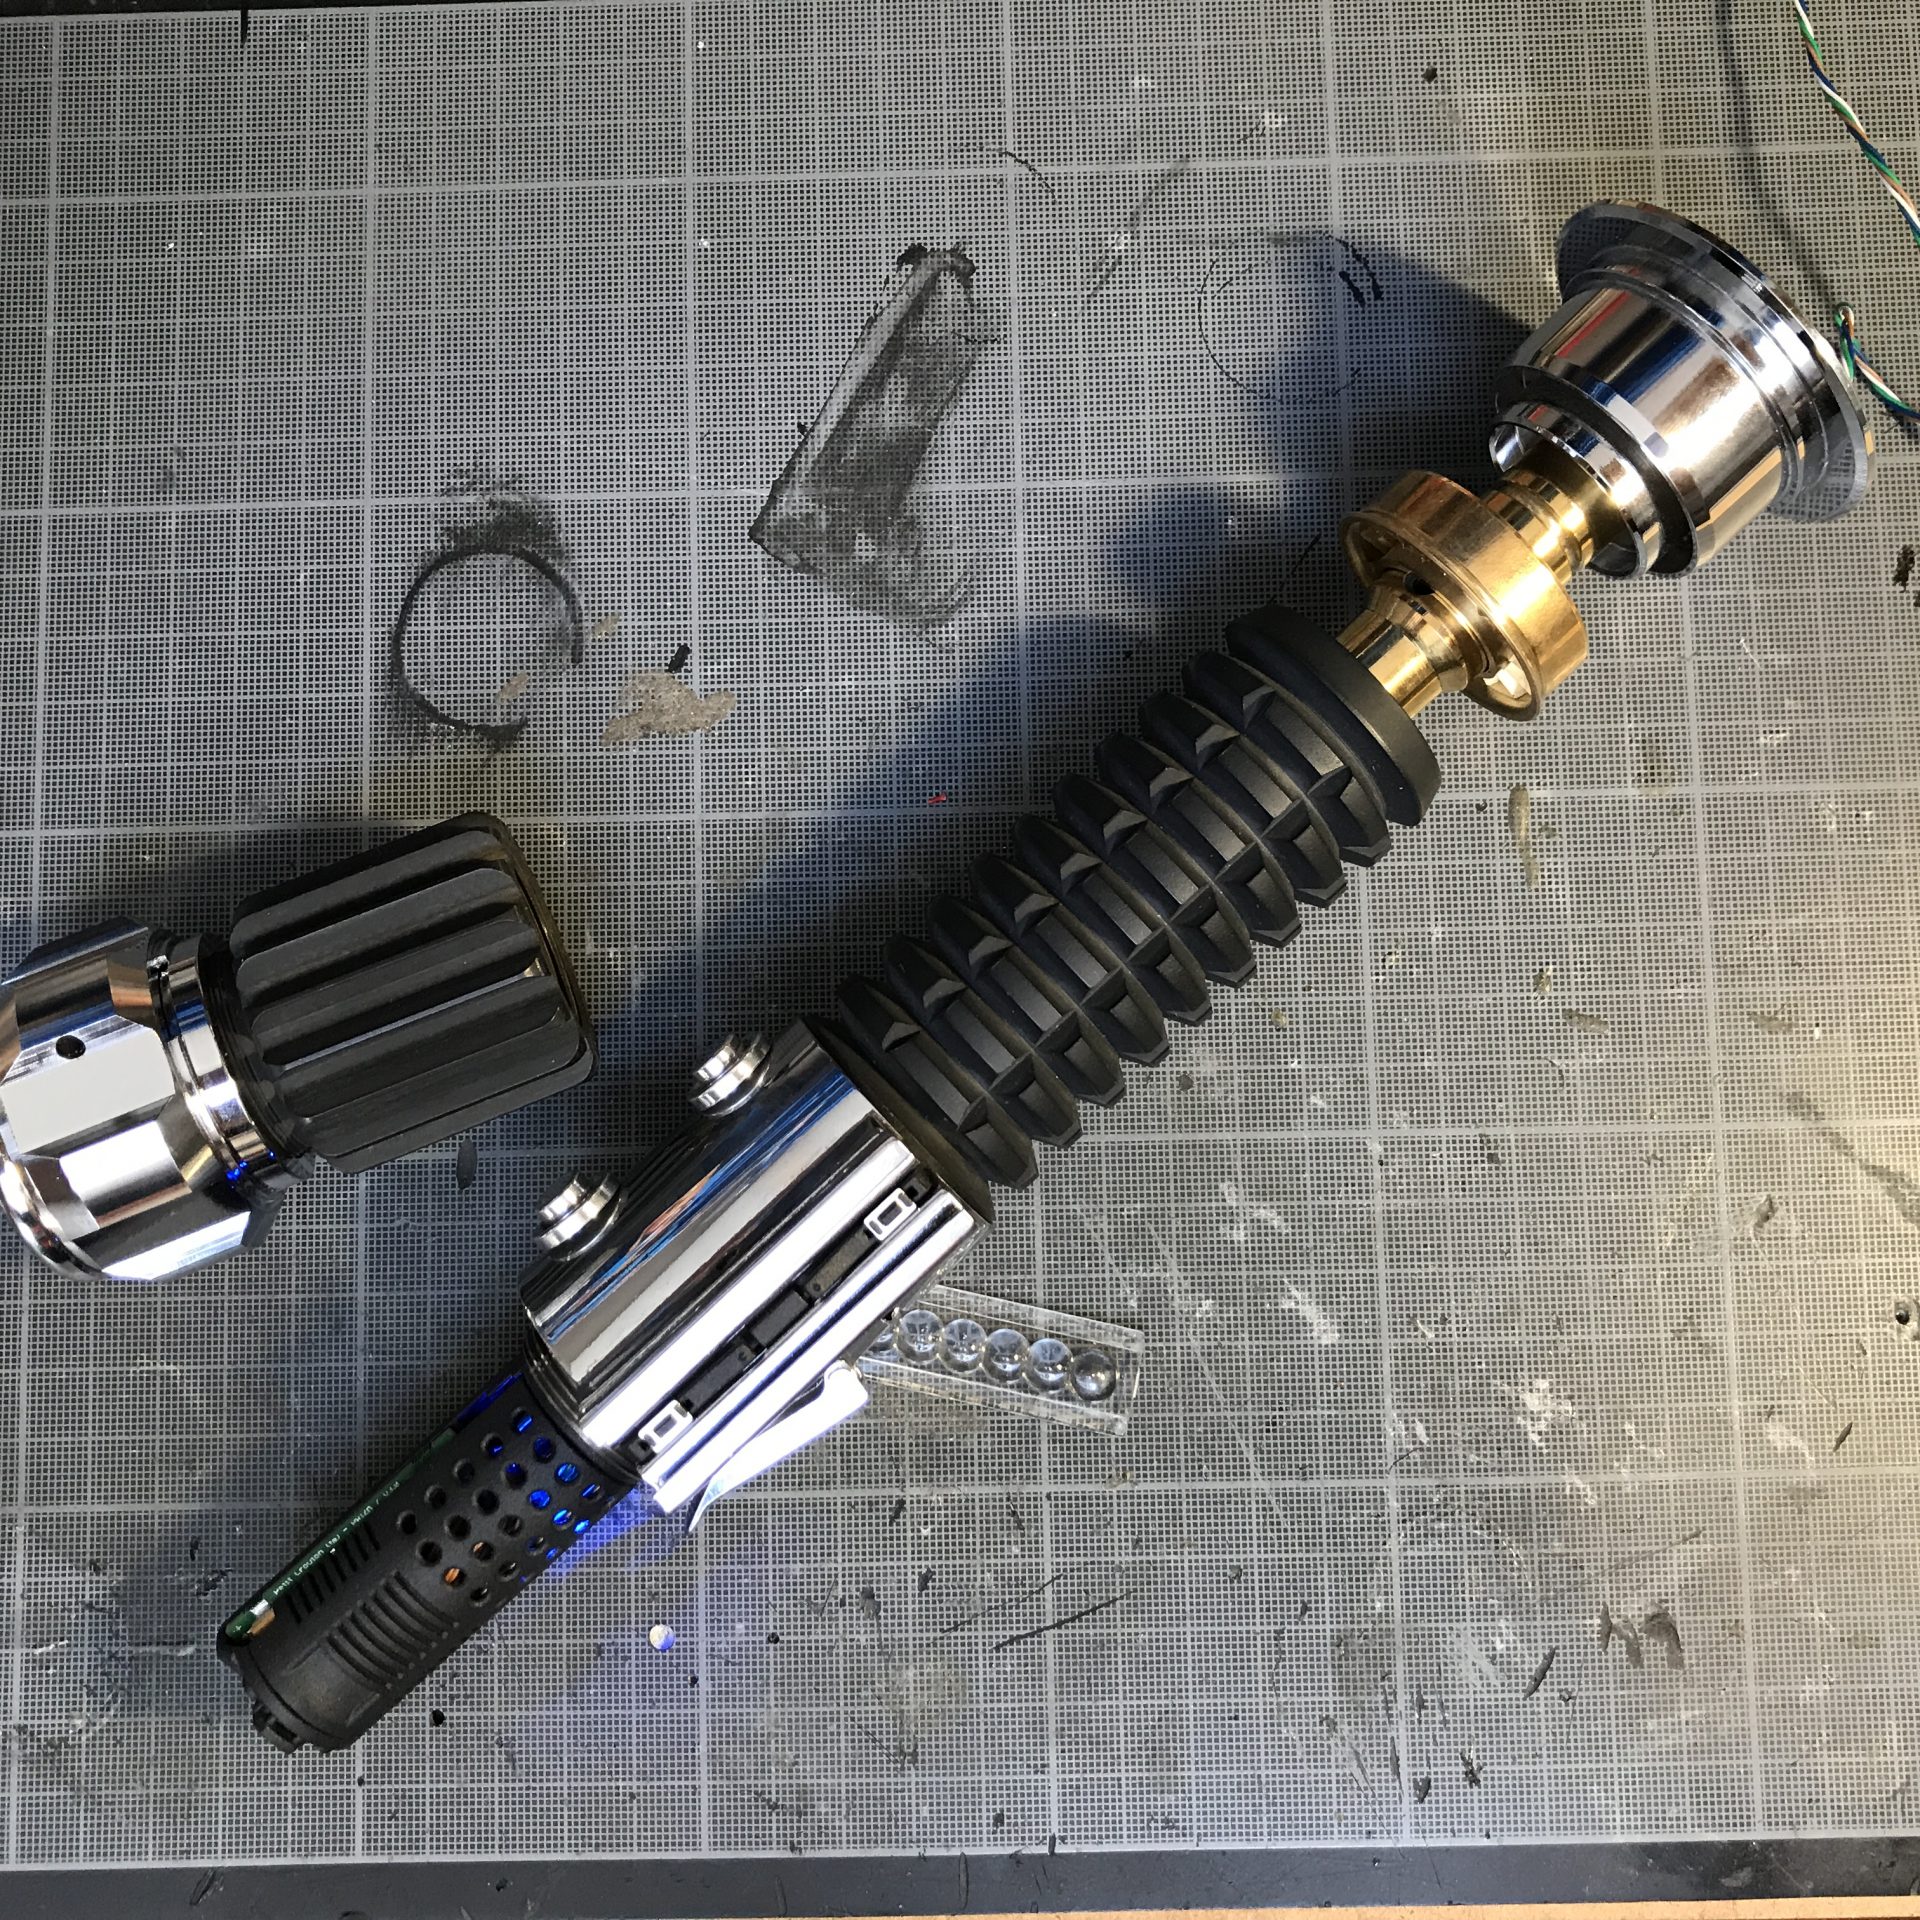
Step 5: Assemble back the hilt, then wire and install the clamp switches holder.
Padawan VAR2
Step 1: Install the soundboard, 1.3mm recharge port and kill switch.
Step 2: Due to lack of space, only small batteries can be used with Rudy Pando’s chamber.
The cover is held with 1.5mmOD rods.

Step 3: The speaker is held by 2 parts. Assembly require super glue to secure everything together.
According the the battery used, a flat or bass speaker is to be selected. There are 2 different slots for either one or the other.
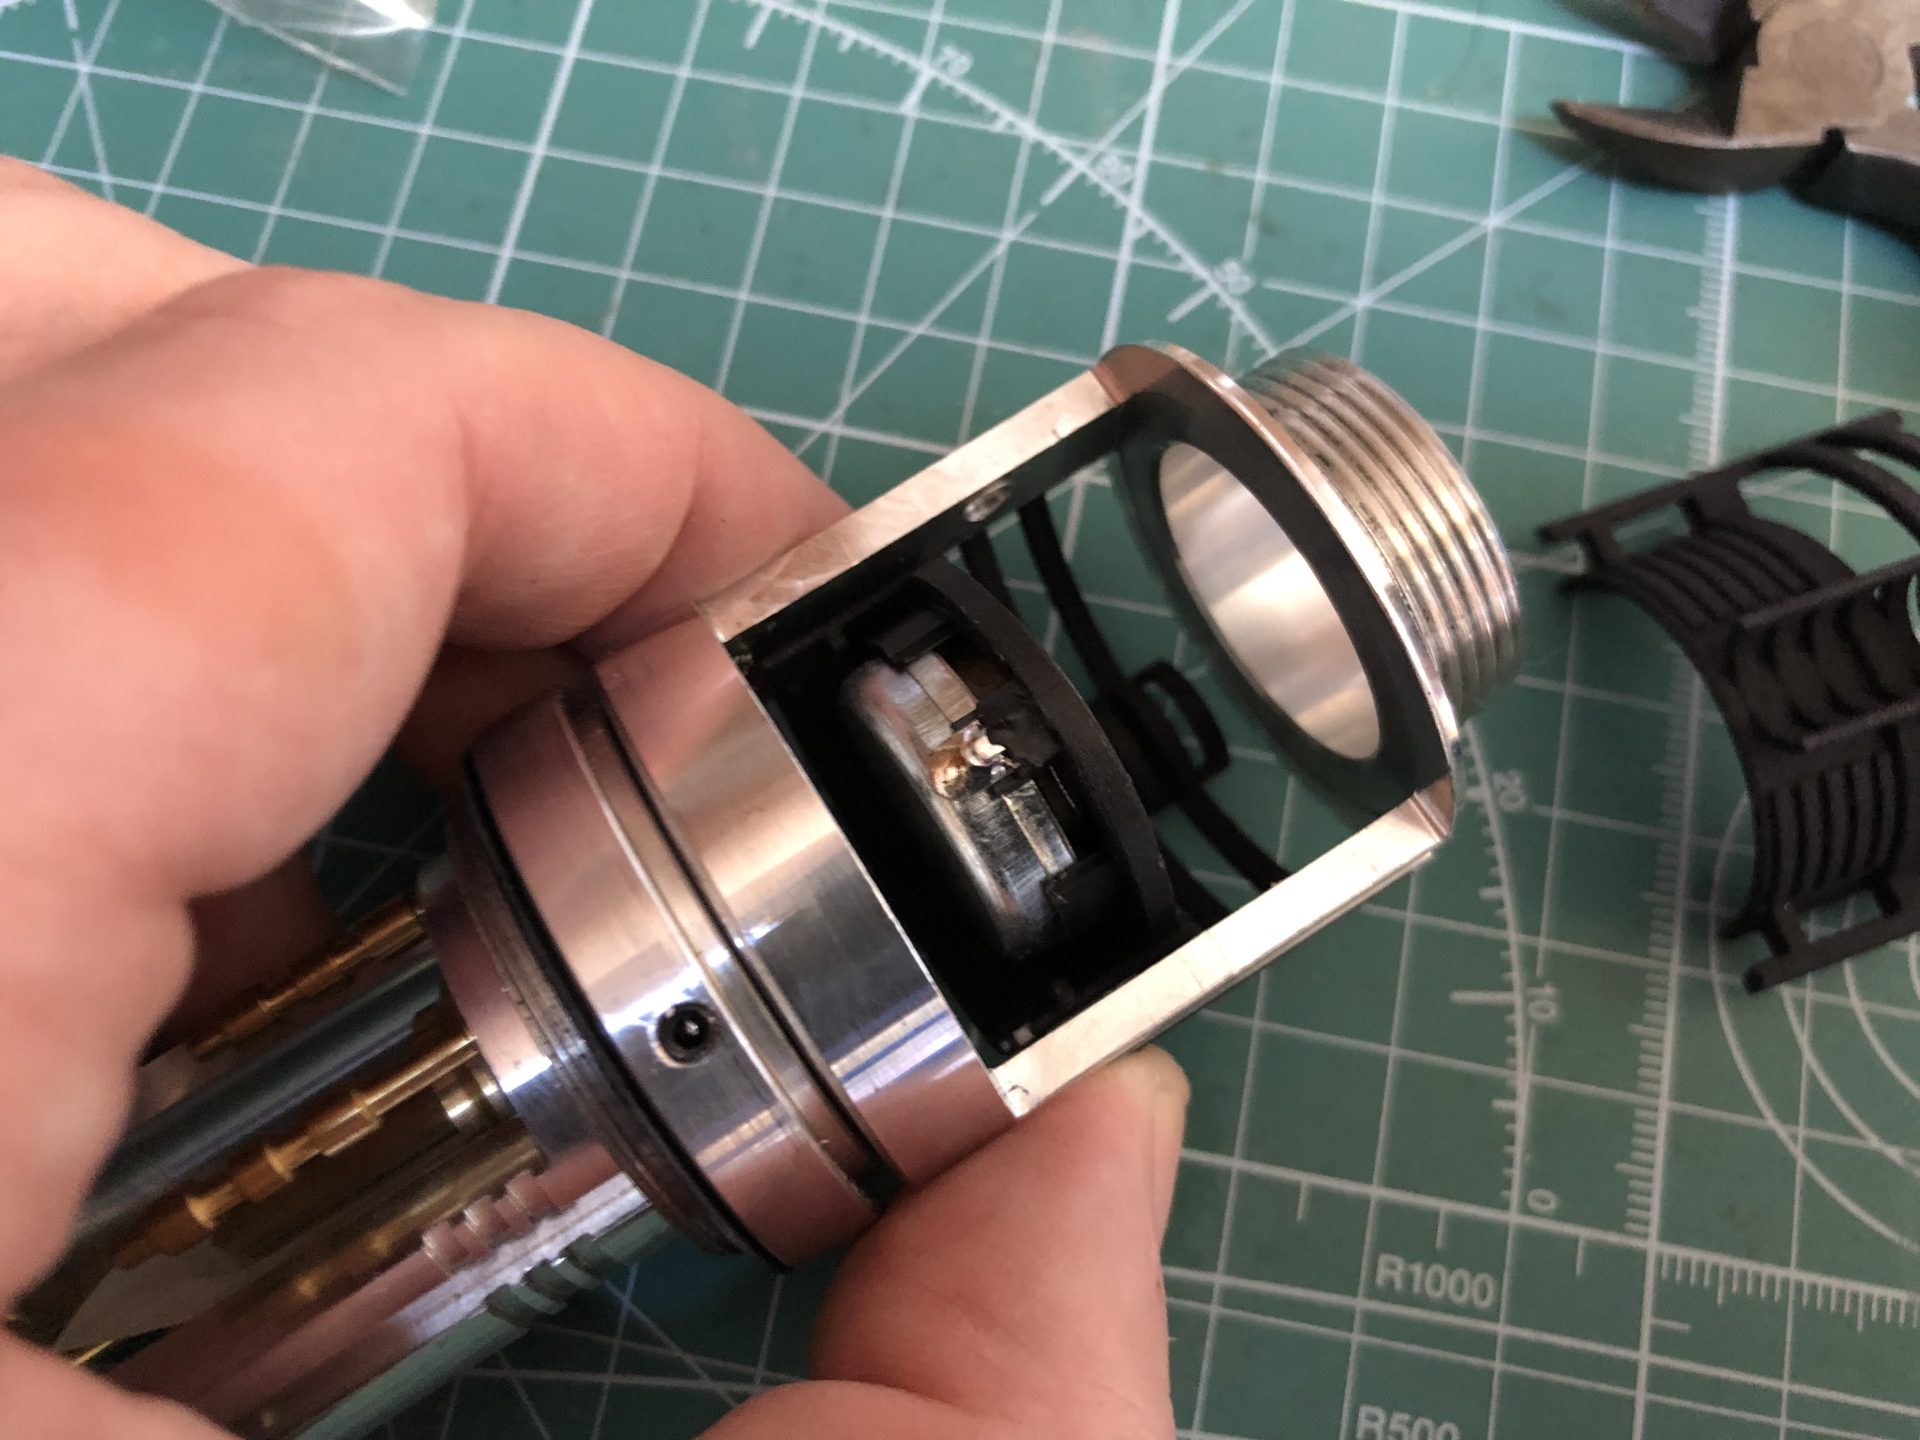
Step 4: Add the soundboard chassis. Make sure the battery doesn’t touch the speaker and close.